A repeatable way to identify what is moving, rebuild chair support from the floor up, test one change at a time, and recognize when adjustment is not the answer.
The right ergonomic setup should adapt to your body, support frequent movement, and stay comfortable through a full workday.
If you keep sliding forward in an office chair, first confirm that your body is moving while the seat and chair base stay in place. When that is the case, the most useful starting points are supported feet, a seat depth that lets you use the backrest, a seat angle that is not pushing you forward, and a keyboard and mouse close enough that you do not have to chase them. A slick or loose seat surface can contribute, but adding grip before checking fit can hide the real cause.
A different fix is needed if the whole chair rolls, the seat height drops, or the seat pan tilts without you operating a control. The method below separates those problems before you change the chair.
Identify What Is Moving
“Sliding forward” can describe several different events. Run a simple observation check before adjusting anything:
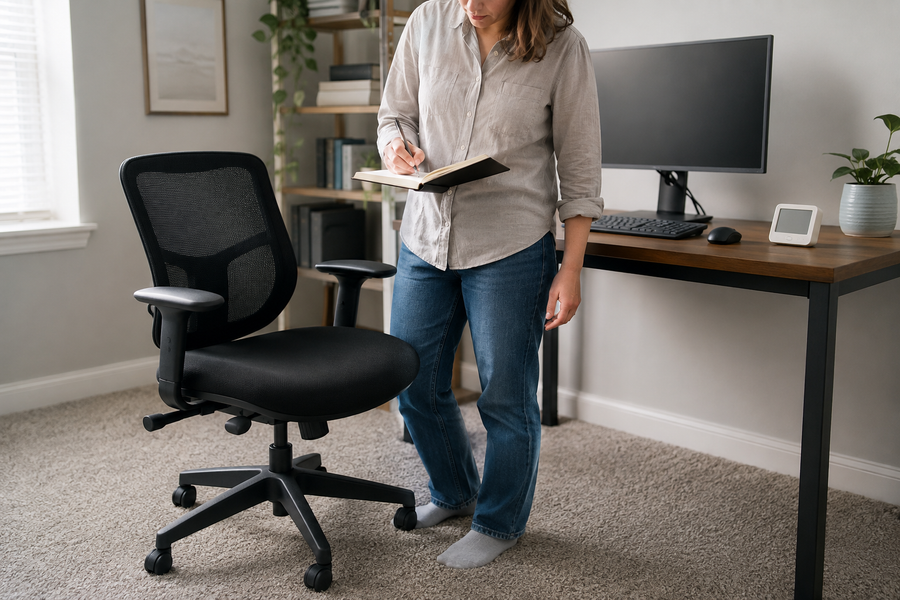
- Park the chair in its normal working position. Take a side photo that shows one caster relative to a desk leg or another fixed reference. Do not attach tape to a floor finish unless the floor manufacturer says it is safe.
- Set the chair to your current height and note where the seat sits relative to the desk. Sit as you normally would, without deliberately holding yourself in place.
- Complete the task that usually triggers the problem, such as typing, mousing, writing, or reading.
- Compare the caster position, seat height, seat angle, and the gap between your lower back and the backrest.
| What changed | What the observation points to | Best next action |
|---|---|---|
| Your hips moved toward the seat edge, but the chair and seat stayed put | Body-to-chair fit, support, reach, or surface friction | Continue with the setup sequence below |
| The entire base moved across the floor | Caster-to-floor movement | Use the separate guide to stop an office chair from rolling |
| The seat became lower while the base stayed put | Uncommanded height change | Stop treating it as a posture problem and check the model manual or support path |
| The seat pan tipped or shifted without a control input | Control, lock, or mechanism problem | Stop using the chair until the current manual or manufacturer identifies a safe check |
This is a routing check, not a diagnosis of a damaged part. It prevents you from trying to solve chair movement with a body-position adjustment—or trying to solve a fit problem by locking the casters.
Rebuild Support From the Floor Up
Use the chair’s current manual to identify each control. Control locations and directions are not universal. If you need a broader control sequence first, OdinLake’s ergonomic chair adjustment guide explains the usual categories, but the model manual remains the owner of exact operation.
1. Give both feet a stable surface
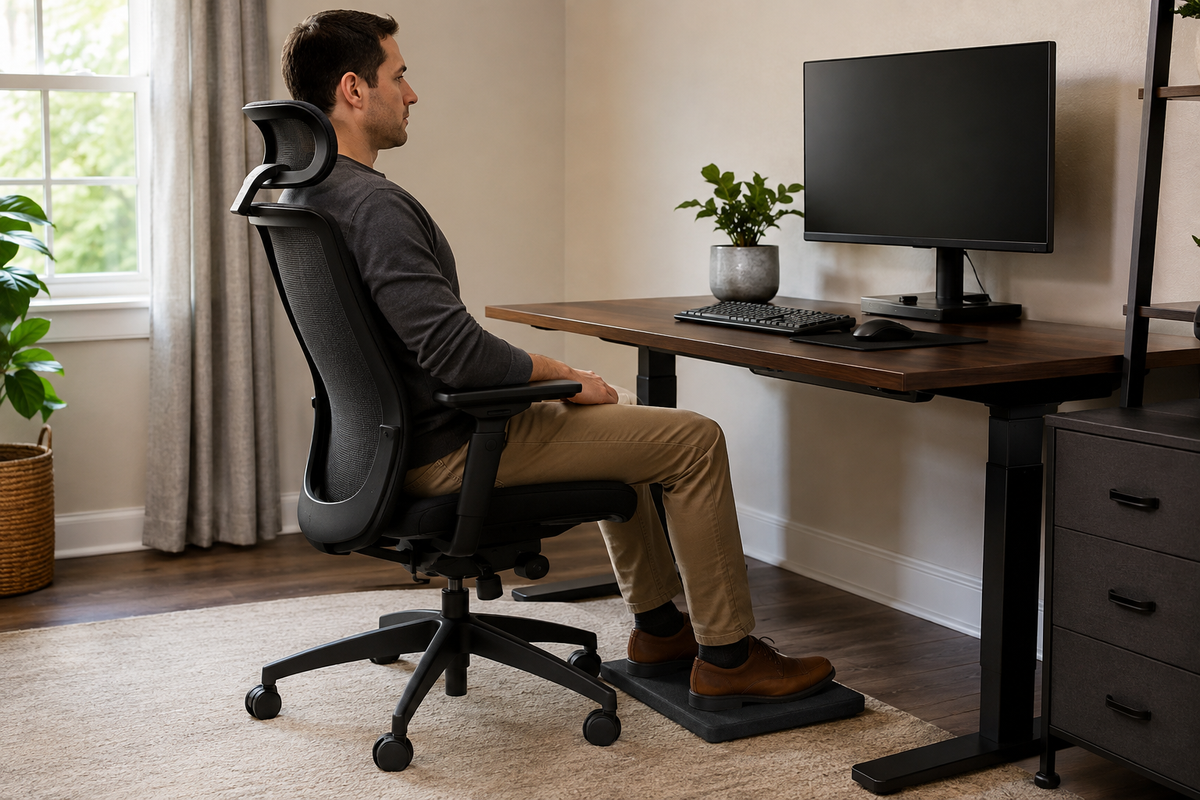
Place both feet fully on the floor. If raising the chair to meet a fixed desk leaves your feet unsupported, use a stable footrest that supports both feet instead of balancing on the chair base or the tips of your shoes.
The Canadian Centre for Occupational Health and Safety chair-adjustment guidance treats the seat, work surface, and floor as linked contact areas. Its practical sequence keeps the feet flat on the floor, or uses a footrest when chair height must rise to meet the work surface. Supported feet give you a consistent reference for judging the rest of the setup; they do not guarantee that every other source of sliding is fixed.
After changing the height or adding a footrest, check the underside of your thighs. The support should feel distributed rather than concentrated at the seat edge. If the feet are supported but the seat edge still presses behind the knees, check seat depth next.
2. Set seat depth while using the backrest
Sit with your hips at the back of the seat and let the backrest make comfortable contact with your lower back. Then check the clearance between the front edge of the seat and the backs of your lower legs.
CCOHS uses a clenched-fist clearance—about 2 inches (5 cm)—as a practical chair-adjustment check. The OSHA computer-workstation evaluation checklist expresses the same objective without prescribing one body position: the seat should support the thigh, should not press into the back of the knee, and should not be so deep that the user loses lumbar support. Treat the fist check as a starting reference, not a universal measurement for every body or seat shape.
- If the chair has a seat-depth slider, move the seat in the direction that preserves thigh support while giving the lower legs clearance. Lock it and confirm that it stays at the selected depth under normal seated movement.
- If the chair has a movable backrest instead of a sliding seat, adjust the backrest only as the manual permits, then repeat the same contact and clearance check.
- If the seat is fixed and you cannot sit against the backrest without pressure behind the knees, the chair may be too deep for your body. A chair with a suitable fixed depth or a usable adjustment range is the more reliable answer.
Do not force a slider, continue using a depth lock that releases unexpectedly, or add a thick back cushion without checking whether it is secure and approved for the chair. A cushion changes usable seat depth and backrest contact at the same time.
3. Restore useful backrest contact
Once the feet and seat depth are set, adjust the backrest height or front-to-back position, if available, so it meets the lower back without a hard pressure point. You should be able to use the backrest while keeping your feet supported and the seat edge clear of the backs of your legs.
If you must slide forward to escape an aggressive lumbar shape, or if the backrest sits too far away even at the nearest setting, the problem may be backrest fit rather than a lack of effort. Do not tighten, bend, or pad a structural backrest into a position the manufacturer does not allow.
Separate Seat Angle From Backrest Recline
A seat pan, a backrest, and a synchronized tilt mechanism can move in different ways. The NIH Office of Research Services chair guide distinguishes backrest-angle adjustment from whole-chair tilt: one changes the backrest relative to the seat, while the other changes how the seat and back move together. That distinction matters when the chair feels as if it is sending you toward the front edge.
- Find the model number and read the current control guide. Do not identify a forward-tilt or recline control by shape or location alone.
- If the manual allows it, return the seat to its neutral or level starting position. Keep the backrest in a position that still supports you.
- Sit down normally and operate each permitted control separately. Confirm that the selected seat angle and lock hold when you shift between the keyboard and mouse.
- If you intentionally use a forward-tilt mode, verify that both feet remain supported and that you are not relying on constant leg effort to keep from slipping.
Forward tilt is not automatically wrong. CCOHS notes that an adjustable forward-sloping seat needs enough surface friction to prevent the user from sliding out or shifting too much weight onto the feet. If sliding occurs, neutral is a useful comparison setting. If the seat keeps pitching forward after the control is locked, stop using the chair and contact the manufacturer; do not wedge, drill, tie, or shim the mechanism.
Bring the Work Within Reach
A chair can fit reasonably well and still lose back contact if the task sits too far away. Check the trigger rather than trying to hold one rigid posture:
- Move the chair close enough that you can reach the keyboard and mouse with the upper arms near your sides.
- Clear boxes, drawers, computer towers, and other objects that keep the knees and feet from moving under the desk.
- Lower, move, or remove adjustable armrests when the manual permits and the armrests block the chair from approaching the work surface.
- Place the mouse beside the keyboard instead of beyond a wide empty area. Move frequently used objects into the same easy-reach zone.
- Make text large enough and position the screen so you can see it without creeping toward it. Screen distance is a viewing decision, not a reason to abandon the backrest.
Watch which task starts the slide. If typing is stable but repeated mouse use pulls you forward, the mouse location is a stronger lead than the upholstery. If reading paper is the trigger, move the document rather than pulling your body to the front of the seat. The useful change is the one that removes the repeated reach while preserving foot and back support.
Check the Seat Surface Last
After the fit and reach checks, inspect what is in contact with the seat. A loose cushion can travel forward independently. A smooth cover, residue from an incompatible cleaner, or worn upholstery can change how the surface feels. Clothing can also change the amount of friction, so compare conditions rather than assuming the chair or the user is at fault.
- Remove one loose third-party cushion or cover and repeat the same task. Do not remove a built-in component.
- Inspect the seat for a loose cover, separated upholstery, exposed fasteners, or a cushion that no longer stays located. Stop using the chair if the seat is structurally loose or damaged.
- Clean only according to the chair’s current material-care instructions, then let the surface reach the required usable condition before testing. Do not spray an unverified grip product onto mesh, fabric, leather, vinyl, or a control mechanism.
- If an accessory is still needed, ask the chair manufacturer whether a particular cover or cushion is compatible. It must stay secure without blocking controls, reducing safe seat-edge clearance, or making it harder to get out of the chair.
A strip of adhesive tape, drawer liner, tied fabric, or an improvised wedge may add friction, but it can also damage the seat, move unpredictably, block a control, or interfere with entry and exit. It is not a substitute for compatible fit or a working lock.
Use the Same Task to Verify Each Change
Make one change at a time. Otherwise, a setup can feel different without revealing which variable helped—or which new problem was introduced.
- Choose the normal task that most reliably causes the slide.
- Start with your hips against the backrest, feet supported, and hands at the input devices. Note the initial seat-depth clearance and caster position.
- Work normally instead of consciously bracing yourself. Change positions when you want to; the aim is not to freeze your body.
- At the end of the task, check whether the backrest is still available, the feet remain supported, the seat edge is not pressing behind the knees, and the seat and base remain at their selected positions.
- Keep the change only if it improves the sliding problem without creating pressure, unstable support, restricted movement, or a new reach problem.
If the result is unclear, return to the previous setting and repeat the same task on another occasion. A repeatable improvement is more useful than an adjustment that only feels promising during the first minute. OdinLake’s article on stable support during longer sitting explains why the way a chair behaves after the first impression can be an important part of a fit test.
Know When Adjustment Is Not the Answer
The chair may not offer the range your body and workstation need. A fixed seat that is too deep, a desk that cannot meet the chair without leaving the feet unsupported, armrests that permanently block desk access, or a surface that remains slippery in normal use can make continued adjustment unproductive. Compare a replacement chair by usable seat depth, seat-height range, backrest fit, control behavior, and desk clearance—not by a generic “ergonomic” label.
Stop using the chair and seek model-specific support if the seat angle or height changes without command, a lock will not hold, the seat or backrest is loose, or a structural part is cracked or bent. Do not open a gas cylinder or modify a load-bearing mechanism. For an OdinLake model, use the OdinLake support page with the model, order information, photos, and the exact observation.
This article is general ergonomic setup guidance, not medical care. Seek an appropriate health professional or occupational ergonomics assessment when sliding is related to impaired balance, reduced sensation, weakness, a recent injury, or persistent, sudden, severe, or worsening symptoms. The goal is a chair and workstation that support the task without requiring constant bracing—not a universal posture held all day.
Frequently Asked Questions
Why do I slide forward even when my back touches the backrest?
The backrest can make contact while the feet remain unsupported, the seat is too deep, the seat pan slopes forward, or the keyboard and mouse pull the body away from the backrest. Check whether the seat and base stay put, then rebuild the setup from the feet through seat depth, backrest contact, and reach.
Is forward seat tilt bad?
No. Forward tilt is an intentional option on some chairs and may suit some tasks and users. It becomes a poor setting for this problem when you cannot keep both feet supported, the surface does not provide enough friction, or you have to brace continuously to avoid sliding; compare it with the model’s neutral setting.
How much space should be behind my knees?
CCOHS uses a clenched fist, approximately 2 inches (5 cm), as a practical clearance check. The functional goal matters more than one exact number: sit against the backrest, support the thighs, and avoid pressure from the front edge against the backs of the knees or lower legs.
Can a footrest stop me from sliding forward?
A footrest can help when the chair must be raised to meet the desk and the feet otherwise hang or search for support. It will not fix a seat that tilts or lowers without command, a depth mismatch, an unstable loose cushion, or repeated forward reaching. Use a stable footrest that supports both feet and leaves room to change position.
Should I add a non-slip cushion or seat cover?
Only after the fit, angle, and reach checks. A compatible, secure surface may help when low friction is the remaining issue, but a loose or thick accessory can move forward, reduce usable seat depth, obscure controls, or change backrest contact. Confirm compatibility with the chair manufacturer instead of attaching an improvised grip material.
What if the office-chair seat is physically leaning forward?
If forward tilt is an intended function, identify and reset it only as the current model manual describes. If the seat angle changes on its own or a lock does not hold, stop using the chair and contact the manufacturer. Do not shim, drill, tie, or force the seat mechanism.