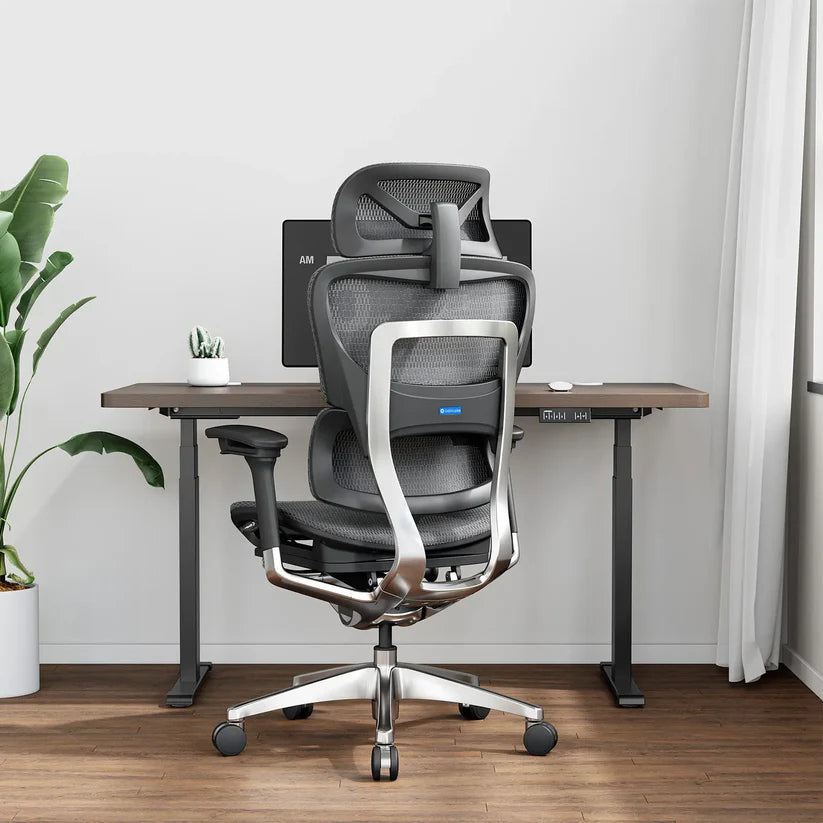
A fit-first guide to choosing and installing a removable office chair cover while preserving every control, moving clearance, and support surface.
The right ergonomic setup should adapt to your body, support frequent movement, and stay comfortable through a full workday.
The simplest way to cover an office chair without sewing is to use a removable cover made for the chair’s separate seat and backrest shapes. Measure the chair before buying, keep every control and moving joint exposed, and test height, tilt, swivel, seat depth, armrests, and casters after installation. A cover that bunches, slips, blocks a lever, or changes how a flexible backrest moves is not a workable fit.
A removable cover can create a washable contact layer or change a sound chair’s appearance. It does not repair cracked structure, torn load-bearing mesh, deteriorated foam, a loose backrest, or a faulty mechanism. Begin with the exact chair and the cover maker’s size chart rather than assuming that a product labeled “universal” will fit every task chair.
Choose the right kind of chair-cover project
The phrase “cover an office chair” can describe three different jobs. They require different materials, skills, and safety decisions.
| Project | What it does | When it makes sense | What it does not do |
|---|---|---|---|
| Removable working cover | Fits over a sound seat, backrest, or arm pad and remains on while the chair is used | You want a washable layer, surface protection, or a reversible color change | It does not restore support or repair upholstery |
| Storage or pet cover | Drapes over the chair only while nobody is sitting in it | You want temporary dust, sunlight, or pet protection | It is not safe to leave loose fabric near controls, casters, or the base during use |
| Recovering or reupholstery | Removes and replaces the attached outer upholstery on a removable padded panel | The chair construction and replacement material support that permanent process | It is not a quick slipcover installation |
This guide covers the first project: installing a purpose-made, removable cover without sewing, glue, staples, drilling, or structural disassembly. If the chair needs permanent fabric replacement, treat that as a separate upholstery job.
Inspect the chair before hiding its surface
Remove loose accessories and look at the chair in bright light. Record the brand, model, product variant, and any labels under the seat. Check the manual or support page for cleaning restrictions, removable parts, adjustment locations, and warranty conditions. A cover seller’s compatibility claim does not override the chair manufacturer’s instructions.
Do not cover the chair for continued use if you find any of these conditions:
- torn or separating mesh that carries the user’s weight;
- exposed foam, sharp edges, broken trim, or a protruding fastener;
- a loose seat, backrest, armrest, caster, or base connection;
- a height, recline, or seat-depth control that does not hold its setting;
- cracks in the seat pan, back frame, base, or other structural part;
- moisture, odor, residue, or a stain that still needs material-specific cleaning.
A cover can make damage harder to see and may delay a necessary repair. If you own an OdinLake chair and the model instructions do not answer a compatibility question, use the model-specific assembly and product guides or contact OdinLake support before adding an accessory.
Map every control and moving clearance
Photograph both sides and the underside of the unloaded chair. Mark every lever, paddle, dial, release button, cable entry, seat-back gap, arm joint, headrest track, lumbar adjustment, footrest path, gas lift, and caster. These areas must remain visible and free to move.
The Occupational Safety and Health Administration’s computer-workstation evaluation checklist asks whether chair adjustments are straightforward and easy to perform while seated. The Canadian Centre for Occupational Health and Safety likewise recommends controls that can be operated from a seated position. A fitted cover should preserve that access instead of making a control difficult to find or reach.
| Chair area | Cover-fit requirement | Reject the fit when |
|---|---|---|
| Seat and backrest | The cover follows the intended surfaces without bridging a moving gap or pulling the back into a new shape | Fabric tightens during recline, bunches under the thighs, or changes flexible support |
| Levers, paddles, and dials | Every control stays visible, reachable, and free through its full travel | The cover overlaps, presses, or catches a control |
| Armrests, headrest, and lumbar parts | Separate moving components retain their intended adjustment range | An elastic edge pulls across a joint, track, or release button |
| Underside, gas lift, base, and casters | No fabric, tie, or strap enters the mechanism or hangs below the seat | Any loose material can reach the cylinder, base, wheel, or floor |
Measure the office chair for a cover
Use the cover maker’s diagram because brands do not always define dimensions in the same way. Compare every required measurement with the stated range. If the listing gives only one vague “fits most chairs” claim, it does not provide enough information for a reliable purchase.
Record every value in inches (in) or millimeters (mm), and use the same unit system for the chair and size chart. Do not convert or round a borderline measurement until after you have compared it with the cover maker’s minimum and maximum values.
For a two-piece seat-and-back cover, record these dimensions:
- Backrest height: measure the area the cover must enclose, excluding a separate adjustable headrest unless the product specifically supports it.
- Backrest width: record the widest point and any large change in width from top to bottom.
- Backrest thickness: measure the front-to-back thickness or the circumference requested by the cover maker. Include the frame only if the cover is designed to pass around it.
- Seat width: measure the usable upholstered or framed width at the front and rear. Record both when the seat tapers.
- Seat depth: measure from the front edge to the back of the seat surface without spanning an open seat-back gap.
- Seat thickness: measure the edge the elastic must pass around, including fixed trim if the product diagram does.
- Openings and attachments: record arm supports, back supports, cables, seat-depth rails, and other parts that interrupt a simple rectangular cover path.
OdinLake’s office-chair measurement guide explains how to separate overall dimensions from usable dimensions and how to document adjustable ranges. For a cover, repeat the measurements in the chair settings you actually use. A cover that fits upright may become too tight when the seat slides forward or the back reclines.
Compare shape as well as size. A rectangular cover may fit a simple padded task-chair back but fail on a split backrest, pronounced lumbar panel, winged frame, moving back section, built-in footrest, or independent headrest. When the shape lies outside the cover maker’s illustrated chair types, ask the seller for written compatibility or choose a different cover.
Select a removable cover that matches the chair
A two-piece cover is usually easier to fit around an adjustable task chair than a one-piece dining-chair slipcover. The separate pieces allow the seat-back gap to remain open and reduce the chance that recline will pull on the seat. This is a fit principle, not a universal product rule; follow the documented design of the cover you purchase.
Check the product information for:
- a dimension range for each covered part, not only a chair-height range;
- supported shapes, arm configurations, and headrest configurations;
- the intended attachment method, such as enclosed elastic, fitted corners, or a model-specific zipper;
- fabric composition, stretch direction, colorfastness guidance, and washing instructions;
- whether the product is intended to remain on a chair during use;
- seller identification, return terms, and a way to ask fit questions before ordering.
For products sold in the United States, the Federal Trade Commission lists furniture slipcovers and furniture covers among textile products covered by federal labeling requirements. Look for the fiber content, country of origin, and the responsible manufacturer or marketer. Those disclosures help identify what you are buying, but you should still retain the product’s specific washing and drying instructions.
Avoid a working cover that relies on safety pins, exposed clips, loose cord, adhesive applied to the chair, or fabric pushed into the under-seat mechanism. Do not use a pillowcase, blanket, towel, or plastic sheet as a sit-on cover unless a manufacturer has designed and documented it for that purpose. Loose material can migrate during repeated sitting, swiveling, reclining, and rolling.
How to cover an office chair without sewing
Use the instructions supplied with the exact cover first. The sequence below is a compatibility-focused method for a typical separate seat and back cover. It does not authorize removing structural chair parts.
- Clean and fully dry the chair. Vacuum loose debris and follow the chair’s material-specific instructions. OdinLake’s office-chair cleaning guide provides separate precautions for mesh, fabric, leather, plastic, and metal. Never trap a damp seat or unresolved spill under a cover.
- Set the unloaded chair to a neutral position. Place it on a level floor, bring the back near upright, and retract any supported seat-depth adjustment. Keep fingers away from the mechanism while the chair moves.
- Remove only documented detachable accessories. A slip-on cover may require removing a headrest or cushion. Do so only when the chair manual identifies the part as user-removable and gives the correct process. Do not remove the seat, back frame, armrest assembly, gas lift, or mechanism for a generic cover.
- Identify the cover’s front, back, top, and underside. Find the label, zipper, elastic edge, seams, and any designated openings. Stop if the parts cannot be oriented without guessing.
- Fit the back cover from the documented starting edge. Work it gradually over the backrest and align the center seam. Do not pull one corner far past its stated range or force fabric over a protruding control.
- Fit the seat cover around the seat surface. Keep the front edge smooth and the seat-back gap open. The elastic should hold to the intended perimeter without crossing the height lever, seat-depth control, back support, or footrest path.
- Use only the cover’s built-in fasteners. Close a supplied zipper, buckle, or hook-and-loop tab in the position shown by the cover maker. Do not add ties around the gas lift, tilt mechanism, cable, arm post, or caster base.
- Reinstall approved accessories. Follow the chair manual, confirm fasteners and releases are fully engaged, and make sure the cover is not trapped in a connection.
The finished cover should lie smooth enough that you can see the seat edge, locate every control, and inspect the floor around all five casters. Some harmless surface wrinkles may remain. A fit that needs extreme tension, hidden pins, or repeated tucking into moving gaps is the wrong fit.
Test the chair before normal use
Complete an empty-chair check first, then a short seated check. Remove the cover immediately if fabric moves toward a joint or control.
- Inspect all sides. Verify that no part of the cover hangs below the seat or enters a slot, hinge, track, or mechanism.
- Operate each control through a small range while unloaded. Confirm that the control returns normally and the fabric does not move with it.
- Rotate and roll the chair. Move a short distance in every direction on the normal floor. All casters should remain unobstructed.
- Sit down and stand up normally. The cover should not shift, pull the chair, create a slick edge, or gather behind the knees.
- Test the adjustments you use. Change seat height, recline or tilt, seat depth, arms, headrest, and lumbar settings only as the chair manual directs. Recheck exposed gaps after every movement.
- Complete a short work sample. Type, use the mouse, turn, reach for a routine item, and stand. Then inspect the seat front, back corners, controls, and underside again.
OSHA’s chair guidance treats the chair, desk, keyboard, and monitor as a coordinated workstation. After adding a cover, confirm that you can still sit with supported feet and back, relaxed shoulders, and unobstructed arm and chair movement. If the extra layer changes your seated position or makes the surface slippery, remove it.
What to do when the cover slips or bunches
Start by removing and reinstalling the cover according to its orientation marks. Confirm that each chair measurement falls within the maker’s range and that the chair shape matches the illustrated fit. A cover at the edge of its size range may still fail because of taper, thick edge trim, a flexible backrest, or an attachment placed where the chair has no fixed gap.
Use only the adjustment method built into the cover. If the maker supplies tension straps, place them only through the documented fixed path and repeat the complete movement test. Do not solve slippage by tying fabric to controls, gluing it to upholstery, pushing foam into the mechanism, or installing pins where a user’s body can contact them.
If the cover continues to move during ordinary sitting, it is incompatible. Return it, request a model-specific option, or use it only as an off-chair storage cover if the manufacturer permits. A removable cover should remain removable; modifying the chair to make a generic cover fit defeats the main advantage.
Can you cover a mesh office chair?
A mesh chair needs extra caution because the mesh may be the load-bearing seat or back surface, and its airflow and deflection are part of how it works. Do not assume that a cover suitable for a padded executive chair is suitable for suspended mesh.
Use a working cover on mesh only when the chair manufacturer permits it and the cover maker identifies the exact construction or model as compatible. The cover must not pull the mesh toward the frame, bridge a flexible lumbar section, restrict back movement, or conceal a tear. If your purpose is only dust or pet protection while the chair is idle, remove the loose cover completely before sitting.
Wash and recheck the cover as a separate product
Follow the cover’s own washing, drying, and temperature instructions. Close any zipper or hook-and-loop component as directed, and keep a record of the original fit before washing. Heat or aggressive drying can change elastic recovery or dimensions even when the chair itself is unaffected.
Do not reinstall a damp cover. Clean and dry the chair surface separately, then inspect the cover for stretched elastic, damaged fasteners, open seams, color transfer, or a changed texture. Repeat the complete control and movement test after every wash because the fit may have changed.
A quick decision checklist
- The chair is sound, clean, dry, and identified by model.
- The cover is made for use on an office chair, not merely for storage or dining furniture.
- Every required chair dimension falls within the cover maker’s stated range.
- The chair shape, arm supports, headrest, and moving back sections match the documented fit.
- No fabric, elastic, zipper, or strap touches a control, joint, mechanism, gas lift, base, or caster.
- The cover remains stable through sitting, standing, rolling, swiveling, reclining, and other normal adjustments.
- The fabric and care information are documented, and the seller offers a workable return path.
If any item fails, remove the cover and solve the fit or chair condition first. For a worn but otherwise repairable padded panel, investigate model-specific replacement or professional upholstery. For structural damage, unstable support, or a faulty mechanism, stop using the chair and contact the manufacturer or a qualified service provider.
Frequently asked questions
Can I cover an office chair without sewing?
Yes. Use a purpose-made removable cover with enclosed elastic, a zipper, fitted corners, or another documented attachment. Measure the seat and back separately, keep controls and moving parts exposed, and test every normal chair function after installation.
How do I know what size office chair cover to buy?
Follow the cover maker’s measurement diagram. Compare back height, width, and thickness plus seat width, depth, and edge thickness. Also compare shape, arm supports, headrest design, and moving sections. A “universal” label without dimension ranges is not enough.
How do I keep an office chair cover from slipping?
First confirm size and orientation, then use only the fasteners supplied with the cover. Persistent movement usually indicates a shape or size mismatch. Do not add safety pins, glue, loose cords, or ties around controls, the mechanism, gas lift, or base.
Can I put a cover on a mesh office chair?
Only when the chair manufacturer permits it and the cover is documented for that mesh construction or model. It must not change mesh tension, airflow, flexible support, or movement. Never use a cover to hide torn load-bearing mesh.
Should I use one cover for the whole chair or separate seat and back covers?
Separate covers often leave the seat-back gap and controls easier to access on an adjustable chair. A one-piece cover can work only when its stated chair shape, openings, and movement allowances match the exact chair. Use the product’s fit diagram to decide.
Can a chair cover fix peeling upholstery?
No. It can contain loose surface flakes temporarily only if the underlying chair remains sound and the manufacturer permits the accessory, but it does not restore the upholstery, foam, or support. Inspect the extent of deterioration and choose model-specific replacement, upholstery service, or chair replacement as appropriate.