A practical guide to measuring, protecting, lifting, and securing an office chair for a car or moving truck without unnecessary disassembly.
The right ergonomic setup should adapt to your body, support frequent movement, and stay comfortable through a full workday.
The safest way to transport an office chair is usually to move it in one piece: lower every adjustable part, protect the surfaces that can strike a doorway or another object, stop the base from rolling, and secure the chair so it cannot shift when the vehicle brakes or turns. Disassemble it only when measurements show that the intact chair will not clear the route or fit inside the vehicle—and only remove parts covered by the instructions for that exact model.
Do not begin by pulling out the gas cylinder or carrying the chair by its headrest or armrests. First measure the chair, the narrowest doorway, and the actual vehicle opening. That ten-minute check often avoids unnecessary disassembly, lost hardware, damaged upholstery, and an awkward surprise beside the car.
Decide Whether to Move the Chair Intact
A fully assembled chair is bulky, but it also has fewer loose parts and no reassembly errors waiting at the destination. If the route is level, the chair clears every opening, and the vehicle has a stable place for it, keeping it intact is generally the simpler option.
| Moving situation | Usually the better plan | Main check before proceeding |
|---|---|---|
| Room-to-room or same-floor move | Move the chair intact | Clear cables, thresholds, rugs, and other caster obstacles |
| Short car trip with a hatchback, SUV, or van | Try the intact-chair dimensions first | Measure the door or hatch opening, not only the cargo floor |
| Small sedan or narrow stairwell | Remove only documented detachable parts if needed | Confirm the model manual, tools, and reassembly sequence |
| Moving truck or professional relocation | Move intact when space allows; pad and immobilize it | Provide a solid tie-down point and keep heavy cargo off the chair |
| Parcel or freight shipment | Use the original packaging or a model-appropriate shipping plan | Confirm carrier size, weight, packaging, and insurance requirements |
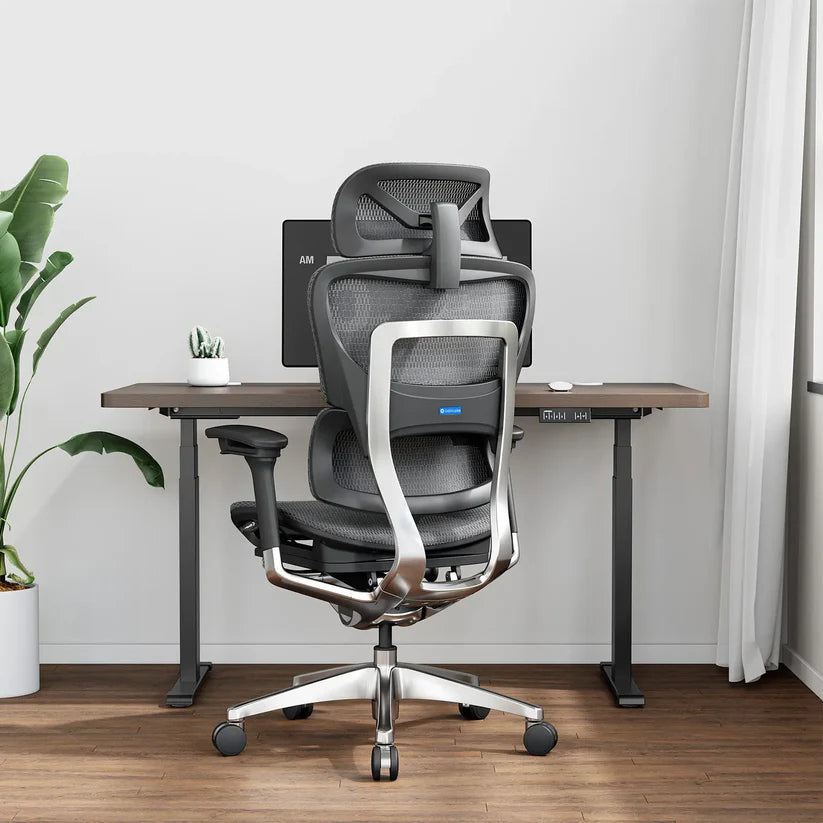
Size and weight vary enough that a generic answer can be misleading. For context, the current OdinLake O3 product page lists a 27.5-by-27.5-inch base footprint and an item weight of 68 pounds. Treat those as O3 specifications, not as standard office-chair dimensions. Check the product page, label, or manual for the chair you are actually moving.
Measure the Chair, Route, and Vehicle Opening
Write down four chair measurements with the seat at its lowest setting:
- maximum width: usually across the five-star base or the outside edges of the armrests;
- maximum height: from the floor to the top of the lowered headrest or backrest;
- front-to-back depth: including any backrest curve and the forward edge of the base; and
- weight: from the manufacturer’s specification when available.
Then measure the narrowest point along the complete route. Include door openings, sharp hallway turns, stair landings, elevator doors, and the trunk, passenger-door, or hatch opening. A cargo area can be wide enough after entry while the opening itself is too narrow. If the chair must turn through a doorway, allow space for the base to swing rather than comparing only two static widths.
Test the planned orientation before lifting
Decide whether the chair will enter upright, backrest-first, or on a padded side. Use a tape measure to reproduce the chair’s widest span at the vehicle opening. For a close fit, make a quick cardboard template instead of repeatedly lifting and rotating the chair beside painted doors and glass. Do not rely on forcing flexible upholstery through a gap; rigid bases, frame edges, controls, and arm supports still need clearance.
Prepare the Chair Before Wrapping It
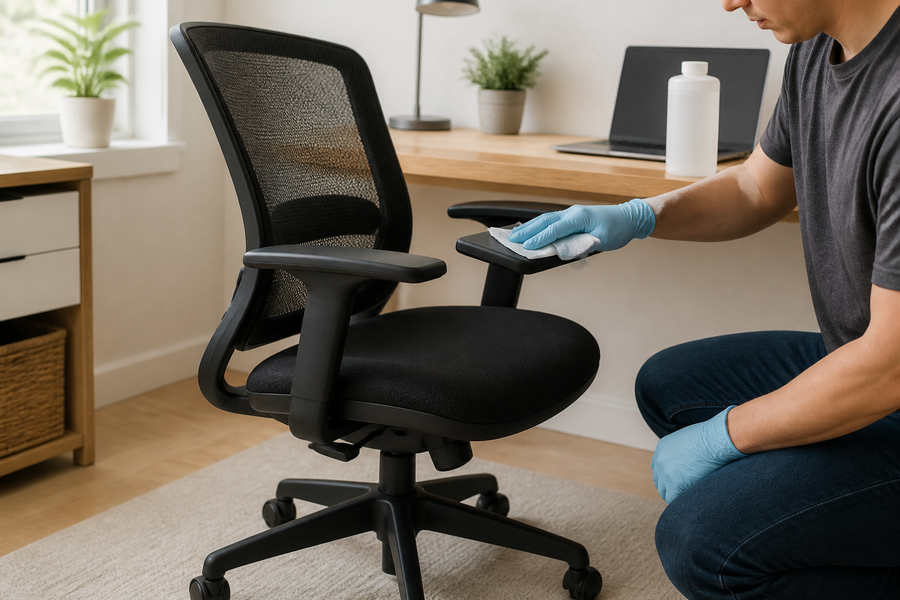
Vacuum loose debris and wipe hard surfaces with a suitable cleaner, then let the chair dry. Grit trapped under a blanket can rub against finishes during transit, while trapped moisture can mark upholstery or create odors. Photograph the chair from the front, back, and both sides. Those photos provide a useful condition record and a reference for control positions and removable parts.
- Lower the seat. Reducing the overall height makes the chair easier to control.
- Retract adjustable parts. Slide the seat back, lower the headrest and armrests, and return extendable lumbar or footrest parts to their compact positions when the model allows it.
- Bring the backrest near upright. Lock the recline only if the model provides a normal transport-stable position and its instructions permit it.
- Remove loose accessories. Take off cushions, clip-on hangers, and other items that could fall during handling.
- Inspect the chair. Look for loose fasteners, cracked base legs, damaged casters, or an already-wobbly connection. Moving is not the time to discover that the chair cannot be lifted safely.
If the chair feels unusually heavy or awkward, get a second person or use suitable moving equipment. OSHA’s material-handling guidance emphasizes planning the lift, keeping loads close, avoiding twisting, and using help or mechanical means for heavy or bulky objects. An office chair’s shape can make it awkward even when its listed weight looks manageable.
Remove Only Parts the Model Is Designed to Release
Disassembly is a space-saving decision, not a required first step. Start with the OdinLake assembly page or the manufacturer’s current manual for the exact chair. A model may allow the headrest, backrest, or armrests to be removed with ordinary fasteners, while another model integrates those parts into the frame or routes controls through them.
Use reverse assembly only where the manual supports it
Before loosening anything, photograph the connection and note which side faces forward. Place each group of bolts, washers, and spacers in a labeled bag, and keep it with the corresponding padded part. If two fasteners look similar but differ in length, record their original positions rather than assuming they are interchangeable.
Do not open the tilt mechanism, puncture or heat a gas lift, or use striking and gripping tools on the cylinder simply to make the chair fit a car. A pressure-fitted cylinder can be difficult to remove after use, and improvised force can damage the cylinder, seat mechanism, or base. If the chair will not fit without cylinder removal, ask the manufacturer or a qualified furniture technician for model-specific guidance—or use a larger vehicle.
Wrap the Chair Without Crushing Mesh or Controls
Useful supplies include a clean moving blanket, stretch wrap, corrugated cardboard, soft foam or bubble wrap, reusable straps, labeled hardware bags, and gloves with a reliable grip. Keep packing tape on the protective material, not directly on mesh, fabric, coated metal, plastic, leather, or polyurethane pads.
Protect the Backrest, Armrests, and Controls

Pad the outer corners of the backrest, armrest tops and supports, exposed frame edges, headrest, and control paddles. Use cardboard over hard contact points before adding the blanket. The padding should stop impacts without pulling mesh out of shape or holding a lever under constant pressure.
Wrap the seat and backrest with a clean blanket, then use stretch wrap around the blanket to keep it closed. Do not cinch the wrap so tightly that it compresses mesh, foam, lumbar components, or cable-operated controls. A secure package should resist slipping when gently handled, not deform the chair.
Immobilize the Base and Casters
Casters are useful on the floor and troublesome in a vehicle. If the manual allows easy caster removal, bag and label them. Otherwise, wrap the five-star base and use cardboard or wheel chocks to prevent rolling. Do not bind the casters by threading a strap through fragile wheel forks or pulling the base out of alignment.
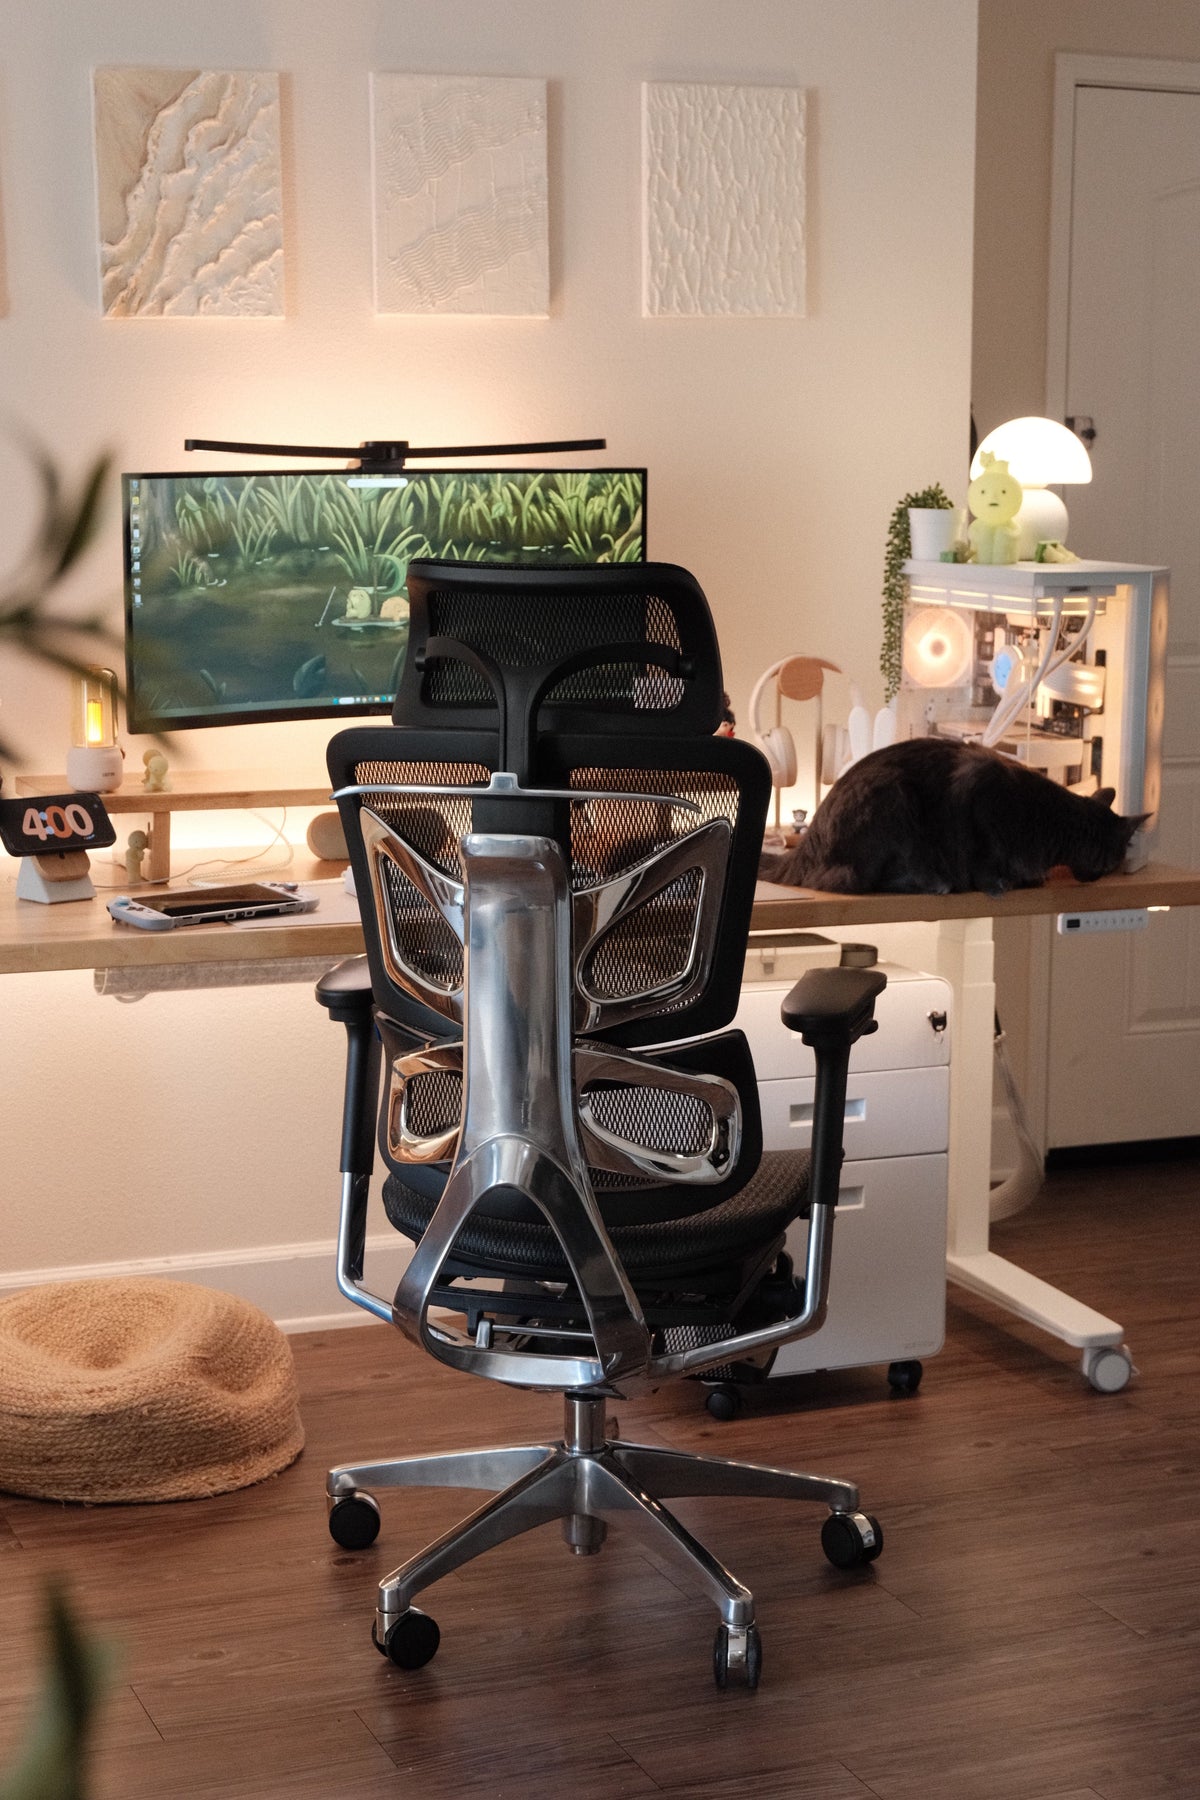
The base and the rear frame are also the parts most likely to touch a doorway or neighboring cargo. The selected detail image shows the visible rear structure of an OdinLake O3; use it to identify contact points that need padding, not as a disassembly map for a different chair.
Load an Office Chair Into a Car
Clear the cargo area before bringing the chair outside. Fold vehicle seats only as the vehicle manual permits, protect interior trim, and keep the driver’s mirrors, controls, and view unobstructed. Never place an unsecured chair in a passenger position or where its base can interfere with the driver.
- Open the largest suitable door or hatch and confirm the measured orientation.
- Use two people if the chair is bulky: one supports the seat and main frame while the other guides the base through the opening.
- Lift from stable structural areas identified by the manual. Do not lift by the headrest, arm pads, adjustment levers, mesh, or casters.
- Keep the chair upright when there is enough height. If it must travel on its side, place it on a thick padded surface so the load rests on a stable frame or seat structure—not on an armrest, headrest, lumbar control, or protruding paddle.
- Use vehicle-rated straps or the cargo-management system to stop forward, rearward, and sideways movement. Do not route a strap across unsupported mesh or a moving control.
- Close every door or hatch fully and check that the chair does not contact glass.
The Washington State Department of Ecology advises securing large cargo even for short trips and checking whether it could slide, shift, or move during sudden braking, bumps, and turns. Apply that test inside the vehicle too: if the chair can roll, tip, swivel into glass, or move toward an occupant, it is not ready for the road.
Secure the Chair in a Moving Truck
A moving truck offers more room but also more opportunity for an unrestrained chair to gain momentum. Place the wrapped chair upright against a solid cargo wall when possible. Immobilize the casters, then restrain the main frame with suitable straps attached to the truck’s approved tie-down points. Recheck the chair after adjacent boxes and furniture are loaded.
Do not stack heavy boxes on the seat, suspend the chair by an armrest, or wedge a rigid object against mesh. Keep metal bases and protruding parts from touching finished furniture. When moving several chairs, label each chair and its hardware, keep matched parts together, and leave a stable unloading sequence instead of building an interlocked pile.
Unload, Reassemble, and Test Before Sitting
Remove nearby cargo before releasing the chair’s restraints. Have one person stabilize the chair while another removes straps, because a compressed blanket or turned caster can change its balance. Carry the chair along the cleared route and unwrap it on a clean, level surface.
- Inspect the base, casters, gas lift, seat plate, backrest connections, arm supports, and controls for visible damage.
- Reinstall approved removable parts in the order and orientation shown in the model manual.
- Tighten fasteners evenly to the manufacturer’s instruction; do not add unapproved thread locker or substitute hardware.
- With the chair empty, test caster rotation, swivel, height adjustment, recline, and locks.
- Sit down gradually on a flat floor and check for new movement, noise, or control failure.
If the chair rocks after the move, stop using it until the source is identified. The OdinLake guide to checking a wobbly office chair explains how to distinguish a floor or caster problem from a loose or damaged connection. For model-specific damage, missing hardware, or uncertain reassembly, contact OdinLake support before forcing a part.
Common Moving Mistakes That Damage Office Chairs
- Measuring the cargo floor but not the opening. The chair reaches the vehicle and cannot pass through the door or hatch.
- Using an armrest as a handle. Adjustable armrests are support surfaces, not guaranteed lifting points.
- Taping directly to the chair. Adhesive can mark fabric, mesh, coatings, or soft pads.
- Compressing the wrap too tightly. The package looks neat but places constant pressure on mesh or controls.
- Removing the cylinder without a model-specific reason. The difficult connection creates more risk than space savings.
- Leaving the casters free. The chair rolls or pivots when the vehicle changes direction.
- Skipping the post-move test. A loose fastener or damaged wheel is discovered only after someone sits down.
Frequently Asked Questions
Can an office chair fit in a car?
Many office chairs fit in a hatchback, SUV, van, or some sedans, but there is no universal answer. Measure the chair at its lowest and most compact settings, then compare its width, height, and depth with the actual door or hatch opening and the secured cargo space. If it is close, test with a tape or cardboard template before lifting.
Should I disassemble an office chair before moving it?
Not if it fits safely while assembled. Keeping the chair intact avoids loose hardware and reassembly errors. Remove only the model-approved parts needed to clear the route or vehicle, and follow the current manufacturer instructions.
Can I lay an office chair on its side for transport?
Yes, when upright transport is not possible and the chair is fully padded and immobilized. Position it so a stable frame or seat structure carries the load; do not rest it on an armrest, headrest, mesh panel, lumbar control, or adjustment lever. Check that the base cannot strike glass or an occupant if the vehicle stops suddenly.
Can I remove the gas cylinder to make the chair fit?
Only when the exact model’s instructions or manufacturer support confirms a safe removal method. Gas cylinders are pressure-fitted components and may be difficult to separate after use. Do not puncture, heat, strike, or improvise a removal simply for transport; a larger vehicle is often the safer choice.
How do I keep office chair wheels from rolling in a moving truck?
Remove the casters only if the model permits easy removal; otherwise pad the base and block or chock the wheels. Then restrain the main chair frame to approved cargo points. Do not rely on a recline lock or a piece of tape around the wheels to control the whole chair.
What should I do if the chair wobbles after the move?
Stop using it and inspect it on a hard, level floor. Check for a displaced caster, loose fastener, cracked base, bent connection, or incorrectly reinstalled part. If the source is not obvious or a structural component appears damaged, contact the manufacturer or a qualified technician rather than testing it under full body weight.