A floor-safe troubleshooting method for identifying why a chair mat slides, choosing a compatible fix, and verifying that it stays put during real work.
The right ergonomic setup should adapt to your body, support frequent movement, and stay comfortable through a full workday.
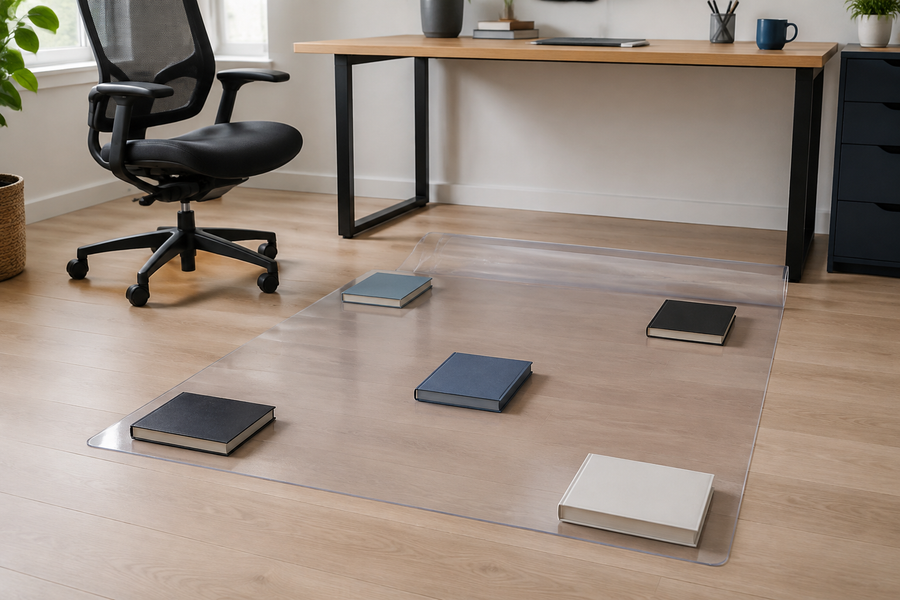
To keep an office chair mat from moving, first remove the chair, identify whether the whole mat is sliding or only an edge is lifting, and clean and fully dry both sides of the floor–mat interface. Confirm that the mat is designed for the exact floor beneath it, orient it as the manufacturer specifies, and center it under the chair’s complete rolling path. Then repeat the same short work test and measure whether the mat actually moved.
Do not begin with tape, glue, carpet spikes, or a generic “non-slip” pad. A material that grips one surface can stain, imprint, scratch, or bind incorrectly to another. If the clean, correctly oriented mat still travels, the next step depends on the floor, the mat backing, and the way the movement occurs.
Identify What Is Moving Before You Secure Anything
“The chair mat moves” can describe several different failures. Watch the mat while another person rolls the unoccupied chair slowly, or compare its position before and after a normal seated task. Do not put hands or feet near moving casters during the check.
| What you observe | Likely area to inspect | First reversible check |
|---|---|---|
| The entire mat translates in one direction | Dirt, moisture, incompatible backing, or repeated caster force | Remove it, clean and dry both surfaces, then reset its position |
| The center stays put but an edge walks, lifts, or buckles | Curl, damage, insufficient stiffness, or an uneven layer below | Stop using the lifted area and inspect the mat on a flat surface |
| A rug or loose carpet layer moves with the mat | The lower floor–rug interface, not just the chair mat | Remove the chair and check each layer separately |
| The mat stays put but a caster repeatedly leaves it | Mat size, shape, or placement | Map the occupied rolling path before buying any gripper |
| The chair rolls when you do not intend it to, but the mat stays still | Caster behavior, floor slope, or the way the user pushes off | Diagnose the chair rather than fastening the mat |
If the mat is cracked, has a sharp corner, presents a lifted trip edge, or has liquid beneath it, take the chair out of service until the condition is corrected. In workplace settings, OSHA’s walking-working surfaces rule requires surfaces to be kept clean, orderly, and as dry as feasible, with hazardous conditions corrected or repaired. That rule is not a chair-mat installation manual, but it is a useful reason not to normalize a moving or raised edge in a walking path.
Reset the Floor–Mat Interface
A reset removes the two most common unknowns—contamination and orientation—without adding a new material. Before lifting the mat, record its current location. Measure the gap from one corner to a fixed reference such as a baseboard or desk leg that cannot roll. A measurement is more reliable than a piece of tape on a finished floor.
- Remove the chair and loose objects. Lift the mat according to its instructions; do not drag grit across the floor.
- Identify both products. Record the floor type and finish, the mat model if known, and which side of the mat is meant to face down. A clear mat can still have two functionally different surfaces.
- Inspect the underside. Look for embedded grit, worn texture, missing cleats, residue, local dents, cracks, or a permanent curl. Inspect the floor for debris, finish changes, and moisture.
- Clean only by the applicable instructions. Use the cleaner and method allowed by the floor maker and the mat maker. Do not assume that a solvent, oil, polish, or household coating is safe.
- Let both surfaces dry completely. Moisture and cleaner residue can change friction and can also be trapped under a nonporous mat. Mohawk’s wood-floor care guidance, for example, tells owners to allow the floor to dry completely before replacing mats.
- Return the mat in the correct orientation. A smooth hard-floor mat and a cleated carpet mat are not interchangeable merely because their dimensions match.
- Set the reference again. Record the starting gaps, place the chair on the mat, and keep every caster away from the edge before sitting.
If a new mat will not lie flat, follow its exact acclimation and unrolling directions. This guide does not recommend improvised heat, heavy furniture, or adhesive as a way to flatten a curled product. A persistent lifted edge is a different problem from whole-mat sliding and may require replacement or manufacturer support.
Match the Fix to the Surface Below
The useful question is not “What is the strongest gripper?” It is “Which complete interface is approved: caster to mat, mat to floor covering, and floor covering to subfloor?” The answer changes with the surface.
| Surface below the mat | What to confirm | What to avoid until approved |
|---|---|---|
| Sealed wood, laminate, tile, or other hard floor | A hard-floor-rated, flat backing that will not scratch or discolor the exact finish | Carpet cleats, gritty pads, permanent adhesive, and unknown rubber or latex compounds |
| Vinyl or resilient flooring | Written backing compatibility from the flooring maker | Assuming every rubber, latex, or “non-slip” backing is non-staining |
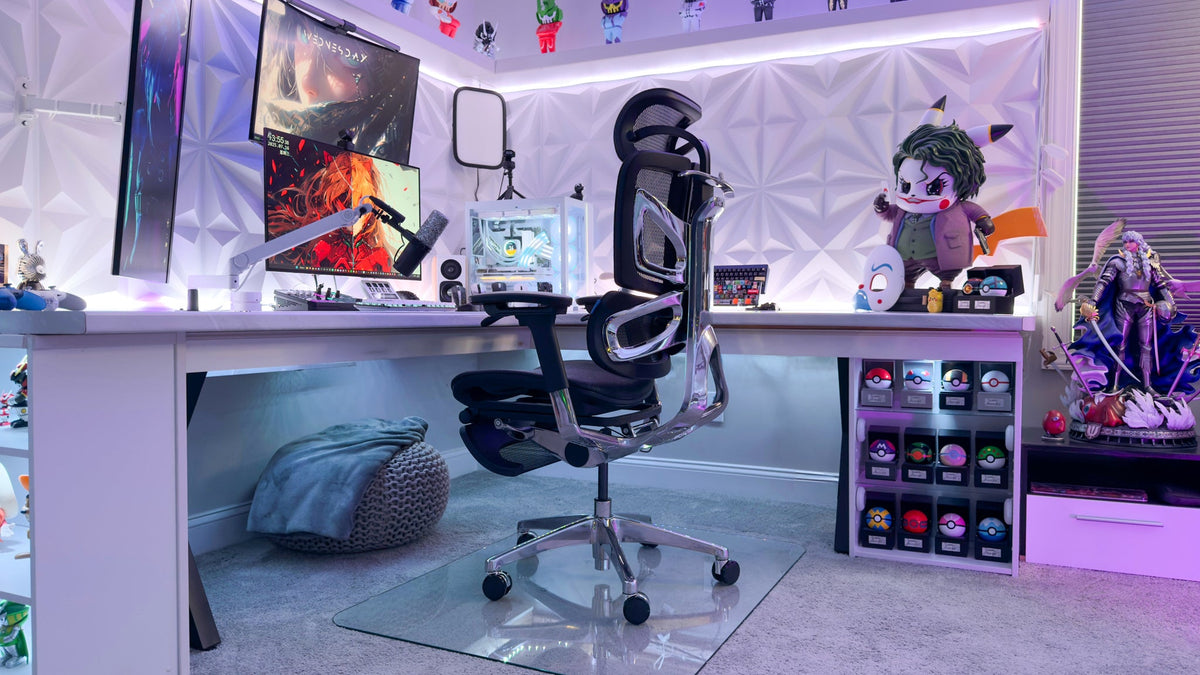
| Low-, medium-, or high-pile carpet | A mat whose construction, stiffness, and anchoring side are rated for that carpet thickness | A thin hard-floor mat that dishes, flexes, or walks under caster load |
| Area rug or loose carpet tile | Whether the rug or tile itself is stable and whether stacking a chair mat over it is permitted | Fastening only the top layer while the layer below continues to move |
Flooring care instructions illustrate why a universal recommendation is unreliable. Armstrong Flooring’s residential FAQ recommends non-staining vinyl- or polypropylene-backed mats for its luxury vinyl and warns that rubber or latex backing can cause permanent staining. Shaw’s vinyl care guidance similarly advises mats without latex or rubber backings to reduce possible discoloration. These are manufacturer-specific examples, not claims about every floor. Check the instructions and warranty for the exact floor in the room.
For carpet, some purpose-built protectors use directional cleats to reduce shifting; ES Robbins describes that design on its carpet-protector range. Cleats belong only on a compatible carpet installation. Pointed or textured carpet backings should never be turned against wood, vinyl, laminate, or another hard finish.
Size and Position the Mat From the Occupied Caster Path
A mat can appear centered under an empty chair yet receive a repeated sideways push during real work. The force is especially noticeable when one or two casters cross an edge and the user rolls back onto the mat. Before adding grip, check whether placement or coverage is creating that cycle.
- Put the mat in its intended position and measure its starting location from two fixed references.
- Place the chair so all casters have a clear margin inside the mat. Sit normally; the chair base spreads farther than the seat.
- Roll to the keyboard, the usual side reach, the farthest comfortable backward position, and the point where you enter or leave the chair.
- Have another person observe from a safe distance, or check after each position. Record where the outermost caster approaches or crosses an edge.
- Reposition the mat so its useful area covers the actual travel zone, then repeat the same task.
If the normal caster path cannot stay inside the mat, the mat is too small or the workspace layout asks the chair to travel in the wrong direction. A gripper cannot add missing surface area. Choose a shape and size that covers the occupied path while keeping its edges out of doorways and regular walking routes. For wood-floor decisions beyond movement control, see OdinLake’s separate guide to protecting hardwood floors from an office chair.
Use a Gripper, Underlay, or Tape Only After a Compatibility Check
If the correct mat still shifts on a clean, dry, stable surface, consult both manufacturers before adding a third material. Product labels such as “rug safe,” “floor safe,” or “residue free” do not identify every finish, coating, curing condition, or chair-mat plastic.
Use this decision sequence:
- Ask the mat maker what can touch its underside. Confirm whether a separate underlay changes its warranty, ventilation, flatness, or load behavior.
- Ask the floor maker what can remain in contact with the finish. Name the proposed pad or adhesive material, not just the brand’s general description.
- Prefer a removable, purpose-rated, full-contact solution. It should lie flat and should not create isolated ridges or soft spots under the casters.
- Inspect a test area as directed. If the floor maker permits a hidden-area test, follow its duration and cleaning instructions. A short test cannot prove long-term color stability.
- Retest the complete assembly. Check movement, edge height, floor condition, caster travel, and any new odor or residue.
Do not use construction adhesive, silicone caulk, nails, screws, hook-and-loop strips, improvised carpet spikes, or an unknown spray coating to immobilize a chair mat. Double-sided tape is also not a neutral default: its adhesive and removal method must be explicitly compatible with both surfaces. If the makers cannot confirm compatibility, replacing the mat with a floor-specific model is the more controlled option.
Run a Repeatable Movement Test
“It feels better” is not enough to show that the fix held. Use the same task, duration, references, and chair position before and after the change.
- With the empty mat correctly placed, measure from two mat corners to fixed references. Record both gaps.
- Place the chair fully on the mat and sit without jumping or dropping into the seat.
- Work for five minutes using the keyboard, mouse, side reach, and backward roll that previously caused movement.
- Stand and return once using your normal controlled movement. Do not deliberately stress the mat.
- Remove the chair, remeasure both gaps, and inspect every edge and the exposed floor.
The setup passes this short functional check when the mat remains within the measurement tolerance you can reliably reproduce, lies flat, keeps all casters within its usable area, and leaves no visible finish change, residue, buckling, or new obstruction. Repeat the inspection after several normal work sessions because some material interactions and gradual travel do not appear in five minutes.
If the mat moves again, change only one variable at a time. Cleaning, repositioning, adding an underlay, and changing casters simultaneously makes it impossible to identify the actual cause. If the chair itself needs attention, clean and inspect the wheels using OdinLake’s guide to cleaning office chair wheels; damaged or jammed casters can apply irregular force even though they are not the mat’s backing.
Replace the Mat Instead of Trying to Anchor It
Fastening is not a repair for structural or compatibility problems. Replace the mat, or ask its manufacturer for a model-specific remedy, when any of these conditions apply:
- It is labeled for a different floor type or carpet thickness.
- It is too small to contain the occupied caster path.
- It cracks, dishes, flexes deeply, or develops a persistent curled edge.
- Its cleats or backing are worn, missing, contaminated, or contacting a surface they can damage.
- The floor maker prohibits the mat material, backing, pad, or adhesive.
- A loose rug, carpet tile, damaged floor section, or moisture problem below the mat has not been corrected.
- The edge must sit in a doorway, aisle, or other location where it remains a trip or access problem.
After replacement, keep the interface clean and dry, inspect the perimeter during normal floor care, and recheck its reference position after furniture is moved. The practical objective is not maximum adhesion. It is a flat, compatible, inspectable assembly that stays in its intended location during the work the chair actually performs.
Frequently Asked Questions
How do I keep a chair mat from sliding on hardwood floors?
Use a mat explicitly rated for the exact hard-floor finish, clean and fully dry the floor and mat, orient the correct side downward, and size it for the complete occupied caster path. Add a pad or tape only if both the flooring and mat manufacturers approve the specific material. Never place carpet cleats against hardwood.
What can I put under a chair mat to keep it from sliding?
Only a thin, flat underlay that is approved for both the chair mat and the floor below. The right material varies by wood finish, vinyl, laminate, tile, and carpet. Generic rubber, latex, adhesive mesh, and rug pads can react with some floors, so “non-slip” alone is not an adequate compatibility specification.
Why does my chair mat move on carpet?
Possible causes include a mat rated for the wrong carpet pile, inadequate stiffness, worn or unsuitable anchoring texture, debris, a caster repeatedly crossing the edge, or movement in the carpet or rug layer itself. Separate the layers and observe which interface moves before choosing a remedy.
Can I use a rug gripper under an office chair mat?
Only when the gripper maker, mat maker, and flooring maker permit that combination. A rug gripper may be too soft under caster loads, create ridges, trap moisture, or discolor a finish. Confirm material compatibility and make sure the completed assembly remains flat.
Will double-sided tape damage the floor?
It can. Risk depends on the adhesive, dwell time, floor material, finish, temperature, and removal method. Do not rely on a general “residue-free” claim. Obtain approval for the exact floor and mat, or use a compatible floor-specific mat that does not require adhesive.
How can I tell whether the mat moved?
Measure from two mat corners to fixed references before the test, complete the same five-minute seated task, then measure again. Also inspect for lifted edges, buckling, residue, finish changes, and caster crossings. Photos can support the record, but repeated measurements are easier to compare than visual memory alone.