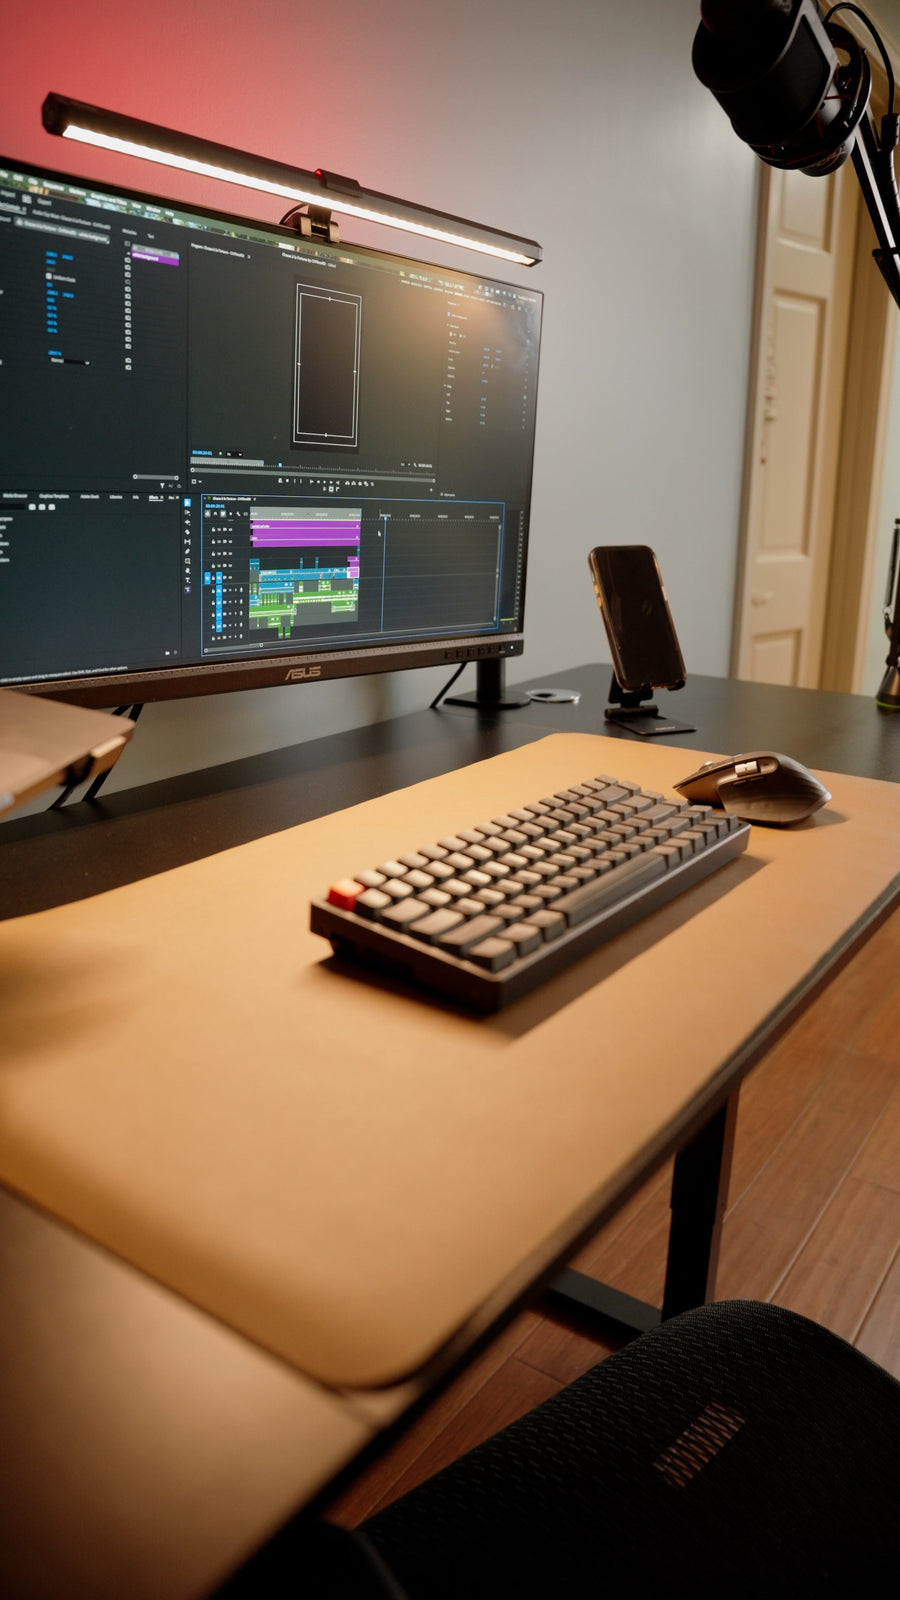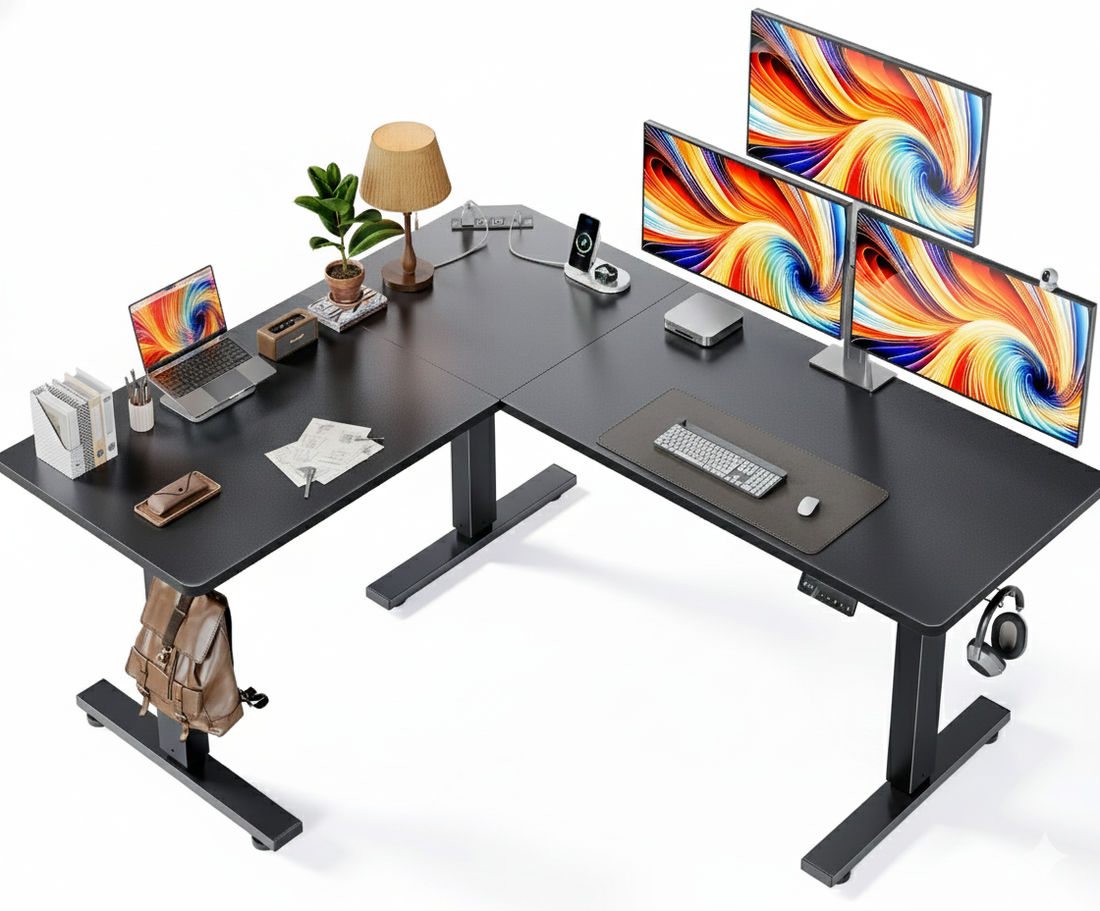
A task-first layout method for choosing the primary wing, placing monitors and reach zones, assigning the return, and fitting the room.
The right ergonomic setup should adapt to your body, support frequent movement, and stay comfortable through a full workday.
Arrange an L-shaped desk by assigning one surface to your primary task and the other to secondary work, then place your chair, keyboard, and main monitor so you face that primary surface without twisting. Keep high-frequency items close, reserve the inside corner for equipment that benefits from extra depth, and test chair movement, doors, windows, cables, and—on a standing model—the full lifting path.
The extra surface is useful only when it reduces task switching and reaching. If every device is spread evenly across the “L,” the result can be more neck rotation, more clutter, and less usable room.
Choose the Primary Wing From the Work, Not the Wall
List the tasks you perform for more than an hour at a time. The surface that supports the most frequent task becomes the primary wing. It needs the best chair approach, monitor position, light control, and cable route.
- Computer-first setup: primary monitor, keyboard, and pointer on one wing; writing, devices, or occasional equipment on the return.
- Paper-and-screen workflow: screen and keyboard on the primary wing; reference documents or drawing tools on the return at a similar height.
- Creative or technical work: central input devices and primary display in front; secondary display, control surface, or sampling tools on the side that matches the workflow.
- Shared room: keep the primary wing away from circulation and place lower-frequency storage toward the outer end of the return.
A reversible desk can place the return on either side. Choose from the door swing, dominant workflow, window glare, available wall outlets, and chair exit path—not automatically from handedness.
Test the Chair Path Before Placing Equipment
Position A: centered on the long wing
This is often the cleanest choice for computer work because the monitor and keyboard can sit directly ahead while the return becomes a secondary surface. It also avoids burying the user in the inside corner.
Position B: centered on the short return
This can work when the return supports the main task and provides enough depth and leg clearance. Confirm that the other wing does not block the chair, elbow, or preferred entry side.
Position C: facing the inside corner
The corner may provide useful monitor distance and space for multiple displays, but it is not automatically ergonomic. Sit there with the real chair: the keyboard must remain directly in front, both forearms must fit on one working edge, and your knees and feet must have unobstructed space. Do not bridge two edges with the keyboard if it creates wrist contact or a permanent torso twist.
Use removable tape to mark the keyboard, monitor, and chair centerline for each position. Spend several minutes typing and reaching before committing to monitor arms, cable clips, or wall placement.
Organize Reach by Frequency
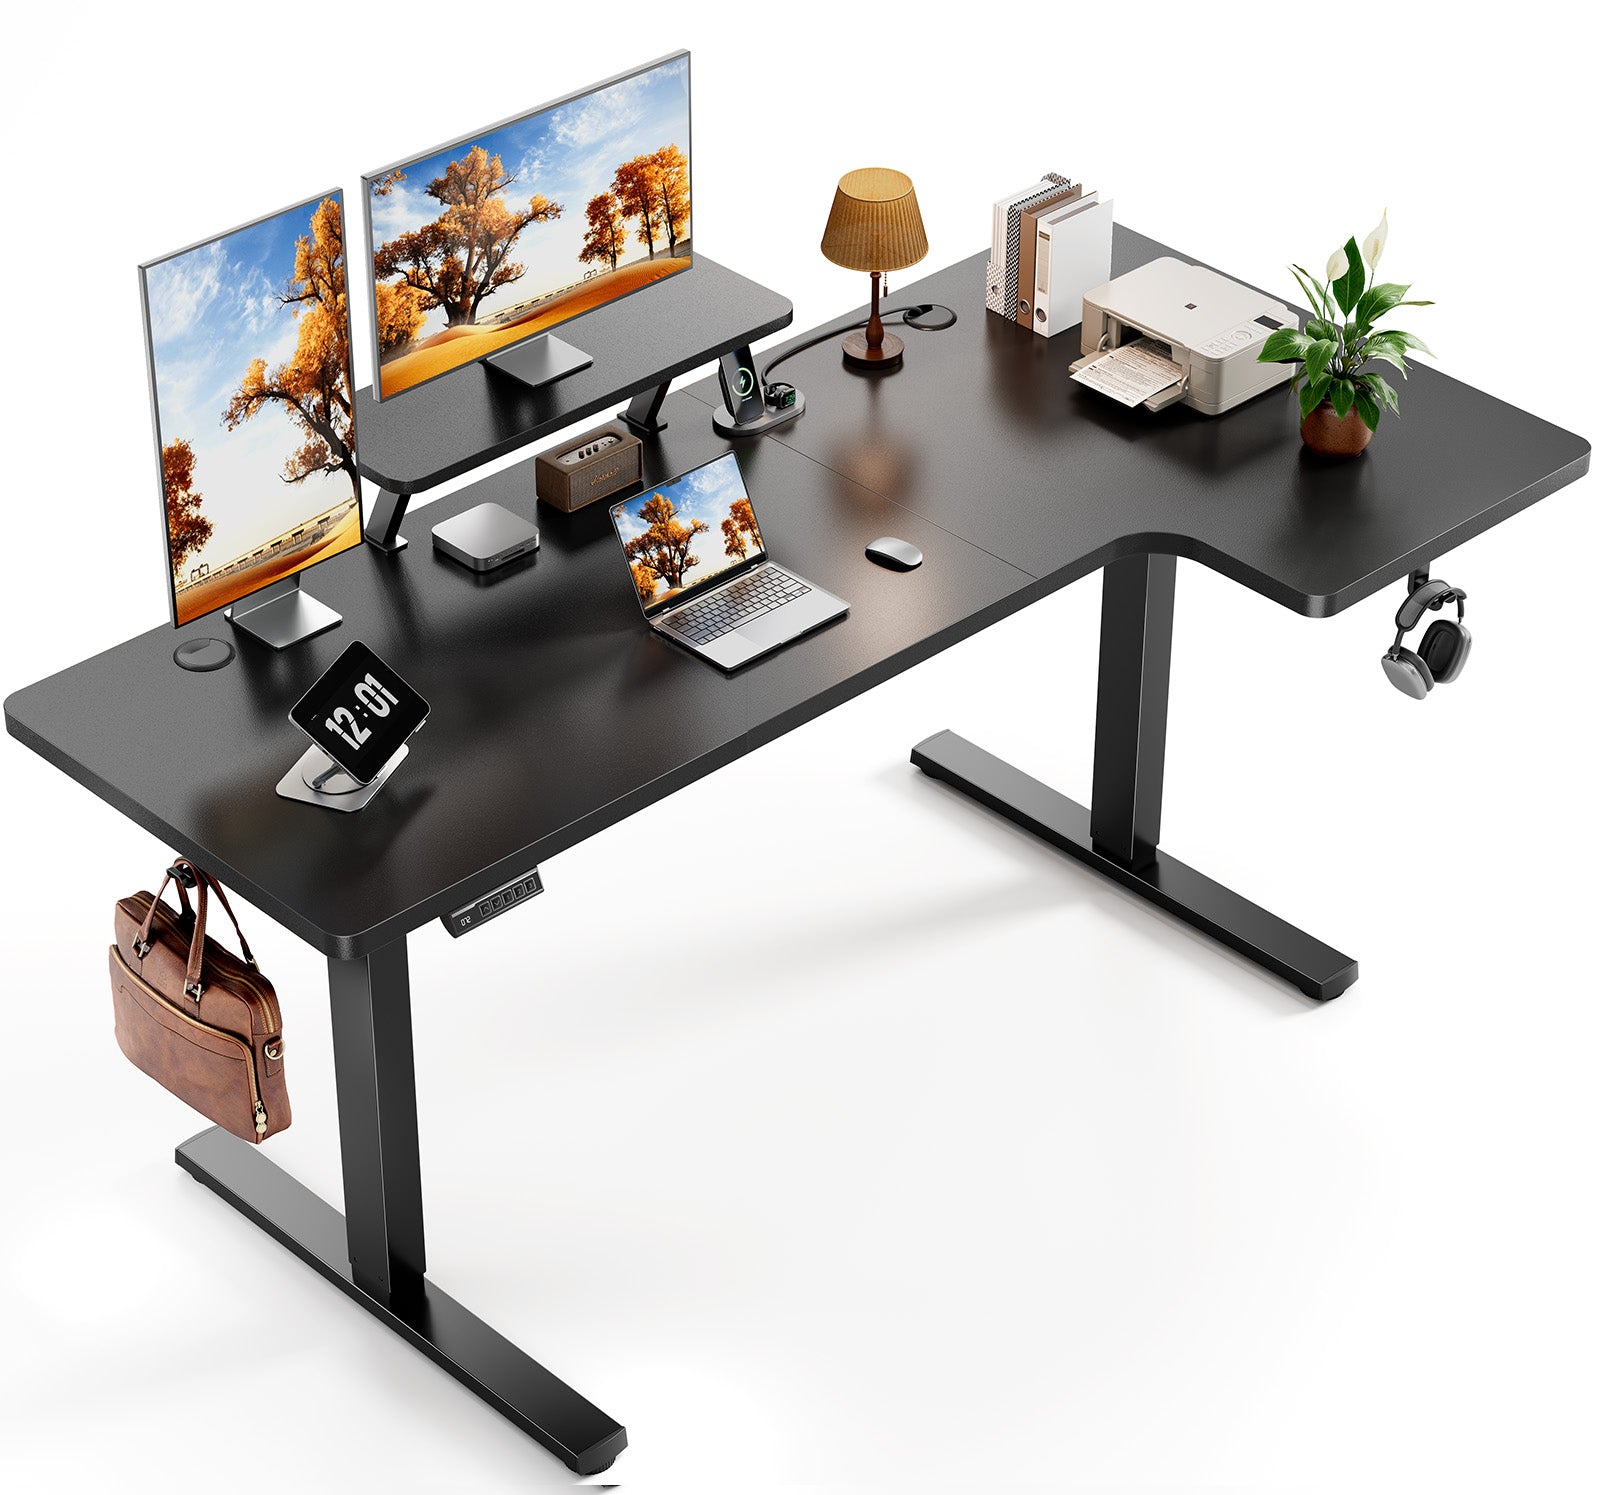
| Zone | What belongs there | Typical L-shaped desk location |
|---|---|---|
| Primary reach | Keyboard, pointer, stylus, and items used continuously | Directly in front on the chosen primary wing |
| Secondary reach | Phone, notebook, reference material, docking controls | Near the inside corner or the first portion of the return |
| Occasional reach | Printer, archive trays, camera gear, decor, or chargers | Far end of the return or separate storage |
OSHA recommends keeping frequently used devices in the primary work zone and notes that a corner can provide additional monitor depth. Its current desk workstation guidance is a useful check: the screen, keyboard, and pointer should not force an awkward reach or sustained body turn.
Place the Monitor and Input Devices as One System
Center the keyboard and primary monitor on the same body line. The pointer should sit next to the keyboard rather than on the far side of the corner seam. Keep the screen far enough away for comfortable reading without leaning; OSHA provides a general preferred viewing distance of 20–40 inches (50–100 cm).
For dual monitors, decide whether one is primary or both are used equally:
- With one primary display, place it directly ahead and angle the secondary screen toward you.
- With two equally used displays, bring their inner edges together near the body centerline and turn the chair—not only the neck—when changing focus for a longer task.
- Use the inside corner for monitor depth only if the keyboard can remain on one stable, comfortable working edge.
- Use a compatible monitor arm when it improves depth or alignment, but verify the desktop’s permitted clamp area and load.
Set monitor height, distance, and primary-screen alignment from the seated or standing position you actually use. OSHA's monitor guidance supports centering the primary display and avoiding repeated head rotation; verify the arrangement while typing, not only while looking at the empty desk.
Turn the Return Into a Real Workflow
A return should have a job. Choose one, then remove objects that do not support it.
Reference and writing return
Keep an open notebook, document holder, task light, and frequently referenced material near the corner. Store bulk files farther away. Leave enough clear space to rotate the chair instead of twisting from the waist.
Equipment return
Printers, audio interfaces, camera docks, and test devices need cable access, ventilation, and a stable load position. Check the desk’s rated capacity and keep heavy equipment distributed according to the product instructions. Do not block a standing desk’s control box, moving frame, or anti-collision path.
Meeting or secondary-computer return
Give the second setup its own keyboard and screen centerline if it is used for long periods. A laptop parked to the side is fine for brief reference work, but hours of head rotation turn a convenient surface into an awkward workstation.
Place the Desk in the Room
Before the final position, check the complete room rather than only the two wall lengths.
- Keep the chair and a person’s exit path clear of the door swing.
- Preserve access to outlets, vents, window controls, and storage.
- Avoid placing a bright window directly behind the monitor or in the user’s sightline when another orientation can control glare.
- Leave enough rear clearance for monitor arms, plugs, and cable bends.
- Confirm the feet, top, and return do not block a walkway or create a blind corner.
- For video calls, test the camera background and daylight at the time of day calls normally occur.
An L-shaped desk does not need to sit tightly in a room corner. Floating one wing can create a better chair approach and camera background, but all power and data cables must be secured away from walking paths.
Arrange an L-Shaped Standing Desk for Full Travel
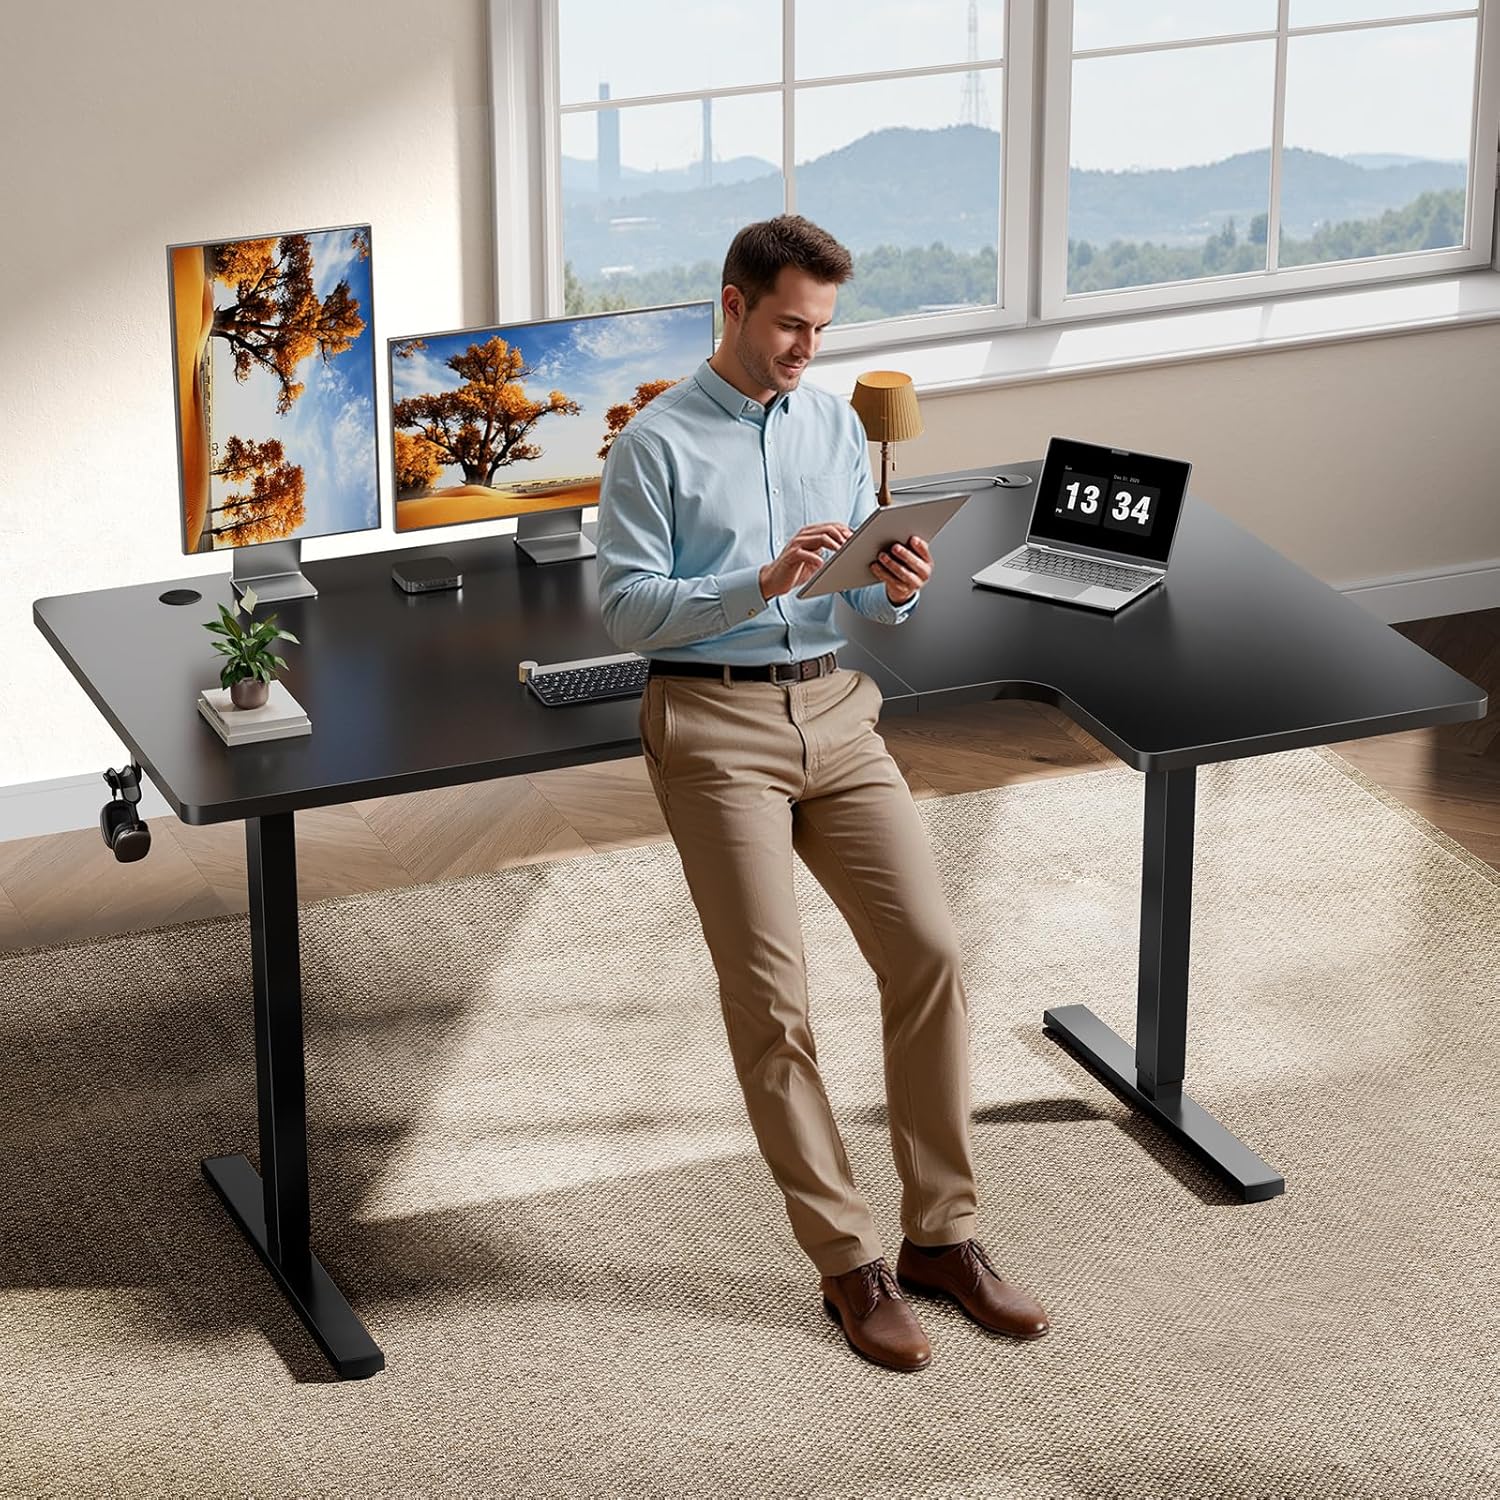
Every item on a motorized L-shaped desk must work at both sitting and standing height. The OdinLake S3 is one example of an L-shaped standing workstation; always use the current specifications and manual for the exact desk in front of you.
- Place the desk on stable, level contact and set up the primary work zone.
- Route monitor, computer, power, and accessory cables with enough slack for the full height range.
- Keep drawers, carts, shelves, windows, and wall-mounted items outside the complete movement path.
- Raise and lower the desk slowly while watching all three sides, both work surfaces, the inside corner, and every cable.
- Stop if one section contacts an obstacle, a cable tightens, or equipment becomes unstable.
- Save presets only after both the seated and standing arrangements pass the test.
Build one deliberate moving cable route instead of tying cords independently to both wings. If the L-shaped desk changes height, test the route at both endpoints and during travel. The remote-work setup guide provides a broader room-level check for lighting, movement space, and the chair–desk interface.
Run a Final Arrangement Check
- Type for two minutes with your back supported. Notice head turn, shoulder reach, and wrist contact.
- Use the most common item on the return three times. If you twist or overreach, move it closer or change chair position.
- Open the door, drawers, and nearby storage while the chair is pulled back.
- Check screen glare and task lighting.
- For a standing desk, run one full-travel test.
- Remove anything without a defined job and photograph the finished setup for future reassembly.
Frequently Asked Questions
Should I sit in the corner of an L-shaped desk?
Only if the keyboard, pointer, and primary monitor can remain directly in front with adequate legroom and no pressure from the corner edges. For many setups, sitting centered on one wing and using the return for secondary tasks is simpler.
Which side should the return be on?
Choose from workflow, door and chair clearance, window glare, outlets, and the desk’s reversible or fixed construction. A right-handed person does not automatically need a right-side return.
Where should monitors go on an L-shaped desk?
Place the primary monitor directly in front of the main keyboard position. The inside corner can provide depth for large or multiple displays, but only if it does not force the keyboard across a seam or make the user twist.
What should go on the short side of an L-shaped desk?
Give it one secondary purpose: paperwork, reference material, occasional equipment, a second computer, or meeting space. Keep high-frequency input devices on the primary wing unless the short side is deliberately chosen as the main workstation.
Can an L-shaped desk face into the room?
Yes. A floating orientation can improve room view, camera background, and chair access. Plan power and data routing so cables are protected and do not cross walkways.
How do I keep an L-shaped standing desk organized?
Assign each wing a task, keep frequent items in the primary reach zone, route cables as one moving system, and verify every item through the full height range. Remove equipment that has no regular job on either surface.