A room-and-equipment-first method for choosing standing desk width, depth, and height range without blocking movement or lift travel.
The right ergonomic setup should adapt to your body, support frequent movement, and stay comfortable through a full workday.
The right standing desk size is the smallest one that fits your real equipment and working tasks while still leaving enough room for your chair, legs, cables, and the desk’s full vertical travel. Do not choose from a width label alone. Measure the room, build the desktop around the items you actually use, confirm that the height range reaches both your seated and standing positions, and then test the moving footprint.
A 48-inch desk can be enough for a laptop or a compact single-monitor setup. The same desk can feel cramped with two displays, a tower, speakers, papers, or a large microphone arm. Likewise, a 72-inch top is not automatically better if it blocks a walkway or creates a cable route that cannot follow the desk upward. The decision is a fit problem, not a contest to buy the largest surface.
A Standing Desk Has Three Different Sizes
Product pages usually lead with desktop width and depth, but a sit-stand workstation occupies three different envelopes. You need all three to fit.
- Surface envelope: the width and depth available for screens, input devices, documents, and accessories.
- Floor envelope: the feet, legs, chair movement, PC tower, storage, and walking space around the desk.
- Travel envelope: the volume swept by the desktop, monitors, arms, cables, lamps, and other attached items as the desk rises and lowers.
This distinction explains why a top can fit along a wall but the completed workstation still fails. Baseboards may push the feet forward. A chair may block a door when pulled back. A monitor or microphone arm may meet a shelf at standing height. A power cable that reaches while seated may become taut halfway up.
Make a Five-Measurement Fit Card
Before comparing products, record five measurements on one page. They form a personal specification that is more useful than a generic “small, medium, or large” label.
- Usable wall width: measure between the nearest obstacles at desktop height. Include window trim, radiators, doors, built-ins, and any corner that prevents the top from sitting where you expect.
- Usable room depth: measure from the wall to the point where the chair and your normal walking path must remain clear. Place your current chair in working position, then pull it back as you would to stand up.
- Seated and standing keyboard heights: measure from the floor to the height where your keyboard can meet relaxed forearms in both positions. Wear the footwear or floor mat you normally use while standing.
- Equipment footprint: measure every item that must remain on the top, including the actual monitor stands or arm clamps, laptop dock, keyboard, mouse area, speakers, lamp base, documents, and charging devices.
- Vertical obstacles: measure shelves, windowsills, cabinets, sloped ceilings, wall lights, and cable endpoints that could limit the desk at its highest useful position.
Do not subtract an arbitrary clearance from the room and call the result finished. Instead, mark the intended desk outline on the floor with removable painter’s tape, position the chair and tower, and walk through a normal workday: sit down, roll back, reach storage, open the door, and move past the desk. The tape test exposes conflicts that a room sketch often misses.
Build the Desktop Around the Work, Not the Monitor Diagonal
Monitor size is stated diagonally, so it is not the same as the horizontal space the screen occupies. Two 27-inch monitors can also have different total widths because bezels, stands, angle, and orientation vary. Use a tape measure on the assembled equipment or use the manufacturer’s overall dimensions.
Find the usable width
Arrange the equipment on your current surface or on a taped rectangle. Measure from the leftmost required item to the rightmost required item. Then add the side access you need for your hands, frequently used objects, and safe separation from the edge.
For a centered single-monitor setup, the critical width may be the keyboard, mouse range, and any laptop beside the display. For two monitors, it may be the total screen span after the displays are angled toward the user. If a PC tower or speakers will stay on the top, include their full width and the space required for ventilation and cables. Do not count temporary overhang as a sizing strategy.
Find the usable depth
Depth has to hold two zones at once: a rear zone for the monitor or arm clamp, and a front zone for the keyboard, mouse, and forearms. The rear edge may also lose space to a cable tray, grommet, wall gap, or monitor arm. A desktop labeled 24 inches deep may therefore provide less than 24 inches of freely usable depth.
OSHA’s computer workstation evaluation asks whether there is enough room to place the monitor at a readable distance without leaning and notes that about 18 to 20 inches, or roughly arm’s length, is a general reference rather than a universal target. The correct depth depends on screen size, text size, vision, stand geometry, and input-device placement. If depth is the main uncertainty, use the separate computer desk depth measurement guide before selecting the top.
Separate total area from clear working area

A product’s width-by-depth figure describes the outer top, not the clear rectangle left after setup. Deduct anything that permanently claims space:
- monitor feet or rear arm clamps;
- built-in shelves, risers, or fixed desk controls;
- desktop towers, speakers, and large charging docks;
- lamp, microphone, camera, or document-arm bases;
- grommets and cable openings that cannot be covered;
- the front area you intentionally keep clear for forearm support or paper work.
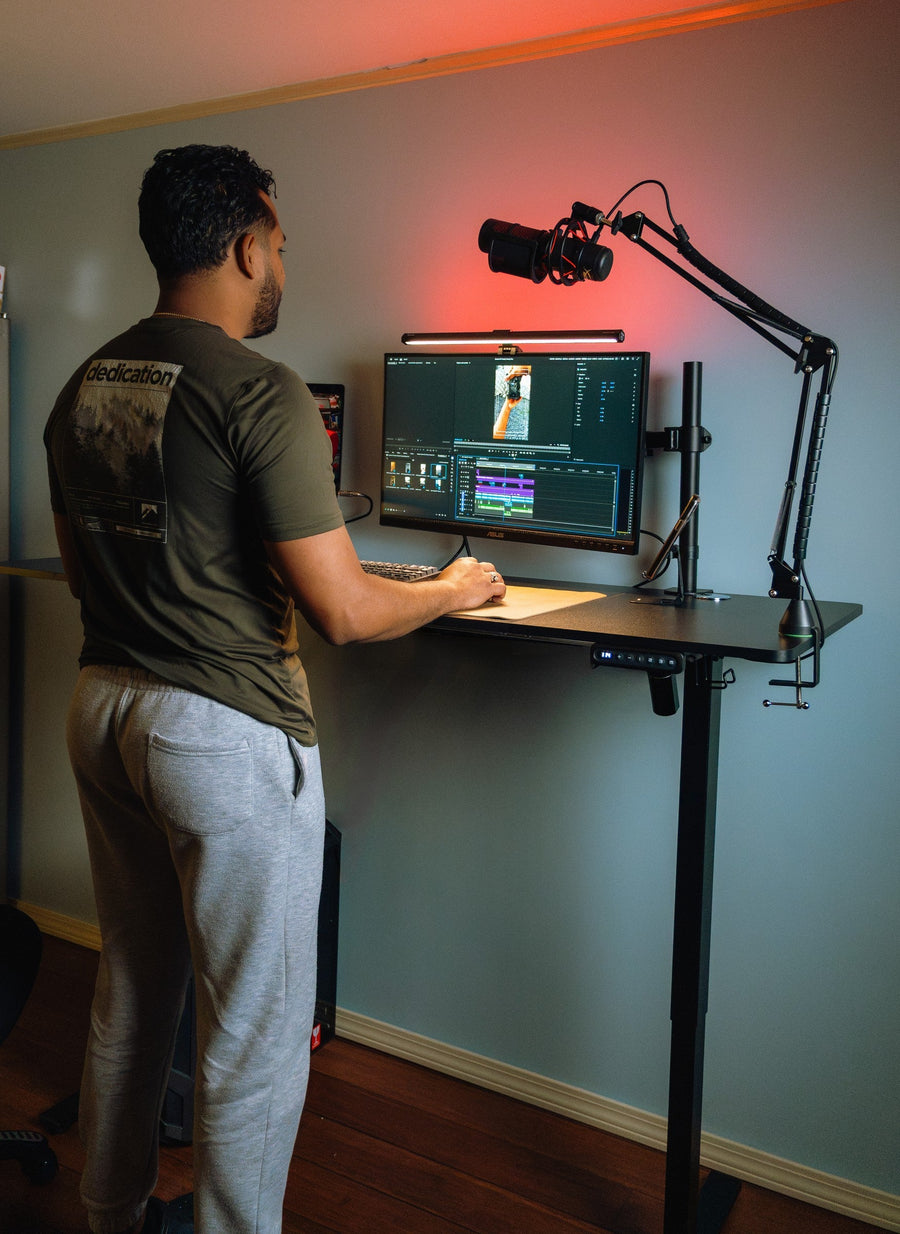
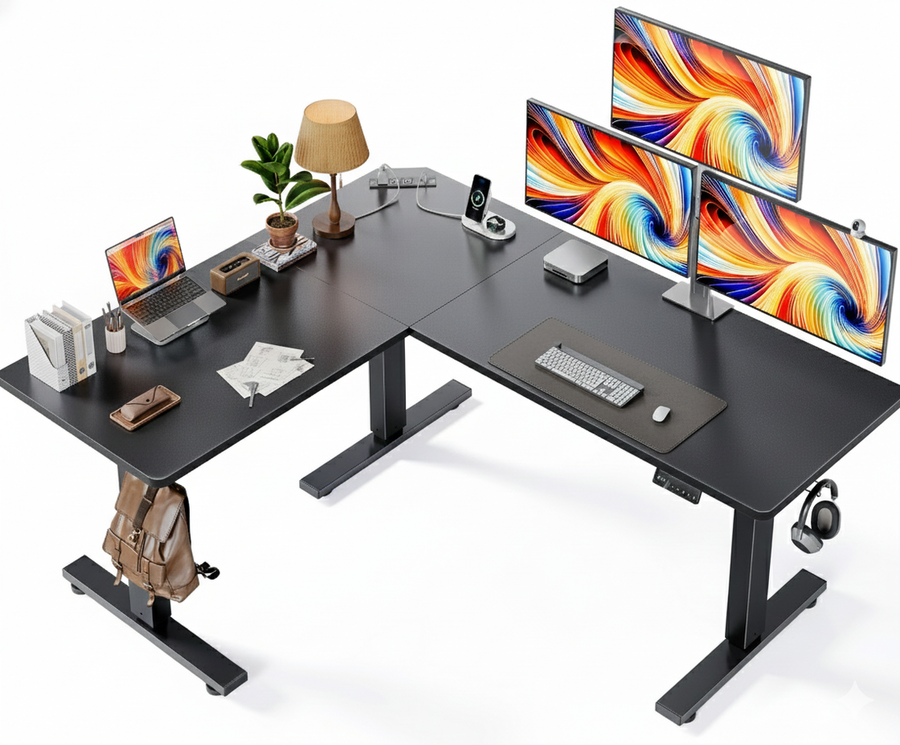
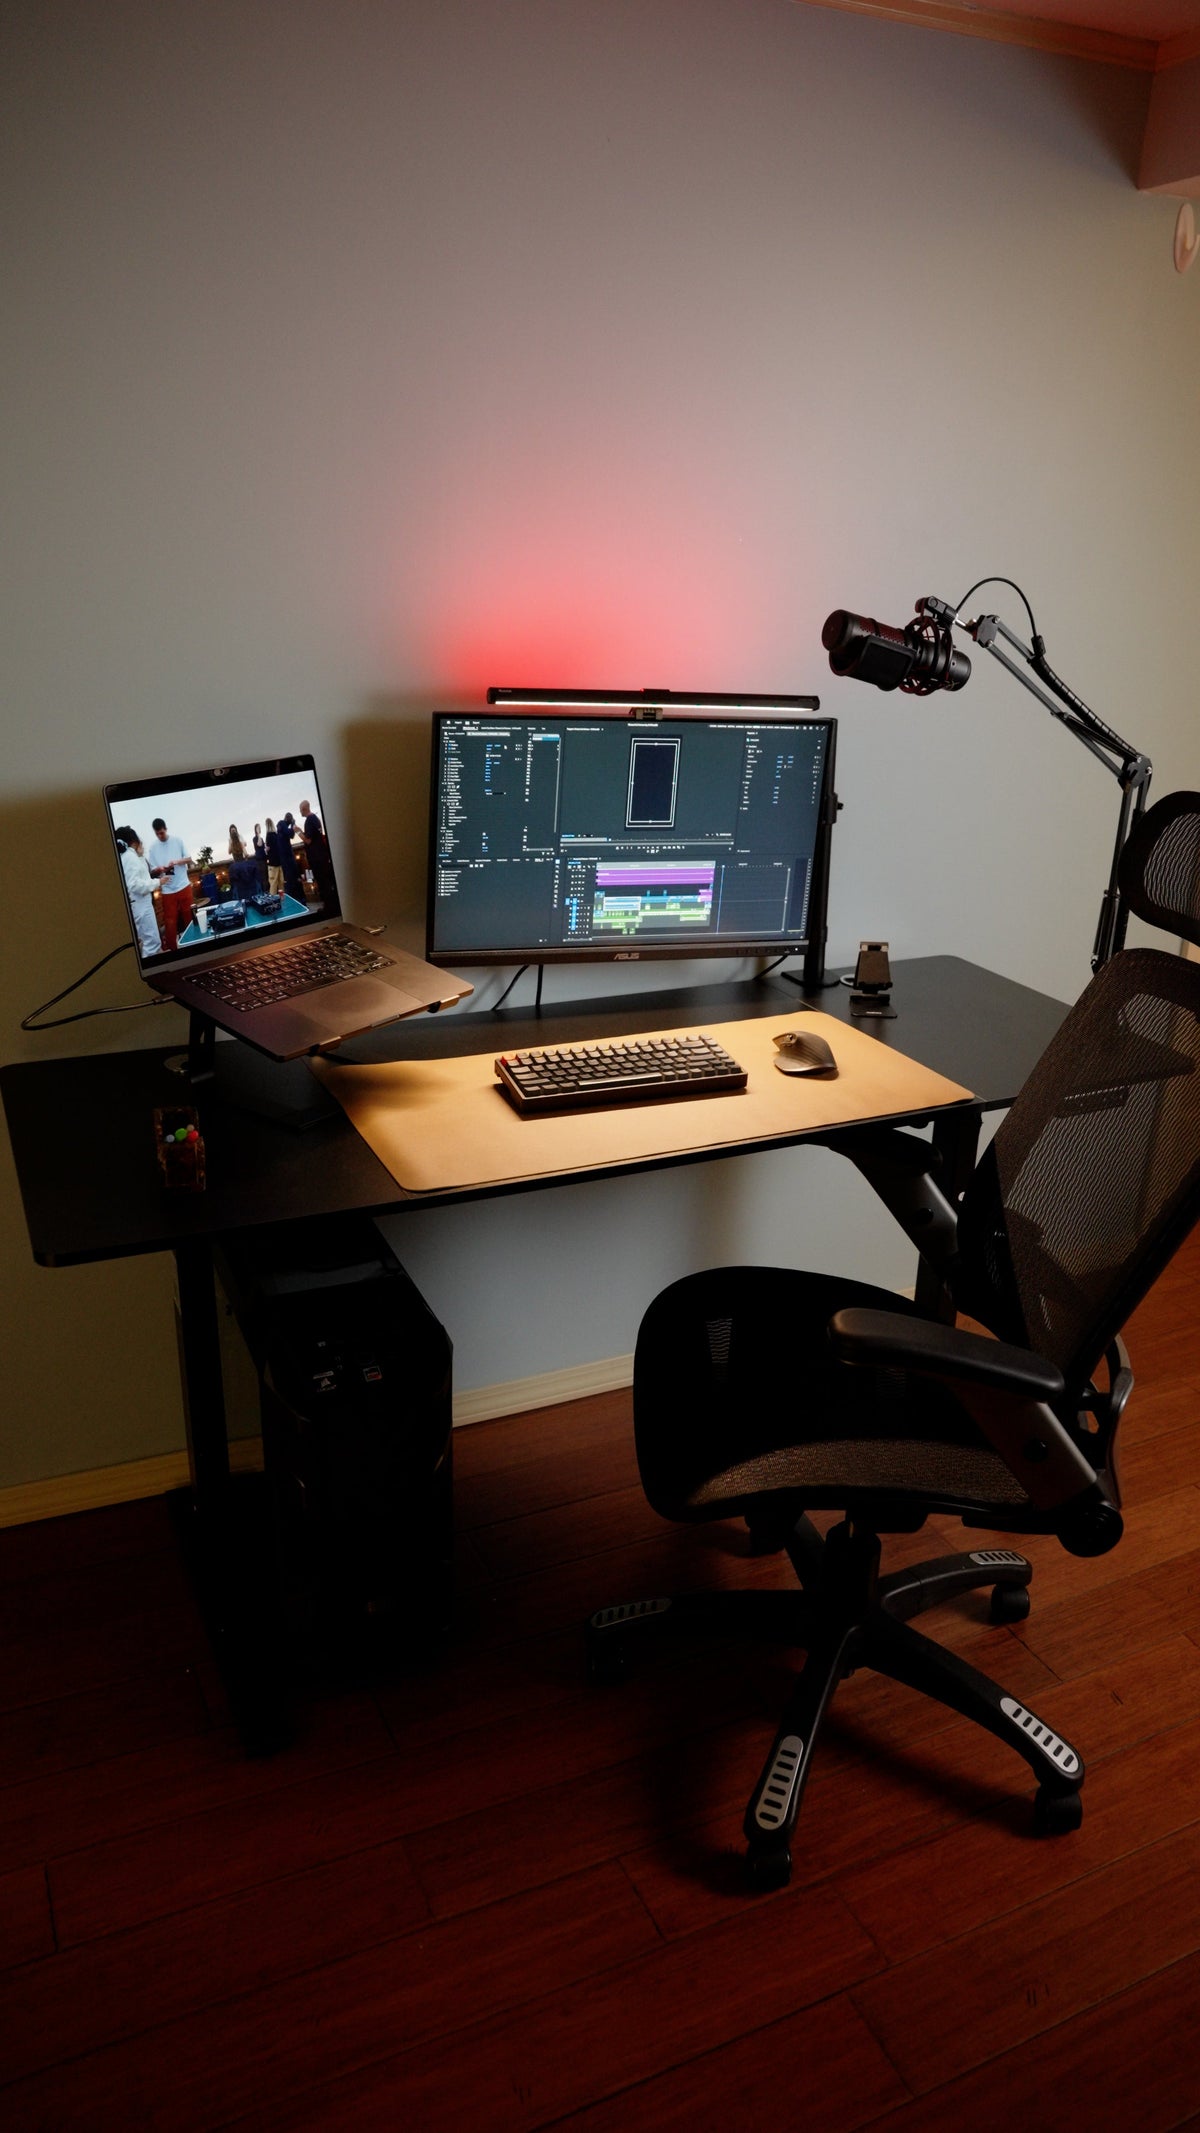
The overhead view of a real workstation is useful here: a large monitor, laptop, keyboard, and mouse can fit comfortably because each object has a defined zone. The same equipment placed without a plan can consume the entire front edge even on a wider desk.
Confirm the Height Range Before You Choose a Footprint
A wide top does not solve a frame that is too high while seated or too low while standing. Adjust your chair first, keep the feet supported, relax the shoulders, and measure the floor-to-keyboard height that lets the elbows stay near the torso. Repeat while standing. Those two measurements must sit inside the desk’s usable height range with the selected desktop installed.
OSHA’s computer workstation evaluation checklist focuses on neutral placement: shoulders relaxed, elbows close to the body, forearms roughly parallel to the floor, wrists aligned with the forearms, and sufficient room for the legs and feet. Its purchasing checklist for sit-stand work surfaces also says that the surface must accommodate the size, weight, and quantity of the computer equipment. Those checks connect height fit and desktop size; neither should be evaluated alone.
Measure the surface where the keyboard will sit, not the underside of the top or a number shown on the keypad. A thick desktop, keyboard tray, anti-fatigue mat, or standing board can change the usable relationship. For the full body-measurement method, see OdinLake’s standing desk height guide.
Measure the Desk While It Moves
A sit-stand desk is furniture in motion. Raise a comparable setup to the highest position you expect to use, or model that position with measurements before buying. Check every direction.
- Above: the monitor, light bar, laptop screen, microphone arm, and plant must clear shelves and cabinets.
- Behind: plugs, power bricks, cable loops, monitor-arm hardware, and the rear edge must not scrape the wall or window trim.
- Below: the crossbar, motors, control box, and cable tray must leave usable knee and foot space and clear any pedestal or tower.
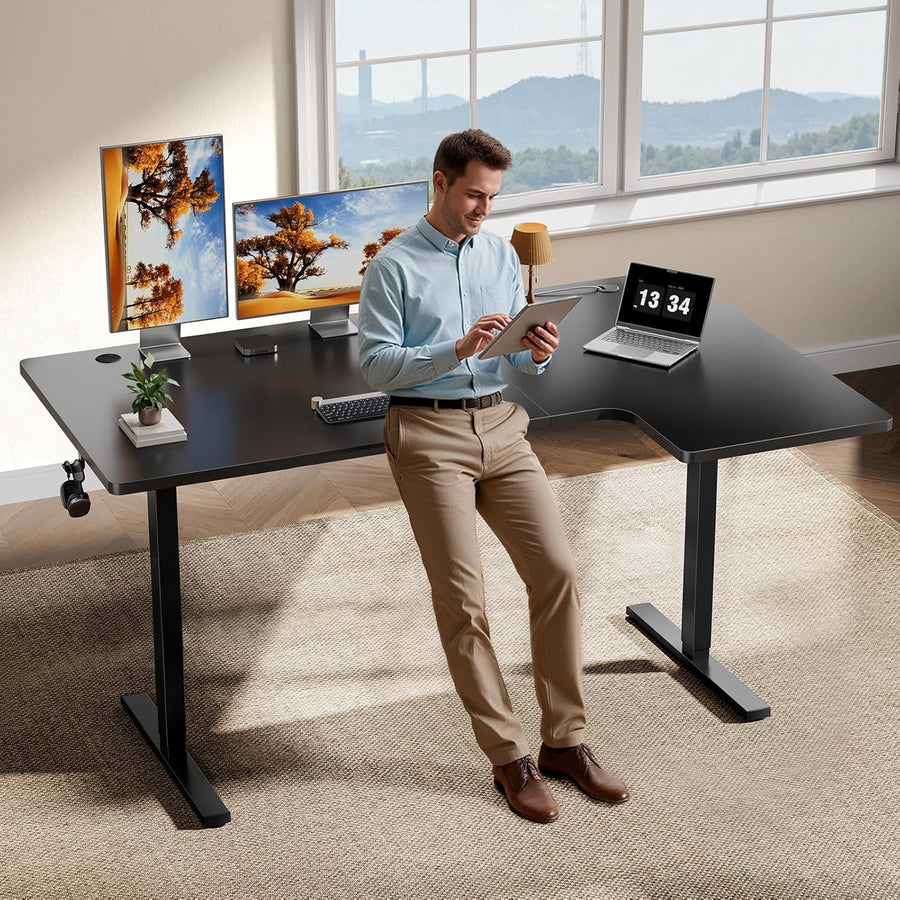
- Beside: the top and attached accessories must not meet a door, drawer, curtain, adjacent desk, or sloping wall.
OSHA publishes specific under-desk clearance dimensions for workstation design, but those figures describe human clearance, not permission to fill the remaining space with a tower or storage. Its desk workspace guidance emphasizes room for the legs in more than one seated posture. Test your own chair, body, footwear, and frame geometry rather than assuming that a desktop measurement guarantees clear space underneath.
Plan cables at both endpoints and through the full lift. The power lead, display cable, USB connections, and mounted accessories should have enough controlled slack without entering a leg or foot path. A separate desk cable-management guide explains how to create a moving cable spine after the desk size and equipment positions are known.
Use Setup Ranges as Filters, Not Answers
Common desktop ranges are useful for narrowing a catalog, but they are not ergonomic standards. The following are practical screening categories; your fit card makes the final decision.
Laptop-first or occasional workstation
A compact top around 42 to 48 inches wide can work when the laptop is the primary screen and the mouse, charger, and perhaps one notebook are the only permanent items. Check depth carefully if the laptop screen and keyboard remain joined; a laptop stand plus external keyboard uses more front-to-back space than the closed computer suggests.
One monitor plus a laptop
A top in the 48-to-60-inch range often gives this arrangement more flexibility, but measure the monitor stand, laptop orientation, and mouse zone. A vertical laptop stand can reduce width; an open laptop used as a second screen requires enough space to angle both displays toward the user.
Two monitors or one large display
Many dual-screen setups begin their search around 60 inches wide, yet screen span is the deciding number. Place the monitors in their actual landscape or portrait orientation, angle them as they will be used, and measure the completed assembly. Monitor arms can reclaim surface area, but their clamps, rear sweep, weight rating, and required desktop thickness introduce new constraints.
Paper, drawing, audio, or creator work
These tasks need a clear work zone in addition to the computer zone. Measure the open pad, drawing tablet, mixer, reference material, or microphone movement at full working size. If the work changes throughout the day, a deeper or wider top can be valuable only when the room still supports chair access and vertical travel.
In every category, weigh the complete moving load: displays, arms, computer, speakers, desktop accessories, and anything stored under or attached to the top. Compare that total with the exact desk or frame rating. Do not borrow a capacity from a similarly named model or treat the rating as available storage space.
Run a Four-Pass Fit Test
Once a candidate desk has passed the measurement card, test it in four passes. A single failure is a reason to revise the size, placement, equipment layout, or model.
| Pass | What to verify | A pass looks like |
|---|---|---|
| Room | Wall width, baseboards, door swing, chair pullback, and walking route | The desk and chair work without blocking another daily room function |
| Surface | Equipment footprint, input zones, viewing distance, and task area | Required items fit without unstable overhang or constant rearrangement |
| Body | Seated and standing keyboard heights, monitor placement, leg and foot clearance | The frame reaches both positions while the shoulders, arms, and wrists can remain relaxed |
| Motion | Maximum-height overhead clearance, cables, wall gap, accessories, and load | The complete setup can travel without contact, tension, tipping, or obstruction |
A Worked Example: Dual Screens in a 68-Inch Wall Bay
Suppose a room has 68 inches of clear wall width after accounting for trim. The actual two-monitor assembly measures 44 inches across when angled. A laptop used as a third screen adds 13 inches if placed beside the monitors, while a vertical stand uses only 3 inches of width. The room does not decide the desktop by itself; the equipment arrangement does.
With the laptop open, the screen span becomes approximately 57 inches before allowing side access. A 60-inch top may technically hold it but leave little freedom at the edges. Moving the laptop to a vertical dock during focused work reduces the permanent span to about 47 inches, which can make a 60-inch top comfortable. The larger 63- or 71-inch option might still fail the room pass once a small side gap, cable route, and installation tolerance are included.
Next, the user checks depth. The monitor-arm clamp occupies the rear edge, the keyboard and mouse need a clear front zone, and the preferred viewing distance does not fit on a shallow surface. That finding may make a 30-inch-deep top more useful than adding width. Finally, the user measures seated and standing keyboard heights and verifies that the frame, top, monitor arm, and cables can complete the full travel. The result comes from the constraint that is hardest to solve, not from the largest number in the catalog.
Compare OdinLake Sizes Only After You Know Your Requirements
OdinLake’s current product pages illustrate why the variant matters. The S2 Standing Desk page lists top options across approximately 60, 63, and 70.9 inches of width and 24, 28, or 30 inches of depth, depending on the selected variant. The current S450 page lists 47-by-24, 55-by-27.5, and 60-by-30-inch desktop sizes, while its frame specification gives an applicable desktop range of 43 to 72 inches.
Those are choices, not automatic recommendations. Match the exact selected variant to your five-measurement card, confirm current dimensions and availability on the product page, and check the manual for frame, load, assembly, and clearance details. You can use the OdinLake standing desk collection to compare current models after the room, surface, body, and motion passes are defined.
The final check should happen before packaging is discarded: assemble the desk where it will live, place the real equipment on it, route cables provisionally, and run several complete seated-to-standing cycles while watching every edge. If the setup passes only when a door stays closed, a monitor overhangs, or a cable is pulled tight, the size is not truly resolved.
Frequently Asked Questions
What size standing desk do I need?
Measure your usable room width and depth, the footprint of every permanent item, your seated and standing keyboard heights, and the desk’s full travel path. Choose the smallest candidate that passes all four fit tests: room, surface, body, and motion.
Is a 48-inch standing desk big enough?
It can be enough for a laptop, a compact single-monitor setup, or a carefully planned monitor-arm arrangement. It may be too small for two wide displays, a desktop tower, speakers, or a permanent paper-work zone, so test the actual equipment footprint rather than the monitor count alone.
What is considered a small standing desk?
A top around 42 to 48 inches wide is commonly treated as compact, but “small” has no single functional definition. A desk is small for your setup when its clear working area cannot hold the equipment and input zones you measured, even if the outer dimensions fit the room.
What size standing desk works for two monitors?
Measure the monitors at their installed angle, including stands or arm hardware. Many shoppers begin around 60 inches of width, but two compact screens may need less and large or mixed-orientation screens may need more. Depth, weight capacity, clamp compatibility, and rear clearance still have to pass separately.
How deep should a standing desk be?
It should be deep enough to hold the monitor at a readable distance while leaving a separate front zone for the keyboard, mouse, and forearms. Twenty-four inches can work for some compact setups; 28 to 30 inches gives many monitor-based workstations more placement flexibility. Your screen, stand, vision, and wall gap determine the final depth.
How much room should I leave around a standing desk?
Leave the amount your chair, walking route, doors, drawers, cable loops, and installation method require. Mark the footprint with tape and test normal movement rather than relying on one universal clearance number. Also check above and behind the desk at its maximum working height.
Does the standing desk height range affect which size I should buy?
Yes. Width and depth are irrelevant if the keyboard surface cannot reach your comfortable seated and standing heights. Verify the height range with the chosen desktop installed, and account for chair height, supported feet, footwear, mats, and any keyboard tray.