A measurement-led method for placing the desk, chair, storage, power, and secondary furniture around the work your office must support.
The right ergonomic setup should adapt to your body, support frequent movement, and stay comfortable through a full workday.
Arrange office furniture around the work you do most often, then test the space your chair, drawers, doors, and cables need while they are moving—not just while they are parked. Start with the desk because it controls screen position, light, power, and the main walking path. Add the chair's full movement area next, followed by frequently used storage. Secondary furniture comes last.
This order prevents a room from looking finished but working poorly. It also gives you a practical way to compare layouts without assuming that every desk belongs against a wall or that every window is the best focal point. The right arrangement is the one that lets you complete your main tasks, enter and leave the room, open every moving part, and change posture without a collision.
Plan the work before you move the furniture
A floor plan tells you what fits. A workflow plan tells you whether the fit is useful. Before measuring the room, write down the two or three activities the office must support. A computer-focused workspace may need a stable monitor position and controlled glare. A paper-heavy role may need a clear writing surface and nearby files. Video calls may make the background and door position more important.
Name the primary task
Choose the activity that occupies the most time or has the least tolerance for compromise. That activity owns the central work zone. If you spend most of the day at a computer, the monitor, keyboard, pointing device, desk, and chair form one system; do not place them as separate decorations.
List supporting tasks beneath it. Printing, reference books, charging, packing, drawing, and in-person conversations may need their own surfaces, but they should not displace the primary task unless they are used just as often.
Map the room's fixed constraints
Measure the room and mark the parts you cannot move:
- door location and full door swing;
- windows, sills, blinds, and curtains;
- electrical and data outlets;
- heating and air-conditioning vents;
- radiators, baseboard heaters, columns, and built-ins;
- the route from the entrance to the work position.
Do not place a cabinet where its open door blocks the room entrance, and do not solve a cable problem by creating a trip path. OSHA's guidance for computer workstation environments also advises against placing desks and chairs directly under air-conditioning vents that discharge onto the user. If the office must support a wheelchair or another mobility device, evaluate the complete approach, entry, exit, and turning needs against the applicable accessibility requirements rather than relying on a generic furniture-clearance number.
Measure operating envelopes, not static footprints
A furniture footprint is the area it covers while still. Its operating envelope includes every position needed in normal use. Measure the chair with the user seated, rolling back to stand, turning, and reclining if that is part of the routine. Open drawers and cabinet doors. Extend a keyboard tray. Raise and lower an adjustable desk. Pull a visitor chair into a usable position.
This is where many apparently spacious layouts fail. A desk and chair may fit on paper while the chair hits a wall every time the user stands, or a storage door may open only when the chair is moved out of the room.
Choose the desk orientation by testing light, movement, and power
There is no universally correct direction for a desk. The strongest candidate keeps the primary screen easy to view, preserves the room's main path, reaches power without cords crossing that path, and leaves room for the chair to move. Test at least two orientations before committing.
| Desk orientation | Why it can work | What to test |
|---|---|---|
| Against a wall | Uses a compact perimeter, simplifies wall-mounted storage, and often shortens cable runs | Screen depth, wall clearance for monitor arms and plugs, and whether facing the wall feels too enclosed |
| Floating toward the room | Can create a visitor-facing position and a more open view | Exposed cable routing, chair movement behind the desk, and whether the desk divides a small room |
| Perpendicular to a window | Often admits useful side light while reducing direct brightness in front of or behind the screen | Glare at the actual working time, blind access, heating sources, and screen reflections |
| In a corner | Can recover depth for large or multiple monitors and keep the center of the room open | Reach into the corner, uneven work zones, cable access, and usable chair rotation |
For screen-based work, a window directly in front of or behind the monitor can create difficult brightness differences. OSHA recommends placing the screen face at right angles to windows and other strong light sources when possible. Check the candidate position in the morning and afternoon, not only when you first move the desk. Blinds, seasons, and nearby reflective surfaces can change the result.
Seeing the door can be convenient, especially when people enter frequently, but it is not a rule that should override screen visibility, circulation, or cable safety. If turning the desk toward the door puts the user in a traffic path or sends a power cord across the floor, choose a safer orientation and use a different background or room cue.
Arrange the room in seven practical passes
Move through the following passes in order. Keep the placement temporary until the last test; painter's tape, removable labels, and a few photographs make comparison easier.
- Mark fixed points and candidate desk zones.
- Place the desk and chair as one moving unit.
- Build the primary work zone on the desktop.
- Put daily storage within a low-effort reach.
- Route power and data for every desk position.
- Add secondary furniture by frequency and consequence.
- Perform a full workday dry run before final assembly.
1. Mark the fixed points and candidate desk zones
Draw the room to scale on graph paper or in a floor-planning tool. If you prefer a physical test, outline the desk and storage units on the floor with painter's tape. Include legs or feet that project beyond the top. Mark the chair area separately so the desk footprint does not hide it.
2. Place the desk and chair as one unit
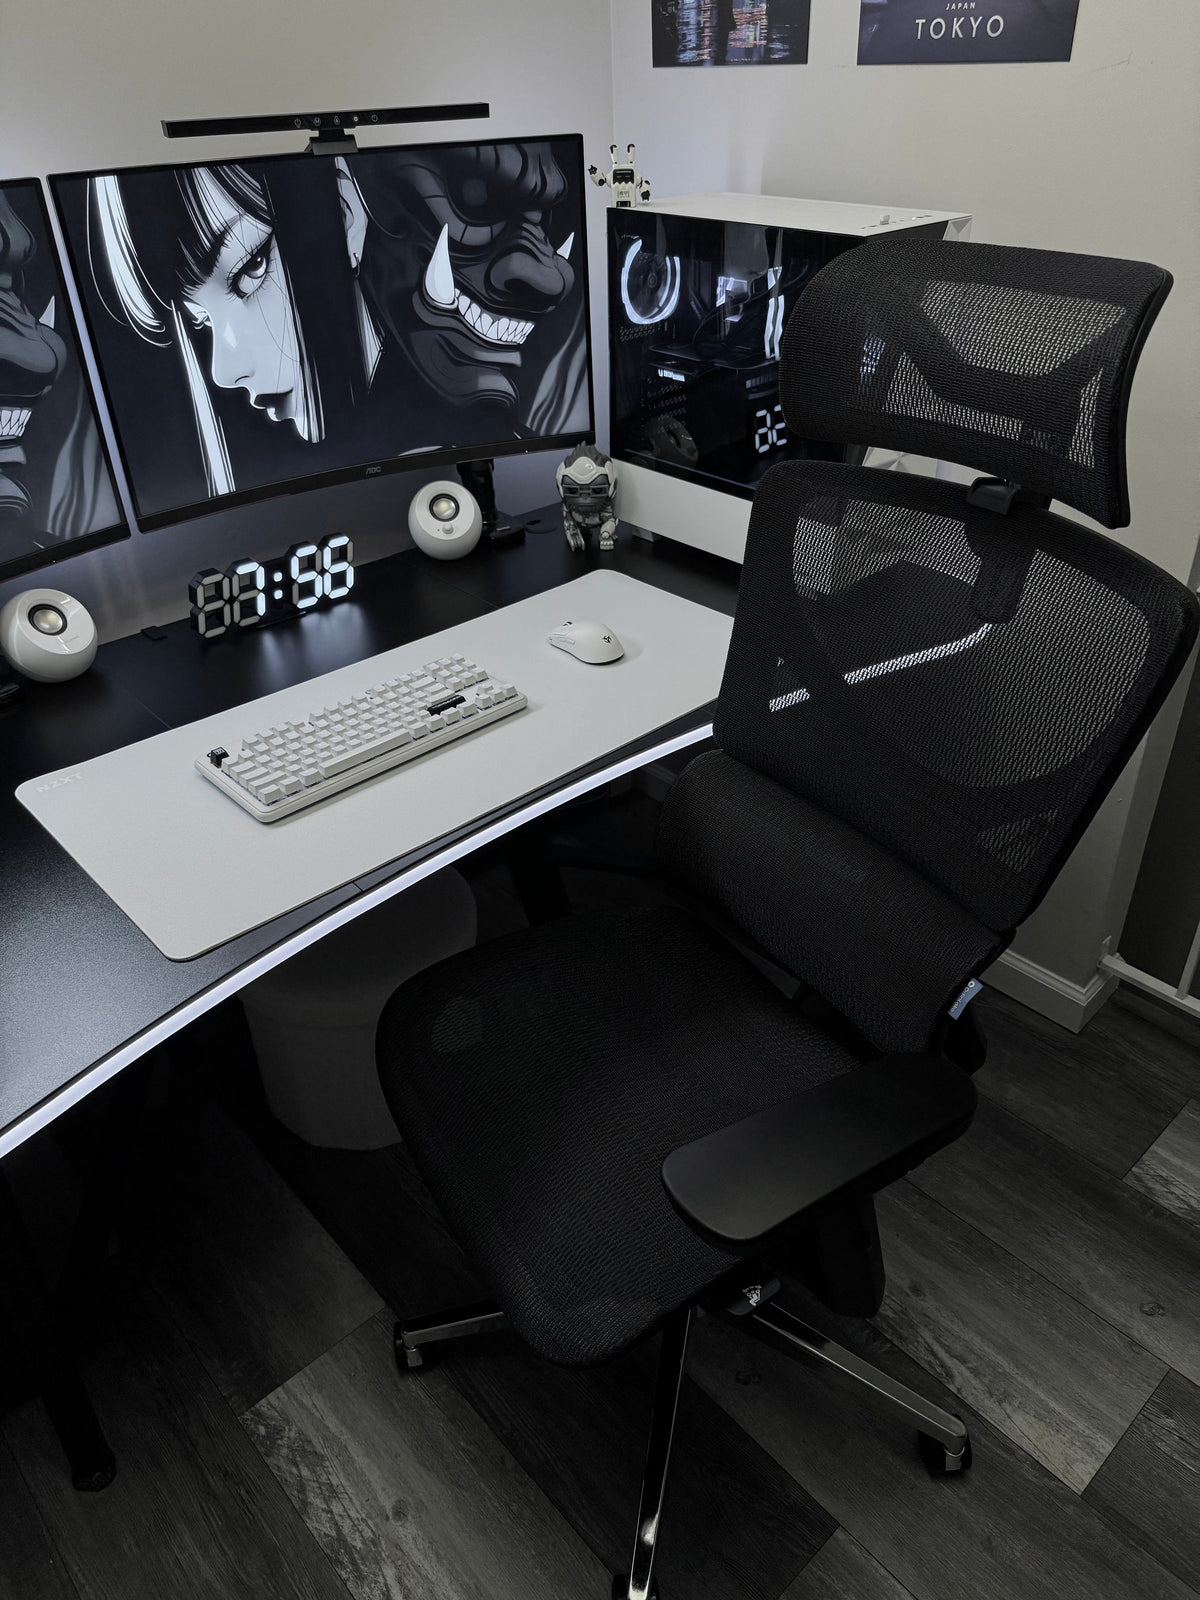
Position the desk in the best candidate zone, then roll the chair through a normal work cycle: enter, sit, move close to the desk, roll back, stand, turn, and leave. Open the room door during the test. If you use recline, a footrest, or a standing mat, test those states too.
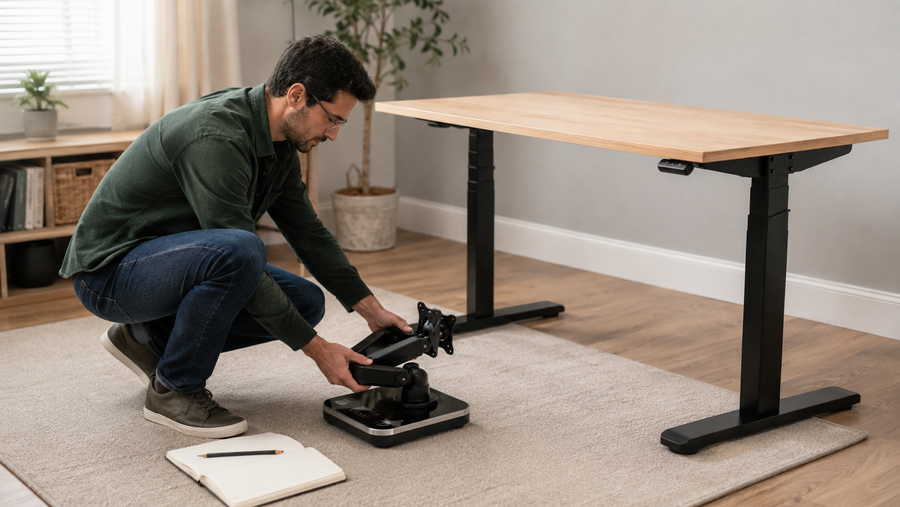
When an existing desk cannot support the required sit-to-stand range or equipment footprint, compare the dimensions and load requirements of a purpose-built option before changing the whole room. OdinLake's standing desk collection provides current product dimensions for that check; verify the exact model rather than planning from a category-wide assumption.
3. Build the primary work zone on the desktop

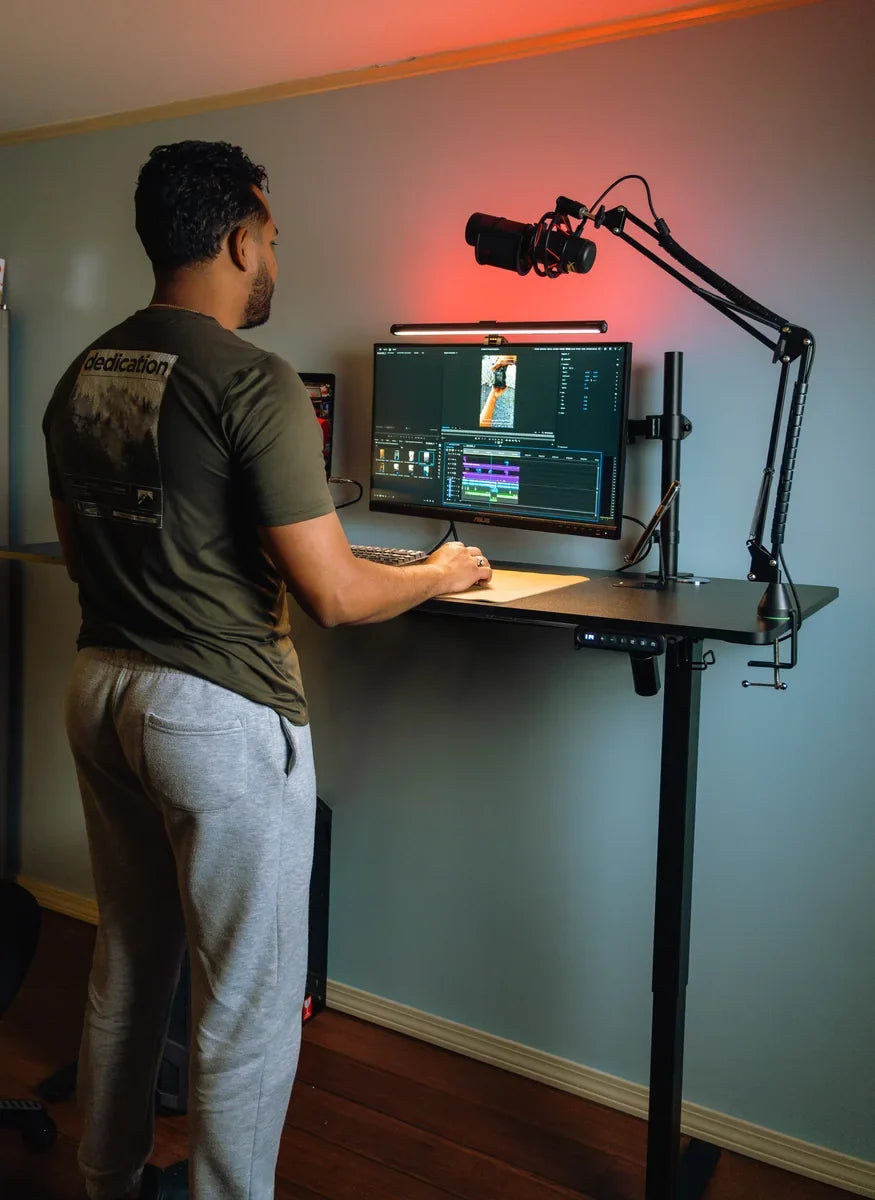
Place the primary monitor directly in front of the main seated position. Keep the keyboard and pointing device where they can be reached without repeatedly lifting the shoulder or stretching the arm. OSHA's desk guidance describes frequently used devices as belonging in the primary work zone and notes that work-surface depth must support an appropriate viewing position.
Do not use room symmetry as the deciding factor. A perfectly centered monitor that is centered on the wall but not centered on the user will encourage repeated neck rotation. The furniture arrangement should follow the body position and task, not the other way around.
4. Put daily storage within a low-effort reach
Place only frequently used items close to the chair. A small drawer unit, reference shelf, or mobile pedestal may belong beside the desk if the user can reach it without twisting or blocking the chair. Weekly supplies can sit farther away; archival storage can use the least convenient wall.
Open every drawer during the test. A pedestal that fits under the desktop may remove knee space or collide with a height-adjustable frame. A tall bookcase may technically fit beside a window but block the blind control or cast glare onto the screen.
5. Route power and data for every desk position
Run cables only after the main furniture positions pass the movement test. Keep cords out of doorways and walking routes. Use strain relief and enough slack for monitors, arms, and height-adjustable desks to complete their full motion without pulling a plug or catching a connector.
If the desk floats in the room, cable routing becomes part of the layout decision—not an accessory to add later. A floor-rated solution or professional electrical change may be necessary. Do not conceal extension-cord connections under rugs or improvise wiring beyond the product and electrical instructions.
6. Add secondary furniture by frequency and consequence
Now place the printer stand, guest chair, side table, whiteboard, and decorative furniture. Ask two questions for each item: how often is it used, and what happens when it is in the wrong place? A rarely used printer may tolerate a longer walk. A guest chair that blocks the only exit route cannot.
If the room is especially tight, finish the main work zone first and use the separate small home office setup guide for compact storage and space-sharing choices. The goal here is furniture arrangement; the smaller-space guide covers the broader problem of choosing what the room should contain.
7. Perform a full workday dry run
Use the temporary layout for at least one representative work session before anchoring shelves or bundling cables permanently. Complete a video call, retrieve a file, plug in a device, raise and lower the desk, open every drawer, and clean around the furniture. Notice which actions require moving another object first.
A layout passes when ordinary tasks can be completed in sequence without repeated collisions, forced reaches, blocked controls, or furniture shuffling. Take final measurements and photos once it passes. Those records make future replacement or rearrangement easier.
Use different layout branches for different rooms
The same furniture can support more than one valid arrangement. Choose the branch that matches the room's dominant constraint.
Compact perimeter layout
Put the desk and tall storage against separate walls, keeping the middle open for the chair and the entry route. This branch works when floor area is limited and cable access is concentrated near the walls. It can also make a shared living space feel less interrupted.
The tradeoff is a stronger tendency to face a wall and to crowd the desktop rear edge. Verify monitor depth, arm-clamp clearance, and outlet access before pushing the desk tight to the wall.
Floating desk layout
Place the desk away from the wall with the user facing into the room. Put low storage behind or beside the user only if it remains accessible when the chair is occupied. This branch can support conversations, a composed video-call background, or work that alternates between the desk and a client-facing surface.
The tradeoff is a larger total footprint. The furniture now divides the room, and cables are harder to hide safely. It is a poor choice when the chair backs directly into the door or the desk creates a narrow squeeze point.
Shared or two-person layout
For two users, begin with each person's primary work zone and chair envelope, then plan the shared route and storage. Side-by-side desks simplify communication and may share a wall, but they can transfer visual and audio distraction. Back-to-back or opposing layouts create more separation but demand more depth and careful cable routing.
Do not assume identical furniture creates equal fit. Each user should be able to position the main screen directly ahead and adjust the chair for their body. If chair fit is unresolved, compare the adjustment ranges in the ergonomic chair collection against each user's measurements before finalizing the desk spacing.
Diagnose the layout by the problem it creates
| What you notice | Likely layout cause | Test before buying anything |
|---|---|---|
| You keep leaning toward the screen | The screen is too far away, text is too small, or the chair cannot approach the desk | Move the screen and chair into a readable, supported position; clear blocked leg space |
| Your neck stays turned | The primary monitor is centered on the furniture rather than on the user | Center the primary display on the normal seated position |
| The chair hits storage | The plan used static footprints instead of operating envelopes | Move occasional storage outside the chair's roll, turn, and recline area |
| Screen glare changes during the day | The display faces a window or strong light source | Rotate the desk or display, test it perpendicular to the window, and adjust blinds |
| Cables stretch when the desk rises | The cable path was planned only at sitting height | Disconnect unsafe tension, then reroute with enough supported slack for full travel |
| The room feels crowded despite open floor area | Traffic crosses the main work zone or several items project into one path | Consolidate secondary furniture along one perimeter and retest the entrance-to-chair route |
Final layout check
Before treating the arrangement as finished, confirm that:
- the primary task can be completed without moving unrelated furniture;
- the primary screen is directly ahead and readable from the supported working position;
- the chair can approach, roll back, turn, and recline as intended;
- doors, drawers, blinds, vents, and controls remain usable;
- the entrance, walking route, and any required accessible route remain clear;
- power and data cables are supported and outside traffic paths;
- frequently used items are closer than occasional storage;
- a standing desk, monitor arm, and other moving equipment can complete their full travel;
- the arrangement works under the room's real daylight and video-call conditions.
If one item fails, change the smallest relevant part first. Rotate the monitor before moving the desk; move a weekly file box before replacing a cabinet; test a different desk orientation before buying more organizers. Good office furniture arrangement comes from removing friction, not filling every empty wall.
Arrange for the actions the room must support
An effective office layout is not the one with the most furniture or the cleanest overhead diagram. It is the one that survives real use. Map the fixed room, place the desk and chair as a moving system, build the primary work zone, add storage by frequency, route cables for full motion, and dry-run the arrangement before making it permanent.
That process gives you a reason for every placement—and a clear diagnosis when something does not work.
Frequently asked questions
Should an office desk face a wall or a window?
Neither direction is automatically best. A wall-facing desk often uses less floor space and simplifies cable routing. A window can provide a better view, but direct brightness in front of or behind the screen may create glare or contrast. For computer work, test the desk perpendicular to the window first, then compare it with the wall-facing option at the times of day you usually work.
Should my desk face the office door?
Facing the door can help you see arrivals and may suit a visitor-facing office, but it is a preference rather than a universal ergonomic rule. Keep it only if the position also preserves a clear route, safe cable path, usable screen position, and enough room for the chair. A desk should not face the door at the cost of blocking the doorway or creating screen glare.
How much room should I leave behind an office chair?
Use the chair's real movement rather than one universal number. Measure from the desk edge through the farthest point the chair reaches when the user rolls back, stands, turns, and reclines. Then include the separate space needed for anyone who must pass behind. Chair size, user movement, wall location, and accessibility needs can all change the result.
Where should a desk go in a small home office?
Start with the position that keeps the entry route open and reduces screen glare, usually along a perimeter wall or perpendicular to a window. Place the desk and chair before adding storage. If the chair cannot move normally, remove or relocate secondary furniture rather than shrinking the main work zone until it becomes unusable.
Should I place the desk or storage first?
Place the desk and chair first because they define the primary task, screen position, light exposure, power path, and largest movement zone. Put daily storage within a comfortable reach next, weekly storage farther away, and decorative or rarely used furniture last. The exception is fixed built-in storage, which belongs on the room map as a constraint from the beginning.