The right ergonomic setup should adapt to your body, support frequent movement, and stay comfortable through a full workday.
If your laptop goes into a bag at the end of the workday, hiding its dock under a standing desk can create a new nuisance: you clear the tabletop but have to reach beneath it whenever you need a USB port. For people who pack away a work laptop or swap to a personal one each evening, the best dock position keeps daily connections reachable and lets the desk move without pulling on a cable.
Start by placing the dock on the desktop beside the laptop’s connection side. Try the full daily routine there before buying a bracket. Move it beneath the desk only if the ports, ventilation, host cable and mounting instructions all allow it. This guide assumes you already have a dock that works with your computer; changing its position won’t fix incompatible displays or charging.
Make a list of the ports you touch every day
In a May 30, 2025 Reddit discussion, a reader asked how to manage a dock’s USB-C lead. One suggestion was to put the dock under the desk; another participant pointed out the loss of access to its USB ports. That’s a useful placement question, not evidence of a wider trend. A dock with permanently connected monitors has a different job from one used for a camera card reader and headphones every afternoon.
Label each connection “stays connected” or “I unplug this.” Include the host lead—the cable between the dock and laptop. Check which side of the laptop it enters. A location that sends that cable across your mouse space is already working against your routine. If you use an external drive, follow its safe-removal procedure before disconnecting it or removing the laptop.
Choose between three places before attaching anything
| Position | Try it when | Reject it when |
|---|---|---|
| Desktop, beside the laptop | You use the dock’s ports daily or its host cable is short. | The dock and plugs displace your keyboard, mouse or writing space. |
| Desktop, behind or beside the monitor | Most peripherals stay connected and the laptop lead can reach naturally. | You must stretch behind the screen for a port, or the monitor base presses on cables. |
| Below the moving desktop | A compatible mount leaves the ports accessible and follows the dock and desk instructions. | The dock blocks your knees, loses ventilation, or leaves the laptop cable under tension. |
Use the supplied host cable during the first placement test. Leave the dock loose on a stable surface, with room for plugs to enter without pressing against a wall. Type, use the mouse, insert your usual accessory, and unplug the laptop. If a location makes any of those actions awkward, change the location before securing it.
Don’t solve a reach problem with an unverified cable
A longer cable with a USB-C plug can still lack the features your dock needs. Plugable’s manufacturer guidance, updated July 18, 2022, recommends its original cable where possible and checking replacement requirements. The relevant checks include data, video and power support, not just connector shape. That advice is product-specific; ask your own dock maker which replacement cable it supports.
For a dock with an attached lead, first move the laptop closer or keep the dock on top. Don’t assume a coupler or extension is an equivalent substitute. If you switch between two computers, test each one with the working cable arrangement before tidying it. Similar-looking laptop ports don’t guarantee the same display or charging capabilities.
Test standing-desk movement separately from laptop removal
The dock may move with the desktop while an Ethernet connection or power source stays at the wall. Those connections need room to travel even when the short laptop lead looks perfectly tidy. Use OdinLake’s desk cable-management guide for the wider routing plan. For dock placement, concentrate on these checks:
- Start seated. Connect the equipment normally. Check that no cable crosses a lifting column, moving joint, chair path or your leg space.
- Raise the desk slowly. Watch the dock and every cable running to a fixed endpoint. Stop if a plug shifts, a lead becomes taut, or equipment moves.
- Return to seated height. Watch where the slack goes. A loose loop must not enter the frame or catch a drawer.
- Repeat your evening routine. At the height where you normally pack up, safely disconnect accessories, remove the laptop and leave the host connector parked within reach. Reconnect and check the displays and peripherals.
For existing OdinLake S450 owners, the published specification lists three preset heights, and the product page links its installation manual. Check the frame and control locations before considering an under-desk mount, then complete the cable test before relying on a saved position. The desk’s height adjustment doesn’t establish that a particular dock bracket fits. Keep the dock on top if an approved mounting position remains unclear.
Leave one connection ready for tomorrow
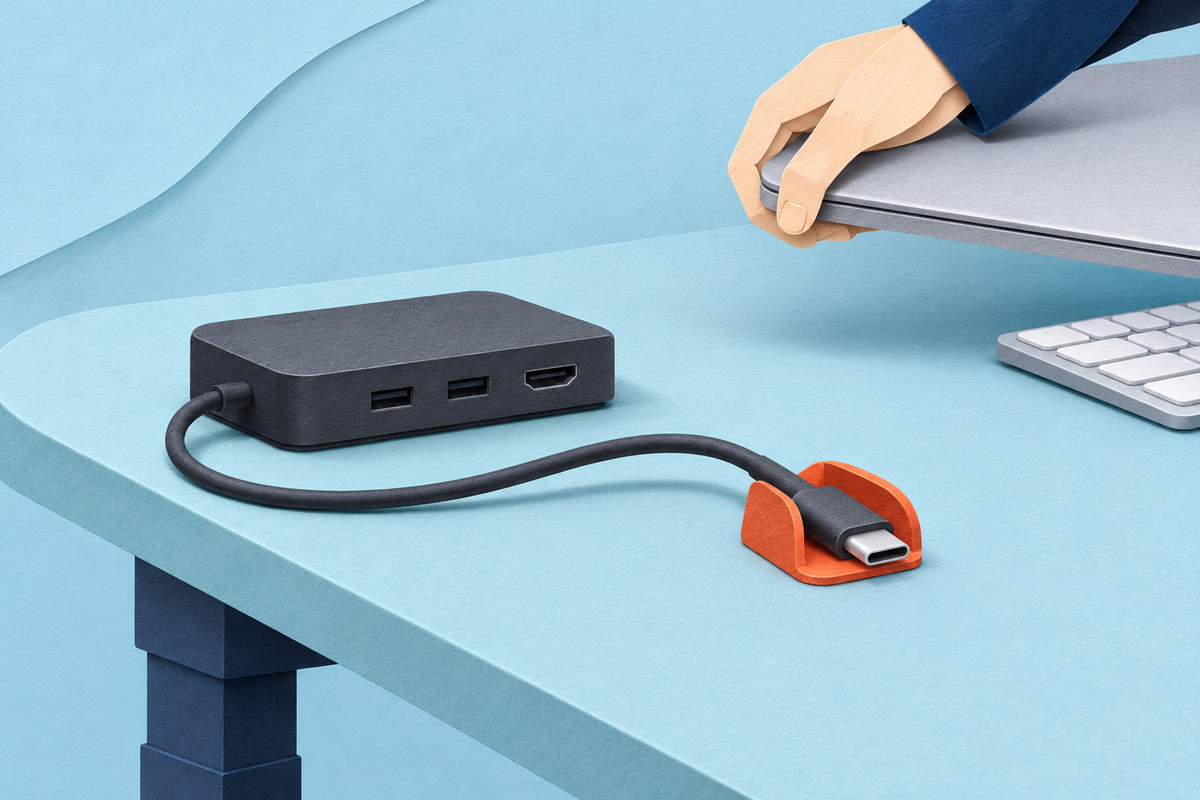
A cable keeper can stop the disconnected host lead falling behind the desk. Place it where you can reach the plug without leaning across the keyboard, and leave enough free cable to connect the laptop without bending the plug sideways. Keep the keeper clear of mouse travel. Support the cable itself rather than using the laptop socket to hold a bundle’s weight.
Before installing a tray or bracket, sit and move your legs normally. OSHA’s desk guidance emphasizes under-desk clearance and keeping frequently used devices accessible. A hidden dock that your knee hits is a poor trade.
Do you actually need an under-desk dock mount?
Not if a desktop position already lets you work, raise the desk and pack away the laptop easily. An under-desk mount is worth considering when it frees useful space without making regular connections harder. Follow the exact equipment instructions, leave ventilation openings clear and keep access for troubleshooting. The successful setup is the one you can reconnect tomorrow without crawling under the desk or rearranging your work area.