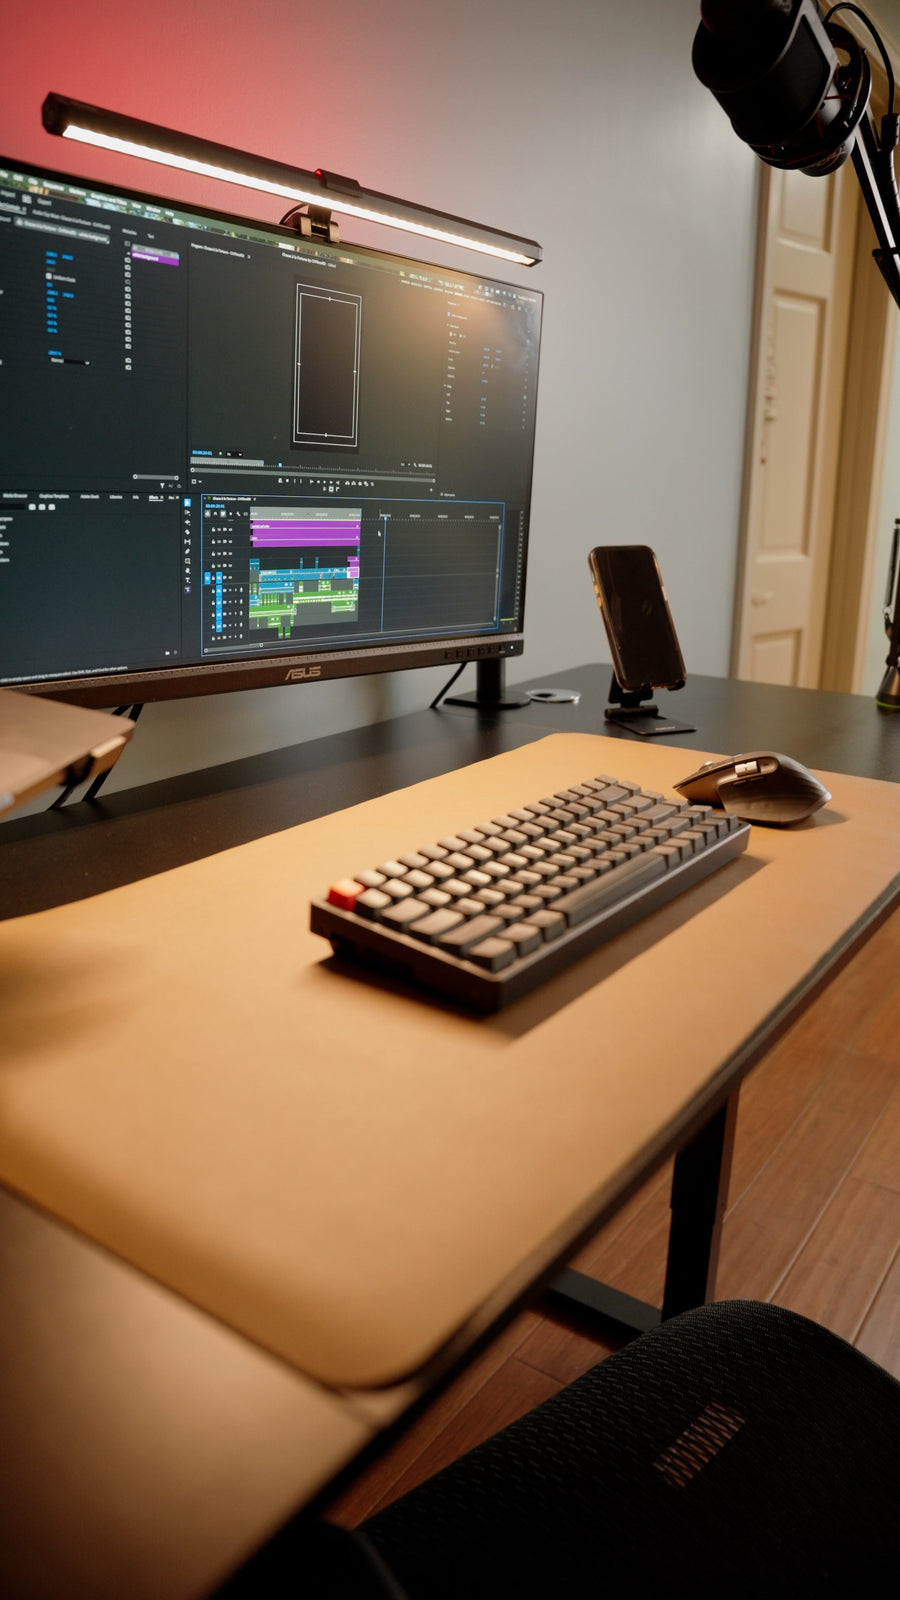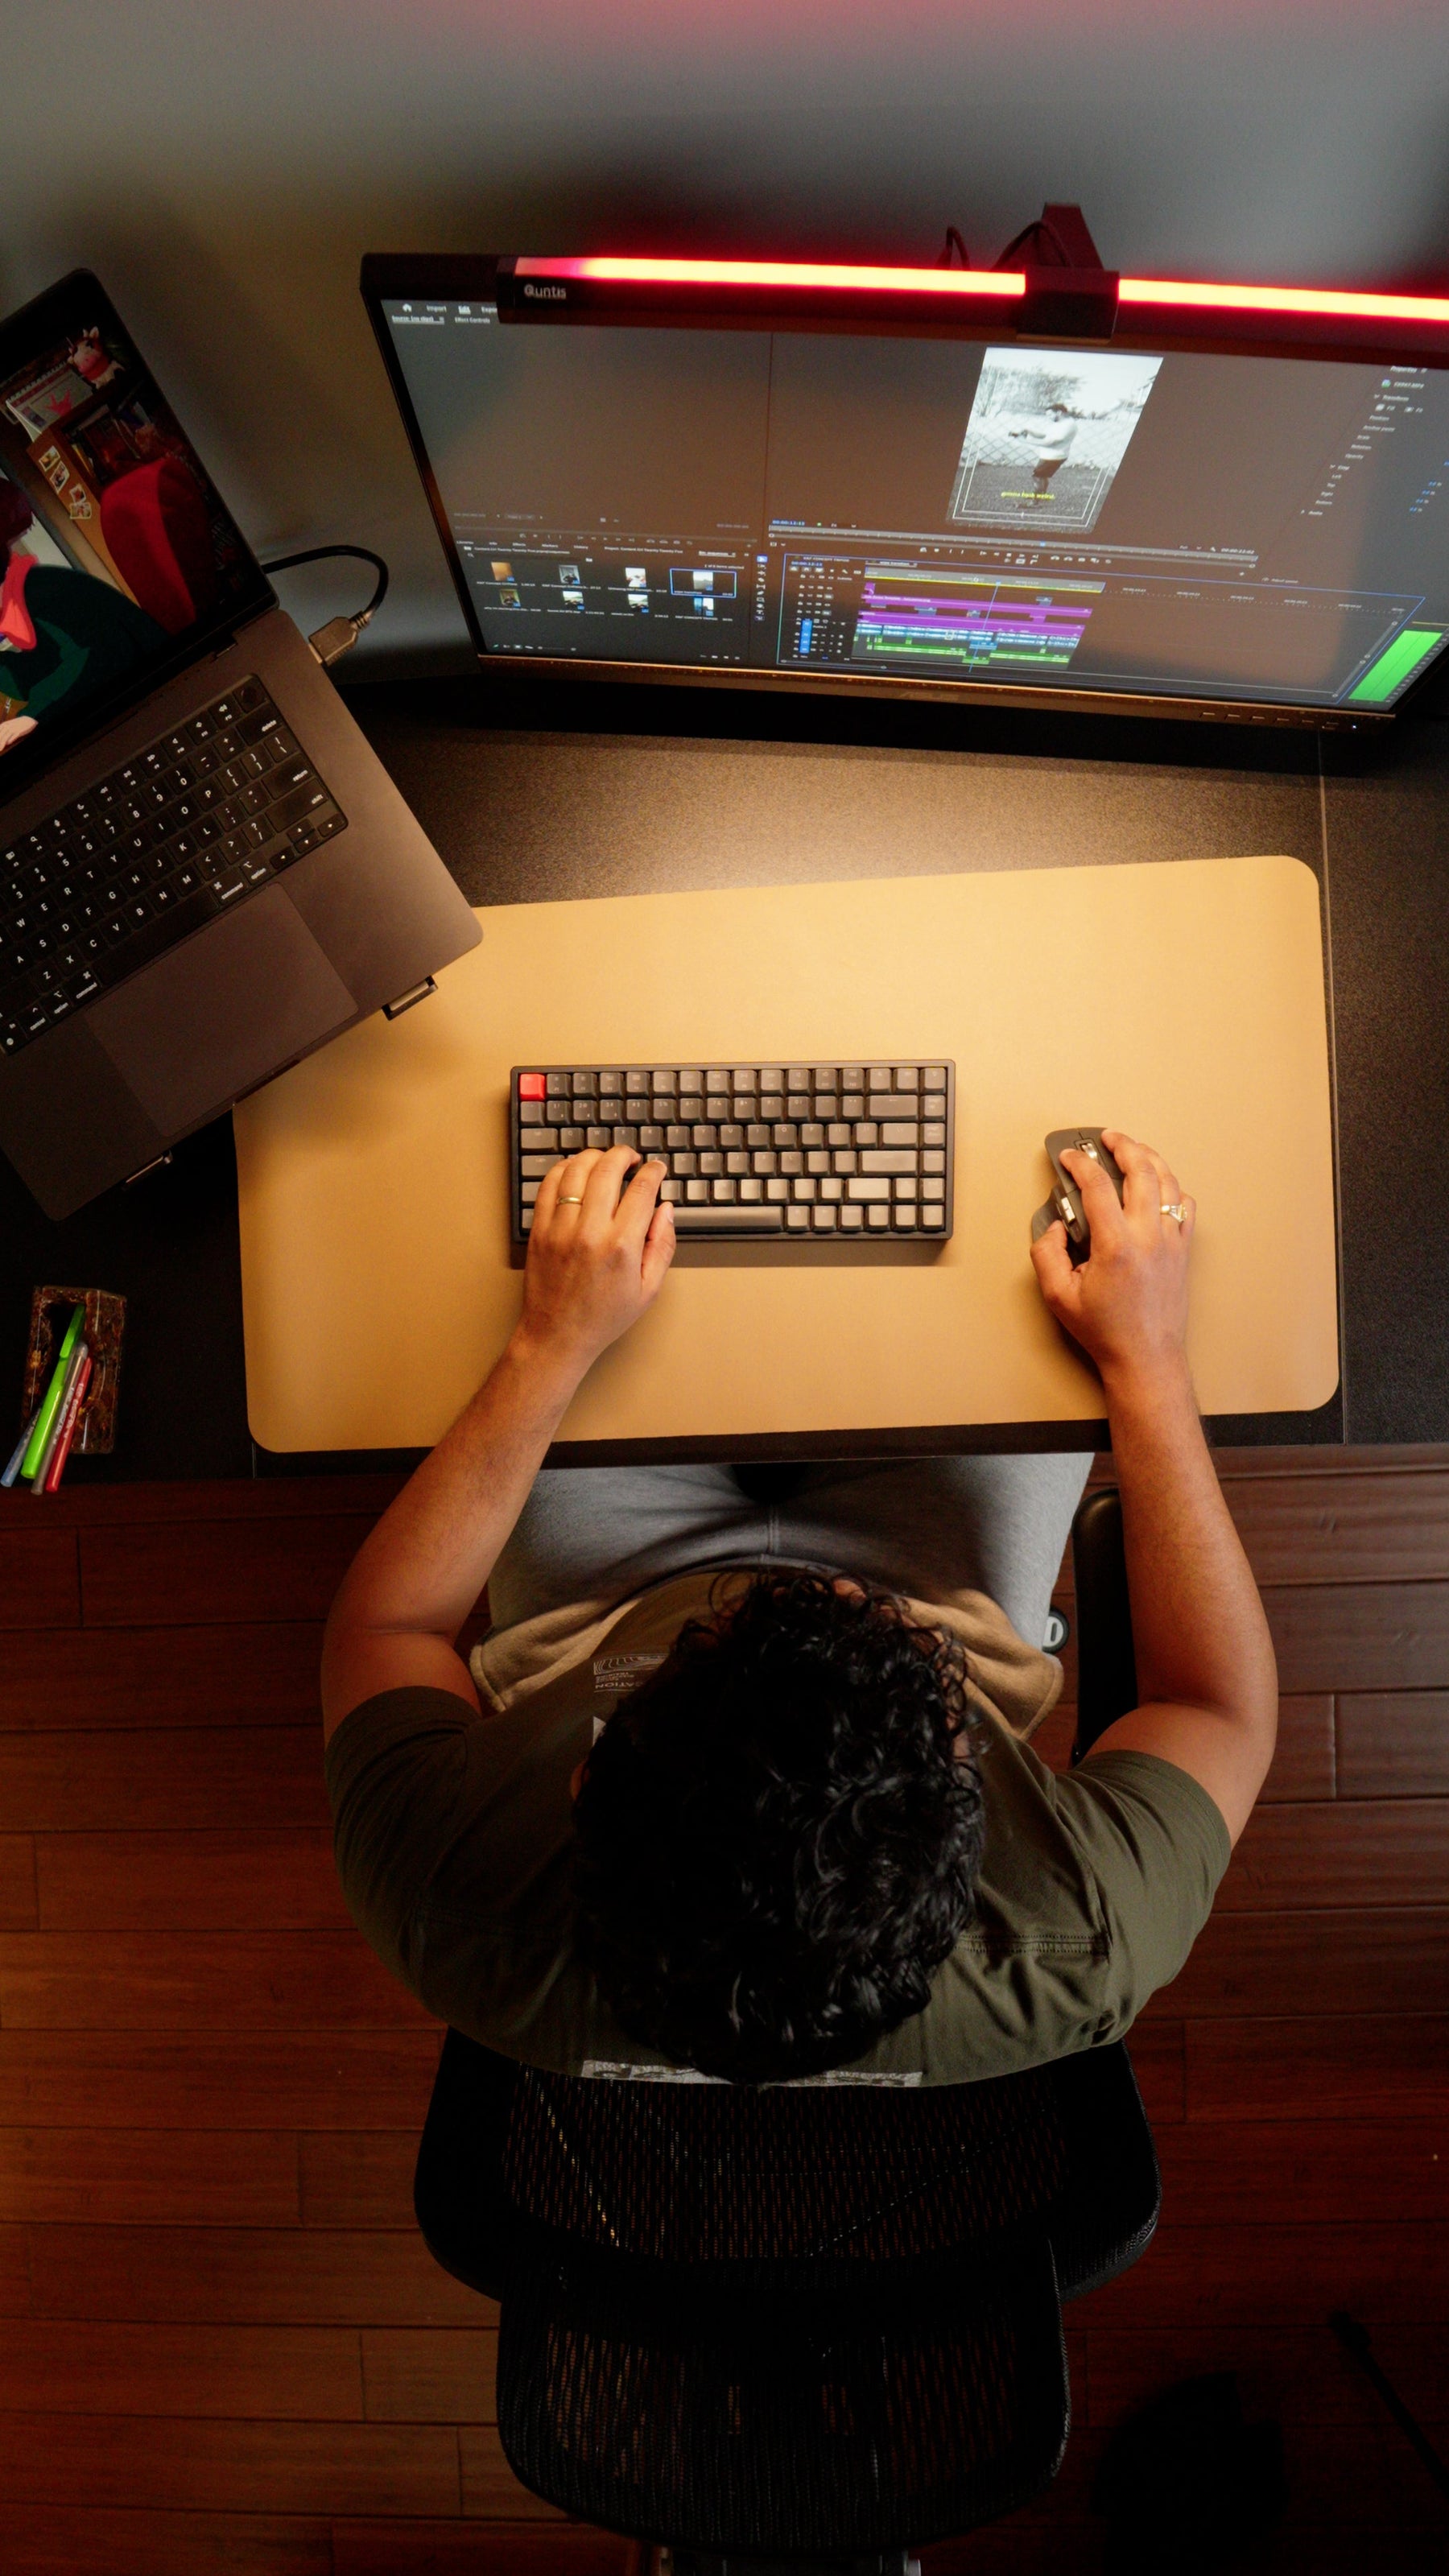
A material-aware desk cleaning workflow that separates electronics, desktop finishes, cables, and workstation organization.
The right ergonomic setup should adapt to your body, support frequent movement, and stay comfortable through a full workday.
Clean a computer desk in three separate passes: electronics, desk surface, then the space underneath. Power down and unplug devices before handling them, use the device maker’s cleaning instructions for screens and peripherals, and test any furniture cleaner in a hidden area. Liquids belong on the cloth—not sprayed across the workstation.
The goal is not a showroom-empty desk. It is a clean, dry work surface where the monitor can sit in front of you, the keyboard and mouse remain within easy reach, cables are undamaged, and the area under the desk stays clear enough for your legs and chair.
Prepare a Small, Material-Safe Cleaning Kit
- Two or more clean microfiber cloths
- A soft brush suitable for dusting crevices
- The cleaner approved for the exact desktop finish
- The cleaning product or water specified by each device manufacturer
- A small container for loose accessories
- Labels or removable ties for cables
- A dry towel to catch or remove accidental moisture
Avoid a single “all-purpose” cloth for the entire setup. A cloth that picked up grit from the floor or metal frame can scratch a monitor or desktop. Do not combine cleaning chemicals, and do not use abrasive pads, rough paper products, furniture polish, or disinfectants on a surface unless its manufacturer approves them.
Step 1: Photograph and Power Down the Workstation
Take a quick photo from the front and another from behind the desk. The photos preserve cable locations and make reconnection easier. Save work, shut down the computer, switch off connected equipment, and unplug power at the accessible connection point. Handle plugs by the connector rather than pulling cords.
If a cord has a cut, exposed conductor, crushed area, loose plug, heat discoloration, or damaged power brick, stop using it and follow the device maker’s support process. Cleaning is not a repair.
Remove cups, food, paper, pens, decorative objects, headphones, and other loose items. Put computer equipment on a stable, dry surface rather than stacking monitors or balancing devices on a chair.
Step 2: Clean Electronics by Their Own Instructions
Monitor or laptop screen
Start with the exact manual or support page. Display coatings differ. Current guidance from major manufacturers commonly begins with powering off and unplugging the display, then using a clean, soft microfiber cloth with light pressure. ASUS, for example, tells users to remove dry dust first and, only when needed, apply a small amount of purified water to the cloth rather than spraying the panel.
Do not press a stubborn mark harder, flood the bezel, or assume household glass cleaner is safe for a screen. Let any approved moisture dry fully before reconnecting power.
Keyboard, mouse, dock, and computer enclosure
Disconnect devices as their manuals require. Turn a keyboard over only when the manufacturer permits it, and use a soft brush or the specified air-cleaning method to lift loose debris. Never push tools, liquid, or unapproved compressed propellant into switches, ports, vents, or seams.
Wipe high-touch exterior areas with the product maker’s approved method. Microsoft’s device-care guidance, for example, warns against applying liquid directly to the device and emphasizes keeping moisture out of openings. A product approved for one keyboard material may damage another, so avoid copying a chemical recipe from a different brand.
Step 3: Match the Desktop Cleaner to the Finish
| Desktop type | Conservative starting method | Avoid unless the maker approves it |
|---|---|---|
| Laminate or melamine | Dry dust, then a barely damp soft cloth with the specified mild cleaner; dry promptly | Abrasives, soaking seams, harsh solvent, heat |
| Finished solid wood or veneer | Use the furniture maker’s finish-specific guidance and wipe with the grain when instructed | Standing water, generic polish, alcohol, or oil not approved for the finish |
| Painted or powder-coated surface | Soft dry cloth, then the approved dilute cleaner on the cloth | Scouring pads, aggressive degreaser, solvent spot treatments |
| Glass | Use the desk maker’s glass-cleaning method; support removable panels as directed | Chipped-edge pressure, abrasive tools, liquid running into joints or electronics |
| Unknown finish | Dry microfiber first; identify the model or test a minimal method in a hidden area | Guessing from appearance |
Work from the cleanest area toward the dirtiest. Lift dust instead of grinding it across the surface. Apply any approved product to the cloth, wipe a small area, and dry it. Pay attention to the front edge, cable grommets, monitor-stand footprint, and the area under the keyboard, where moisture and debris can collect unnoticed.
If the desk is height-adjustable, keep liquid away from the handset, control box, connectors, lifting columns, and cable entry points. Disconnect power as the model manual directs, keep cleaner out of openings, and let every nearby surface dry before reconnecting. The remote-work setup guide can help rebuild the workstation after cleaning without crowding reach and movement zones.
Step 4: Clean the Frame and Under-Desk Area
With power disconnected, dust accessible frame surfaces and feet using the method approved for their finish. Do not remove covers, open electrical housings, lubricate mechanisms, or insert cleaning tools into lifting columns.
Move boxes, paper, bags, and unused equipment out of the leg space. OSHA’s computer-workstation guidance notes that under-desk clutter can reduce clearance and force awkward reaches or chair positions. Keep frequently used input devices close and preserve a clear path for legs and feet.
Vacuum or clean the floor with the equipment safely out of the way. Avoid striking cables, desk feet, or power strips. Let the floor and every cleaned surface dry completely before returning equipment.
Step 5: Rebuild the Desk Around Work Zones
Do not put every object back automatically. Sort items into four zones:
- Continuous use: keyboard, mouse, and primary input device directly in front and within relaxed reach.
- Frequent use: phone, notebook, headset, or controls reachable without leaning across the desk.
- Occasional use: reference books, chargers, and accessories outside the primary zone but still accessible.
- Storage or removal: items that do not need desktop space.
OSHA recommends enough surface depth to place the monitor directly in front and at least 20 inches away, while keeping the keyboard and mouse in the primary work zone. Use that as a starting point and adjust for screen size, vision needs, and the device maker’s setup guidance.
Reconnect one cable at a time using the reference photos. Keep power leads free of sharp bends and pinch points. Do not daisy-chain power strips or overload outlets; follow the electrical product’s rating and local requirements. If the desk moves, complete a low-to-high cable travel test before normal use.
Use a Maintenance Rhythm Instead of a Deep-Clean Emergency
Cleaning frequency depends on dust, food, pets, shared use, and the room. A practical routine is to remove waste and wipe approved high-touch areas as needed, dust the surface weekly, inspect cables during a monthly reset, and perform a full power-down clean when buildup appears or equipment changes.
Deal with spills immediately: disconnect power when it is safe to do so, prevent liquid from reaching electronics or electrical components, blot rather than spread it, and follow the affected product’s support instructions. If liquid entered a device, control box, power strip, or outlet, do not energize it merely because the exterior looks dry.
Frequently Asked Questions
What should I use to clean a computer desk?
Start with clean microfiber cloths and the cleaner approved for the exact desktop finish. Screens, keyboards, and other electronics should follow their own manufacturer instructions.
Can I spray cleaner directly on my desk?
Apply an approved cleaner to the cloth unless the furniture maker explicitly instructs otherwise. Direct spray can reach seams, cable openings, electronics, or unfinished edges.
How do I clean a monitor without damaging it?
Power it off, unplug it, and use the display manufacturer’s method. A clean dry microfiber cloth with light pressure is a common first step; never assume glass cleaner or alcohol is safe for the panel coating.
How often should I clean my computer desk?
Remove food and spills promptly, dust according to buildup, and schedule a deeper power-down clean when equipment or cables need attention. Shared, dusty, or pet-accessible workspaces may need more frequent care.
How long should I wait before reconnecting electronics?
Wait until the device, connector, cable, desktop, and floor are fully dry according to the product instructions. If liquid entered electrical equipment, contact the manufacturer or a qualified service provider before applying power.
Should I remove keyboard keys to clean underneath?
Only if the keyboard manufacturer’s instructions permit removal for that exact model. Some keycaps, clips, switches, coatings, and low-profile mechanisms are easy to damage.