A route-first moving plan for emptying, lowering, documenting, carrying or partially disassembling, packing, and recommissioning a standing desk.
The right ergonomic setup should adapt to your body, support frequent movement, and stay comfortable through a full workday.
The safest way to move a standing desk is to empty it, lower it, unplug it, photograph and label the wiring, then choose between carrying it assembled or partially disassembling it according to the model manual and the route. Do not drag it by the desktop, lift it by one leg, or let powered components carry side loads they were not designed to take.
A move across one room is different from a staircase or truck journey. The goal is not maximum disassembly; it is the smallest, best-controlled package that can clear every doorway and turn without twisting the frame or losing the hardware map.
Decide the Move Method Before Unplugging Anything
| Route and desk condition | Usually safest approach | Reason |
|---|---|---|
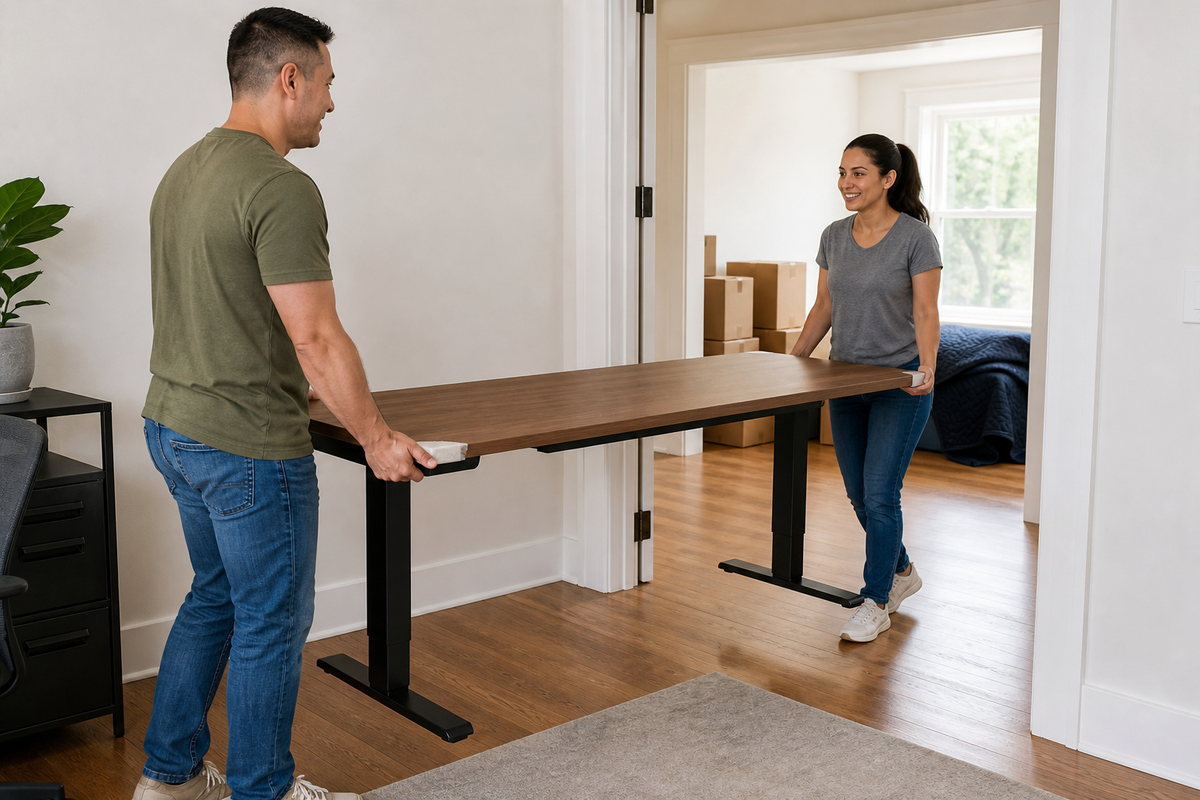
| Same room, level floor, wide clear path | Empty and carry the lowered desk with enough helpers | Fewer disturbed connections and fasteners |
| Nearby room with one generous doorway | Measure first; carry assembled only if the route and weight are manageable | A short move may not justify taking the frame apart |
| Narrow hall, sharp turn, elevator, or stairs | Use the manual’s approved partial-disassembly sequence | Reduces bulk and awkward leverage |
| Truck transport or long-distance move | Remove accessories and separate only the assemblies the manual permits | Protects the top, feet, columns, handset, and control system individually |
| Desk is uneven, damaged, or stuck at height | Stop and contact support before moving | Carrying can worsen a structural or synchronization fault |
Measure the desktop width and depth, overall width across the feet, current lowered height, doorway openings, elevator door, stair turns, and vehicle opening. Include baseboards and handrails; a top may clear while a foot does not.
Prepare the Desk as a Documented Kit

- Save the model instructions. Start with OdinLake’s assembly resources or the exact manual supplied with the desk.
- Remove every loose item. Monitors, computers, drawers, shelves, lamps, speakers, plants, and desk mats travel separately.
- Lower the desk as directed. A retracted lifting system is usually less exposed, but a model-specific instruction takes priority.
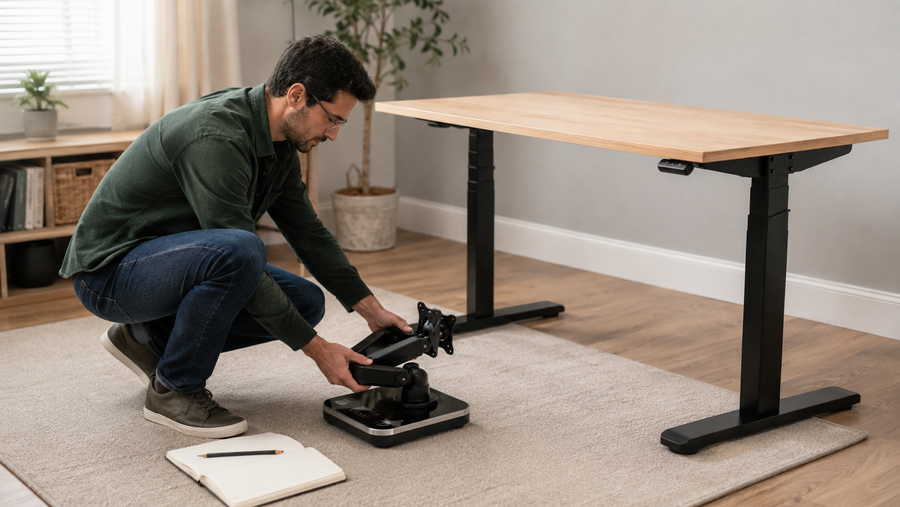
- Photograph the underside. Capture the handset, control box, power supply, motor ports, cable path, accessory mounts, and frame connections.
- Disconnect power. Unplug from the wall before touching accessible connectors. Never pull a plug by its cable.
- Label both ends. Match each motor lead to its labeled port and identify left/right assemblies if the manual distinguishes them.
- Bag hardware by step. Use separate labeled bags such as “feet,” “left leg,” and “desktop-to-frame,” then keep all bags with the desk.
Do not rely on memory or a single wide photo. A close image of each port and fastener group is more useful during reassembly. Label both ends of each cable and photograph the original strain relief so the rebuilt route can preserve full travel without pulling on connectors.
How to Carry a Standing Desk Without Disassembly
Use this option only when the manual allows it, the route is flat and clear, the complete desk can be controlled by the available helpers, and the desktop-to-frame connection is sound.
- Protect corners and edges with moving blankets or purpose-made protectors. Keep tape off finished surfaces unless the finish manufacturer approves it.
- Secure the unplugged power lead and handset cable so nothing drags, snags, or bears weight.
- Assign one person to call the movement and one to watch the route. Add helpers for long tops or heavy frames.
- Lift from approved structural areas identified in the manual. Keep the desk close to level and move slowly.
- Set it down on its feet in the destination. Do not rest the assembly on the handset, control box, cables, or the ends of lifting columns.
Never carry an assembled electric desk by the desktop overhang alone. The top and its mounting points should not become handles for the full weight of the frame.
How to Partially Disassemble It for a Tight Route
Work backward through the model’s assembly instructions. Remove accessories first, then only the assemblies required to make the route safe. Many desks can be reduced without opening the lifting columns or motor housings.
Protect the powered parts
Disconnect accessible low-voltage leads only after wall power is removed. Cap or wrap loose connectors against impact and moisture. Keep the handset, power supply, and control box with their labeled cables. Do not open, repair, or internally disassemble these components.
Support the desktop and frame
Use a soft, stable work surface and enough helpers to control the turn. Do not crawl beneath a propped-up desk. If the manual calls for turning the desk upside down, clear a large padded area and complete the turn as a coordinated lift.
Preserve fastener locations
Use the supplied hand tools or the exact type and size specified. Photograph washer order and bracket orientation before removal. Do not enlarge holes, substitute longer screws, or use a power driver at uncontrolled torque during reassembly.
Pack the Desk for a Vehicle
- Wrap the desktop as a flat panel and protect all four corners.
- Pad lifting columns individually so they cannot strike each other.
- Keep feet and crossbars from placing point loads on the desktop surface.
- Place electronics and labeled cable sets in a dry, crush-resistant box.
- Restrain all parts against sliding, while avoiding straps that bend a desktop or compress a handset.
- Keep hardware bags and the model record with the desk, not in a general box.
Do not stack heavy boxes on a desktop, control box, or handset. Avoid transporting the desk where powered components can be exposed to rain, condensation, or extreme heat.
Reassemble and Recommission the Desk
- Inspect the desktop, feet, frame, columns, connectors, and cables before assembly. Stop if anything is bent, cracked, pinched, or wet.
- Follow the original assembly order and fastener specifications. Do not assume a mirrored part can switch sides.
- Place the desk upright on a stable, level surface and confirm all cables have enough slack for full travel.
- Reconnect the exact ports shown in the manual, then connect mains power last.
- Perform only the initialization or recalibration sequence specified in the exact model manual.
- Run one unloaded or lightly loaded test while watching both legs. Stop for uneven movement, unusual noise, cable tension, or an error code.
- Reinstall monitors and other equipment only after the frame passes the test, then verify stability and full-travel cable clearance again.
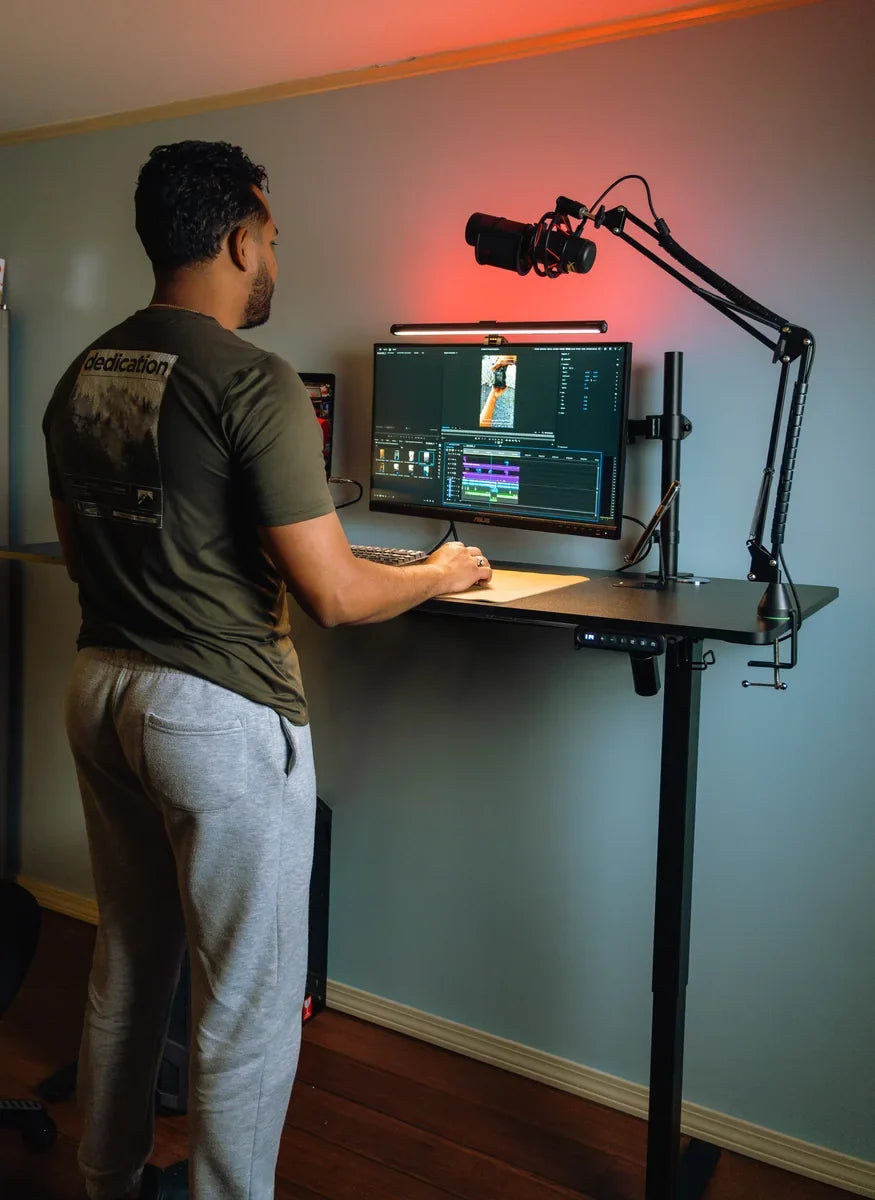
If the desk produces an unfamiliar display message after the move, record the exact characters, model, handset, connections, load, and movement behavior. Do not repeatedly cycle the motors; use the exact manual or contact OdinLake support with the evidence. After the frame passes its movement test, rebuild monitor, input-device, lighting, and reach positions with the remote-work setup guide.
Frequently Asked Questions
Can I move a standing desk without taking it apart?
Sometimes. It can be reasonable for a short, level move when the manual permits it, the path is wide, the desk is empty and lowered, and enough people can control the full assembly. Tight turns, stairs, trucks, and very large tops usually favor approved partial disassembly.
Should I lower a standing desk before moving it?
For many electric desks, lowering retracts the columns and reduces exposed height, but confirm the exact model instructions. Do not operate a damaged or uneven desk simply to lower it.
Can I drag a standing desk across the floor?
No. Dragging can damage flooring, leveling feet, frame alignment, and desktop connections. Empty the desk and use a controlled lift or appropriate moving equipment chosen for the desk and route.
Do standing desks need to be reset after moving?
Some models require re-initialization after being disconnected or reassembled. Follow the model manual. If the desk moves evenly and the manual does not call for a reset, do not invent a generic button sequence.
Can movers transport an electric standing desk?
Yes, if they know it is powered furniture and receive the model instructions, weight and dimensions, disassembly boundary, labeled hardware, and packing requirements. Confirm in advance whether they will carry it assembled or need it prepared as separate components.
What should I do if the desk is uneven after the move?
Stop operating it. Check that it stands on level contact, verify accessible connections against the manual, and perform only the specified initialization. If the legs remain uneven or a code returns, contact OdinLake support with photos and video.