A material-first guide to painting only safe cosmetic office-chair surfaces while protecting mesh, mechanisms, controls, casters, and labels.
The right ergonomic setup should adapt to your body, support frequent movement, and stay comfortable through a full workday.
Yes, you can paint some parts of some office chairs—but an office chair should never be treated as one paintable object. Hard plastic covers and stable painted-metal trim may accept a compatible coating. Tensioned mesh, upholstered contact surfaces, the gas lift, controls, moving joints, casters, labels, fastener seats, and structural connections should normally remain unpainted.
The safest plan is to map every surface first, check the chair and coating instructions, test a hidden area, and paint only cosmetic exterior parts that can be isolated without forcing the chair apart. If you cannot identify a surface or protect the mechanism from dust and overspray, a removable cover, replacement trim, or professional refinishing is the better route.
Start with a surface map, not a paint color
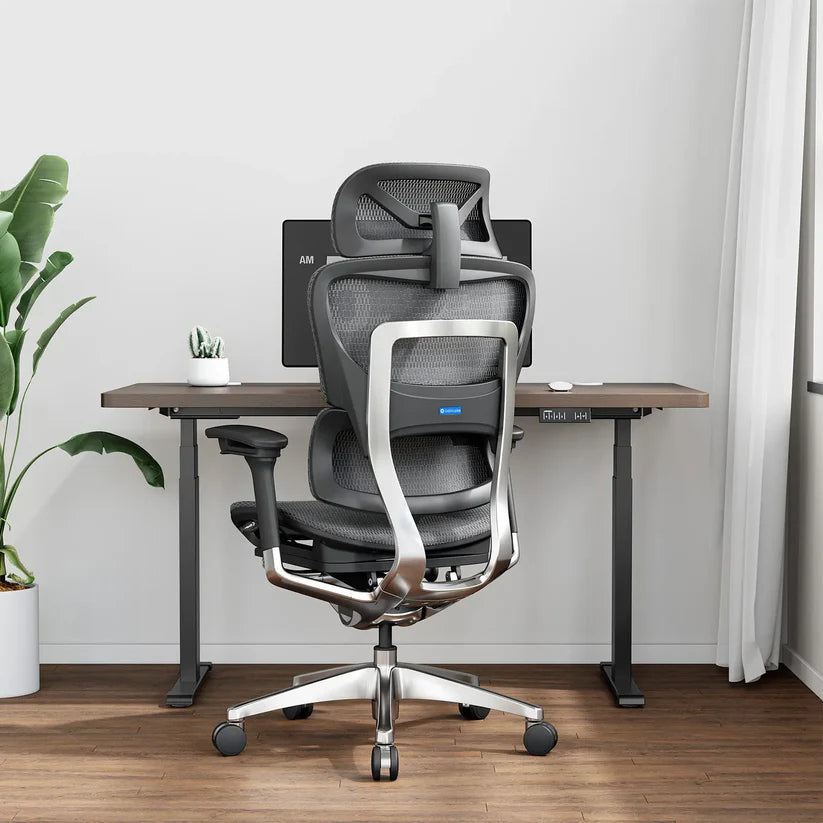
A modern task chair can combine molded polymers, plated or coated metal, rubber-like arm pads, woven mesh, fabric, foam, lubricated pivots, cables, bearings, and a sealed pressure cylinder. Similar-looking black parts may be different materials, and the existing factory finish matters as much as the substrate beneath it.
Use the product page, parts list, care guide, and assembly instructions to identify what you can. When the material or finish remains unknown, do not guess from a photograph. Treat that surface as unsuitable until the chair maker or coating maker confirms a compatible system.
| Chair area | Default decision | Reason | Practical alternative |
|---|---|---|---|
| Rigid plastic cosmetic shell or trim | Sometimes paintable | The exact polymer and existing finish determine adhesion | Use a coating that lists the confirmed substrate and pass a hidden test |
| Stable painted or powder-coated metal cover | Sometimes paintable | Loose coating, corrosion, and incompatible layers can undermine the new finish | Prepare and coat only as the chosen system directs |
| Polished, plated, anodized, or chrome-like finish | Poor beginner candidate | Its identity and adhesion requirements may be difficult to verify | Leave it intact, replace the cosmetic part, or consult a refinisher |
| Fabric, coated fabric, vinyl, or leather | Conditional | A coating may change hand feel, flexibility, color transfer, cleanability, and wear | Use only a system expressly intended for the exact material, or choose a fitted cover or upholstery route |
| Tensioned seat or back mesh | Do not paint | A film can bridge openings, alter flexibility, and create an unverified load-bearing surface | Ask about an approved replacement mesh or color option |
| Gas-lift shaft, tilt mechanism, springs, cables, paddles, and pivots | Do not paint | Coating, dust, or overspray can enter a moving or safety-related interface | Mask completely and leave the mechanism assembled |
| Caster tread, wheel fork, stem, axle, and bearing area | Do not paint | Rolling contact and tight clearances make chipping or interference likely | Use an approved replacement caster if a different appearance is important |
| Serial label, warning label, bolt seat, mating face, or electrical contact | Do not paint | These areas preserve identification, torque seating, fit, or function | Mask beyond the functional boundary |
Decide whether this chair is worth refinishing
Paint changes appearance; it does not repair a chair. Before buying supplies, use every adjustment and inspect the frame, base, back support, arm connections, caster sockets, and fasteners. If the chair rocks, drops in height, has a bent base, cracked structural part, damaged mesh, exposed cable, or abnormal mechanism noise, resolve that condition first. OdinLake's wobbly-chair guide provides a useful condition-check route, but a structural or pressure-component concern belongs with the manufacturer.
Also check ownership and coverage. A rented, employer-issued, collectible, or warrantied chair may not be yours to modify. OdinLake owners can review the current warranty policy and ask customer support about the exact model and part before making an irreversible finish change. Do not assume that a cosmetic modification is covered or excluded without reading the terms that apply to the purchase.
A repaint is a reasonable DIY project only when all of these statements are true:
- the chair is mechanically sound;
- the target is cosmetic rather than structural;
- you can identify the target substrate and existing finish well enough to select a compatible coating;
- every no-paint zone can be protected;
- any necessary separation is documented for the exact chair;
- you can meet the coating label's ventilation, temperature, humidity, protective-equipment, drying, and disposal instructions; and
- you can leave the chair unused through the full cure period.
Build one compatible coating system
Primer, color coat, and clear coat are not automatically compatible just because each can be used on plastic or metal. Choose one documented system whose product data lists the confirmed surface, intended environment, preparation method, recoat window, and cure conditions. Read the label and current safety data sheet before opening the container.
There is no universal rule that every plastic part must be sanded and primed. A coating maker's current surface-preparation guidance, for example, distinguishes previously painted plastic from other situations and repeatedly directs readers back to the product label. That is the useful lesson: preparation follows the selected coating and actual surface—not a generic internet recipe.
Rigid plastic
Confirm that the coating lists the type of rigid plastic or, at minimum, that its maker supports the intended plastic application. Clean and dry the surface, then follow that system's instruction on abrasion and primer. An aggressive solvent, coarse abrasive, or heat treatment can permanently mark or weaken an unknown polymer, so do not improvise adhesion tests on a structural chair part.
Painted metal
The existing finish must be stable. Remove only loose contamination or finish by the method the coating maker allows; do not grind a structural base, arm support, or frame to reshape it. Active rust, pitting near a weld, cracking, or deformation is a condition assessment—not a cue to cover the area with primer. Route those findings to the manufacturer or a qualified furniture repairer.
Fabric, vinyl, and leather-like surfaces
These surfaces flex and contact clothing and skin, so an ordinary hard-surface paint is not a substitute for a purpose-made flexible coating. Even a labeled fabric or vinyl product can alter texture and appearance. Test a hidden area through full cure, rub it with a light and dark cloth, flex it repeatedly, and sit on the chair only after the result remains dry, stable, and acceptable. If the seat is valuable, removable upholstery or a washable fitted cover is easier to reverse.
Mask every no-paint zone before surface preparation

Photograph the complete chair and each connection before moving anything. Download the model instructions, then remove only parts that the manufacturer documents as user-removable. OdinLake's assembly videos and product guides show why the exact model matters. Do not pry off integrated covers, strike a pressure-fit gas lift, open the tilt housing, disconnect an undocumented cable, or take apart a spring-loaded control merely to make spraying easier.
Gather the manual, painter's tape, masking paper or film, clean lint-free cloths, the approved cleaner, bags for documented fasteners, a drop cloth, and every item of protective equipment specified by the coating label. Add an abrasive or primer only when the chosen coating system calls for it.
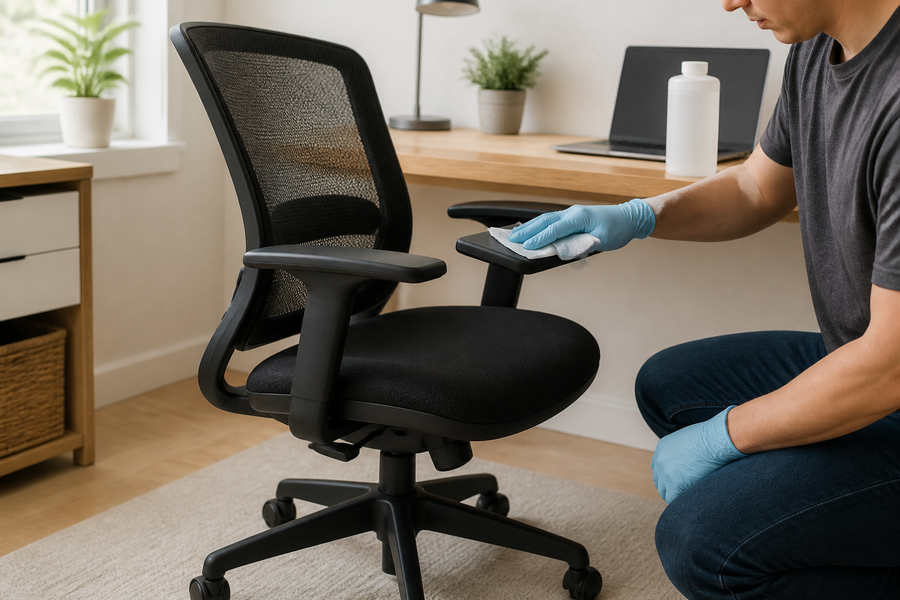
Clean the chair before masking so dirt is not trapped at tape edges. Follow the model's care instructions and allow every target surface to dry. The OdinLake office-chair cleaning guide can help separate mesh, fabric, leather-like, plastic, and metal cleaning decisions; the exact chair and coating directions still take priority.
Mask a wider area than the visible edge of each mechanism. Protect:
- all mesh, upholstery, foam, seams, and zippers;
- the entire exposed gas-lift shaft and every opening around the cylinder;
- control levers, paddles, buttons, cables, slots, and moving gaps;
- caster tread, axles, stems, sockets, and bearing openings;
- bolt holes, threads, washers, mating faces, and load-bearing contact surfaces;
- serial numbers, warning labels, certification marks, and model information; and
- surfaces your hands, arms, or clothing contact if the coating is not approved for that use.
Run a dry functional check after masking. The chair should still move without tape being pulled into a pivot. If you cannot protect an opening without operating the chair or disturbing a safety-related part, stop and choose a non-paint alternative.
Control the work area before opening the coating
Painting is not an occupied-office task. The U.S. EPA advises providing plenty of fresh air and ventilation when painting or using products that release volatile organic compounds. Its current indoor-air guide also emphasizes following product directions and warnings.
For spray applications, do not assume an open door or a paper dust mask makes any product safe. NIOSH notes that paints and coatings can create inhalation and skin exposures, identifies ventilation as the primary control, and directs users to the safety data sheet when selecting protective equipment. Review the agency's paint and surface-coating control guidance, then follow the exact consumer label and SDS for the product in hand.
Keep children, pets, food, ignition sources, and unprotected people out of the work area. Protect adjacent surfaces from overspray. If the label's ventilation or protective-equipment conditions cannot be met, do not spray the chair there. Select a safer compatible application method or use a professional facility.
Test the finish before committing to the visible chair
A color sample proves color only; it does not prove adhesion to the chair. If possible, first apply the full coating system to a spare piece of the same documented material. Otherwise, choose a concealed cosmetic spot that will not bear load, contact clothing, receive a fastener, or enter a mechanism.
- Prepare the test area exactly as planned. Use the same cleaner, abrasion, primer, coat sequence, and environmental conditions.
- Respect every time window. Record the application time, recoat time, handling time, and full-cure time from the actual label.
- Inspect after full cure. Look for lifting, wrinkling, softening, color change, tackiness, poor edge adhesion, or damage to the original finish.
- Check real contact gently. Rub a fully cured sample with a clean cloth and flex only a nonstructural surface in the way it normally moves.
- Stop on uncertainty. Do not correct a failed sample by adding more unrelated products; ask the coating maker what went wrong or select another route.
When the test passes, apply the coating to the approved target in the number and thickness of coats specified by its maker. Keep the applicator moving as directed and maintain the stated distance or wet-film requirement. Heavy coats can trap solvent, run into masked edges, and extend cure time. Do not use appearance alone to decide that another coat is ready.
Cure first, then restore the chair's function
“Dry to touch,” “ready to handle,” “ready to recoat,” and “fully cured” describe different states. A surface that feels dry can still mark under a bolt head, arm pad, caster socket, or clothing. Use the longest applicable time in the coating system before reassembly and high-contact use, adjusting only as its instructions allow for temperature and humidity.
Remove masking at the stage specified by the coating maker. Do not cut toward mesh, cables, upholstery, or a gas-lift seal. Confirm that no paint has entered a thread, socket, joint, label, or bearing surface. If it has, do not scrape a functional part blindly; get model-specific advice.
Reassemble only through the documented sequence, using the original fasteners in their recorded positions. Then test the chair empty on a level floor:
- all fasteners seat correctly against unpainted mating faces;
- casters swivel and roll without flakes or rubbing;
- height, swivel, recline, locks, seat slide, arms, and headrest move through their normal range;
- the chair does not wobble, bind, drop, click abnormally, or expose a cable; and
- the cured coating does not transfer to a clean cloth at normal contact points.
Stop using the chair if a coating interferes with a control or if disassembly reveals damage. Cosmetic success never overrides safe operation.
Know when a different makeover is better
Paint is best for a sound, identifiable, isolated cosmetic shell or trim surface. A fitted cover is better when you want a reversible color change. Reupholstery is a separate task for a removable padded panel. An approved replacement part is preferable when mesh, arm pads, casters, or trim are worn. Professional refinishing may make sense for a removable nonmechanical metal component, but the refinisher still needs to know the material, load role, and manufacturer restrictions.
The finished chair should look different while functioning exactly as it did before. If the only way to reach the desired color is to coat a load-bearing mesh, pressure component, control, or unknown structural finish, leave that area unchanged.
Frequently asked questions
Can you spray-paint an office chair?
You can spray a confirmed cosmetic plastic or metal surface when the product label lists that substrate and you can fully isolate the chair's mechanism, upholstery, mesh, casters, labels, and mating faces. Do not spray an assembled chair indiscriminately, and do not spray where the label's ventilation and protective-equipment requirements cannot be met.
What kind of paint works on a plastic office chair?
Use a coating system whose current technical information expressly includes the identified plastic or the exact application. “Plastic” is not one material, and a chair maker may not publish the polymer. When the substrate is unknown, ask both manufacturers and pass a fully cured hidden test before coating any visible cosmetic part.
Do I need to sand and prime a plastic chair?
It depends on the existing finish and the selected coating. Some systems call for abrasion or bonding primer; others instruct users not to prime or require only specific preparation. Follow one compatible system rather than combining generic sanding, primer, paint, and clear-coat advice from different labels.
Can you paint a mesh office chair?
Do not coat tensioned seat or back mesh. Paint can bridge openings or change flexibility, and a home test cannot verify continued load performance. Mask the mesh and paint only a confirmed cosmetic surrounding frame, or ask the manufacturer about an approved replacement panel.
Can you paint office-chair fabric or vinyl?
Only consider a product specifically labeled for the exact flexible material and intended contact, then test it through full cure for feel, transfer, flexing, and appearance. Ordinary hard-surface paint is not appropriate. A fitted cover or reupholstery is usually more reversible when the material cannot be identified.
How long should a painted chair cure before use?
Use the full-cure time on the exact product label, not a universal number of hours or days. Cure time can differ from touch-dry and handling time and can change with coat thickness, temperature, humidity, and the complete primer/topcoat system. Do not reassemble or sit on the chair until every required layer has reached the state its maker specifies.